
Adding an AI Search Widget to Your Docs, Site, or App
The Search Widget is a compact AI-powered search interface that can be embedded into any web-based surface — websites, documentation, internal tools, or portals.
It allows users to type queries and receive instant answers powered by your training data. Ideal for teams looking to reduce manual queries and deliver fast, AI-driven support without full chat conversations.
How It Works?

The widget accepts user input via a search-style interface, sends the query to the backend AI model, and displays a response within the same interface—no page reloads required. This creates a responsive, intelligent experience without the overhead of building a full chat interface.
It is especially effective for sites with rich documentation, FAQs, or product info where users benefit from immediate, relevant answers.
Setup Instructions

You can add the Search Widget to your site in three simple steps:
1. Sign In and Open the Integration Panel
Sign in to your dashboard at yourgpt.ai.
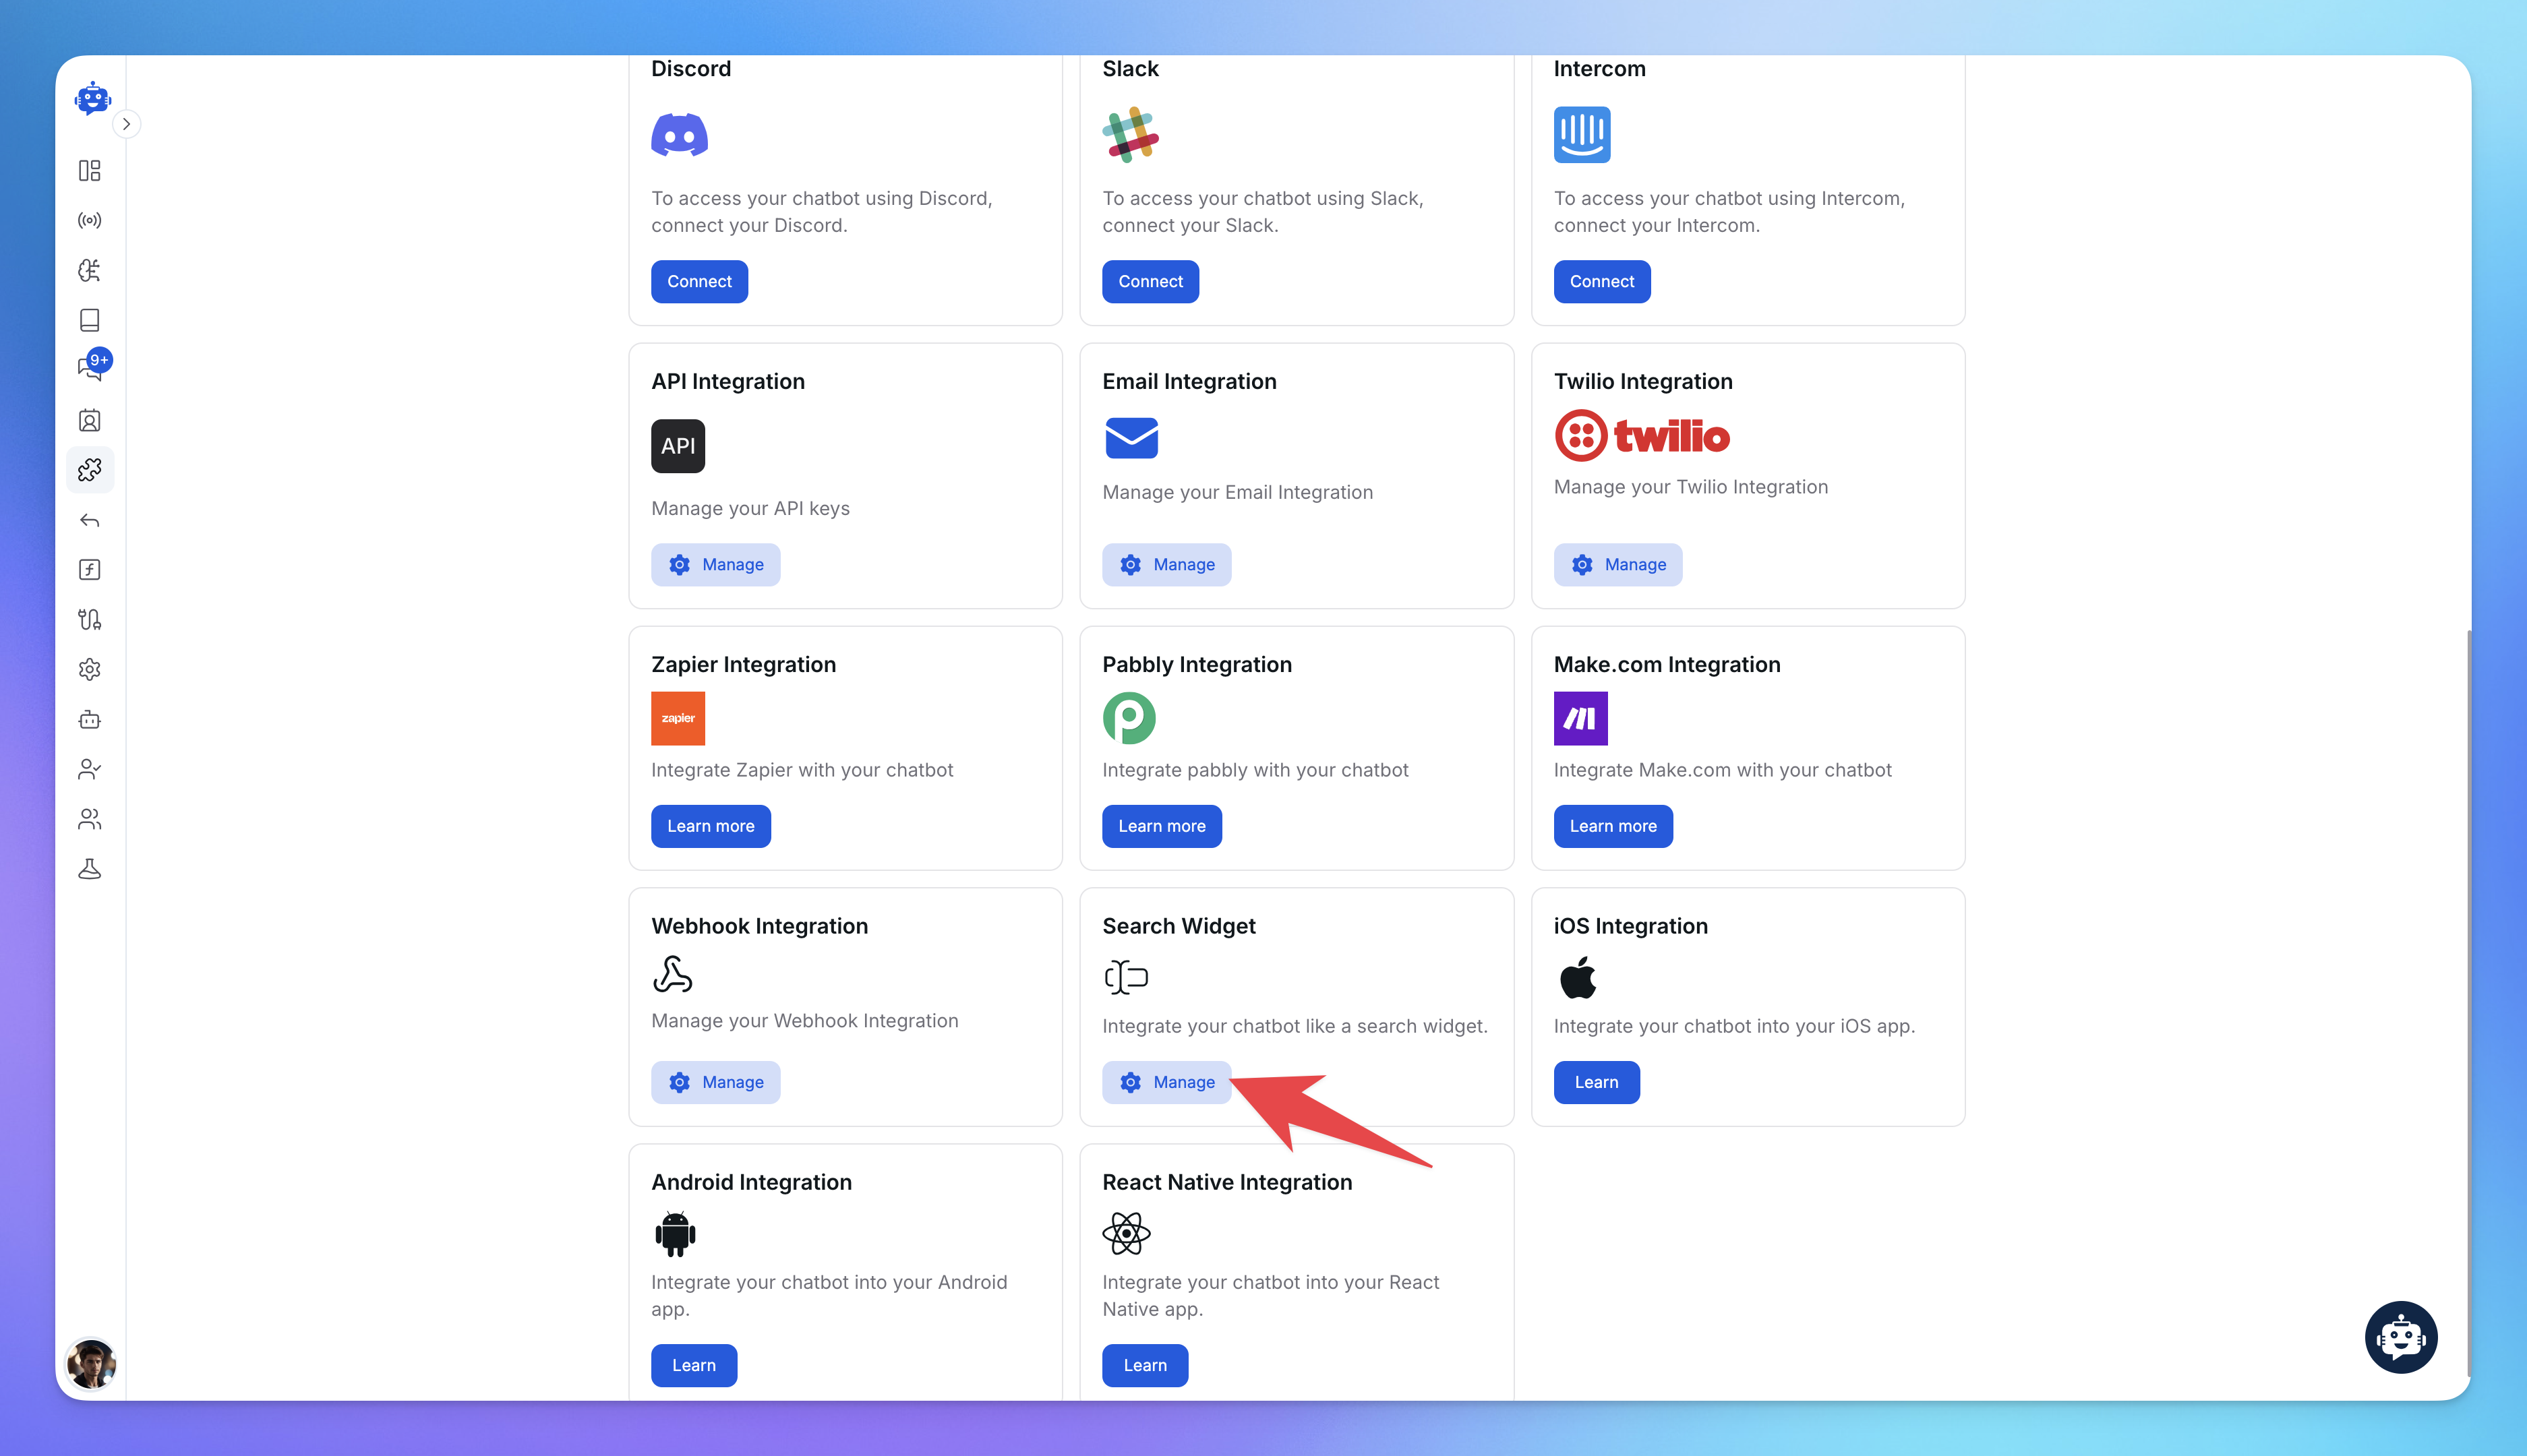
Go to the Integration section.
Locate the Search Widget.
Click Manage to configure your widget.
2. Configure Appearance
Adjust the following design settings to align the widget with your site’s look and feel:
Primary Color – The widget’s accent color (e.g., buttons, highlights)
Text Color – The color of response and prompt text
Background Color – The widget’s interface background
These can typically be configured through your dashboard or inline in the embed script.
3. Choose Your Integration Type
Select the display style that fits your website. There are three supported modes:
Mode | Description |
|---|---|
Floating | Appears as a floating button or icon users can click at any time |
Inline (Inplace) | Embedded directly within a section of a webpage |
Click-to-open | Hidden until triggered by a user interaction (e.g., button click) |
Choose the layout that best fits your user experience. You’ll see a customized script snippet.
4. Add the Widget to Your Website
Copy the generated script for your chosen integration type.
Paste it before the closing
</body>tag of your site’s HTML.Save and reload your site to see the widget in action.
Example Script
<script>
  window.YGC_SEARCH_WIDGET = {
    id: "YOUR_ID",
    type: "floating", // Options: "floating", "inplace", "click"
  };
  (function () {
    var script = document.createElement("script");
    script.src = "https://search-widget.yourgpt.ai/script.js";
    script.id = "ygc-search-widget-script";
    document.body.appendChild(script);
  })();
</script>
Replace "YOUR_ID" with your actual widget ID and update the type if using a different integration mode.
Works across platforms:
✅ Website
✅ Docs page
✅ Internal dashboards
✅ Web apps
✅ Custom platforms
Summary
The Search Widget makes it easy to deliver AI-powered, search-style support directly on your website. With minimal setup and high flexibility, it enables a smarter way for users to find answers and reduces the need for manual live support.
Tip: To improve performance over time, review AI analytics, unanswered queries and update your training data with latest information.