
Boost WhatsApp Business with your AI Chatbot.
In this guide, we’ll walk you through the process of deploying your AI Agent to WhatsApp.
Follow the steps below to integrate your AI Agent:
Step 1: Navigate to WhatsApp Integration
Go to your Project Dashboard → Integration → WhatsApp.
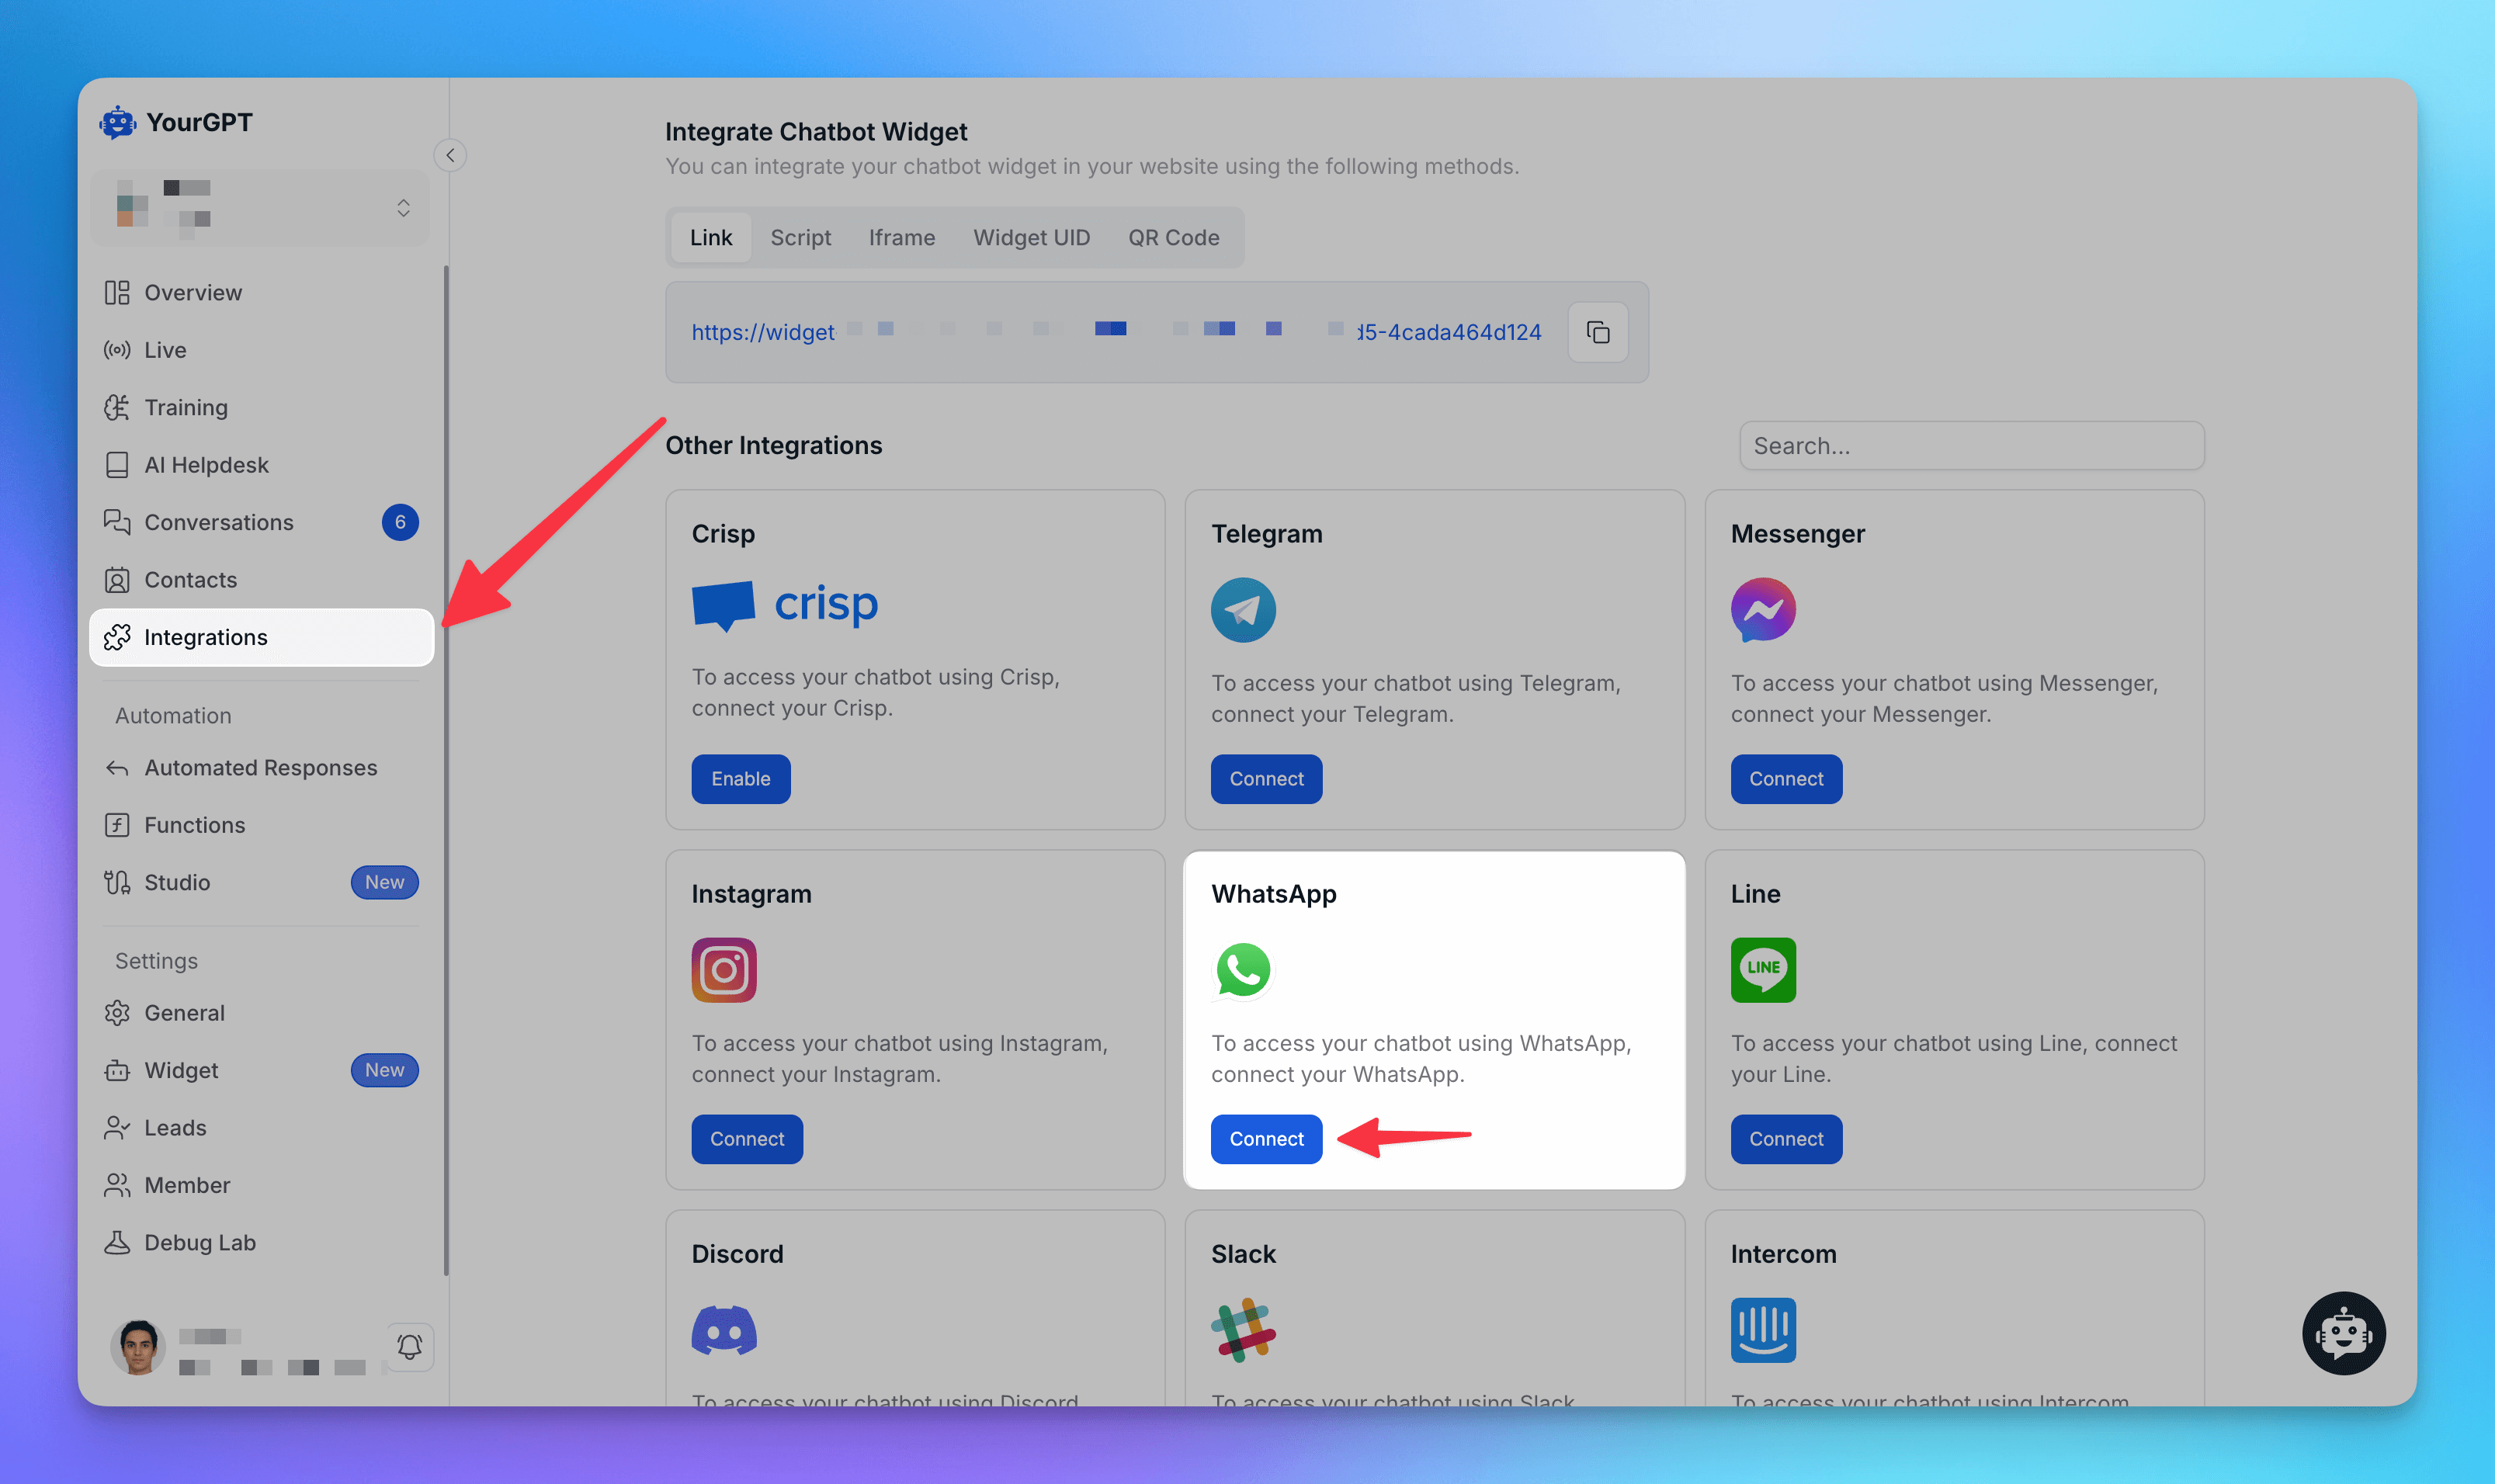
Step 2: Choose Your Connection Method
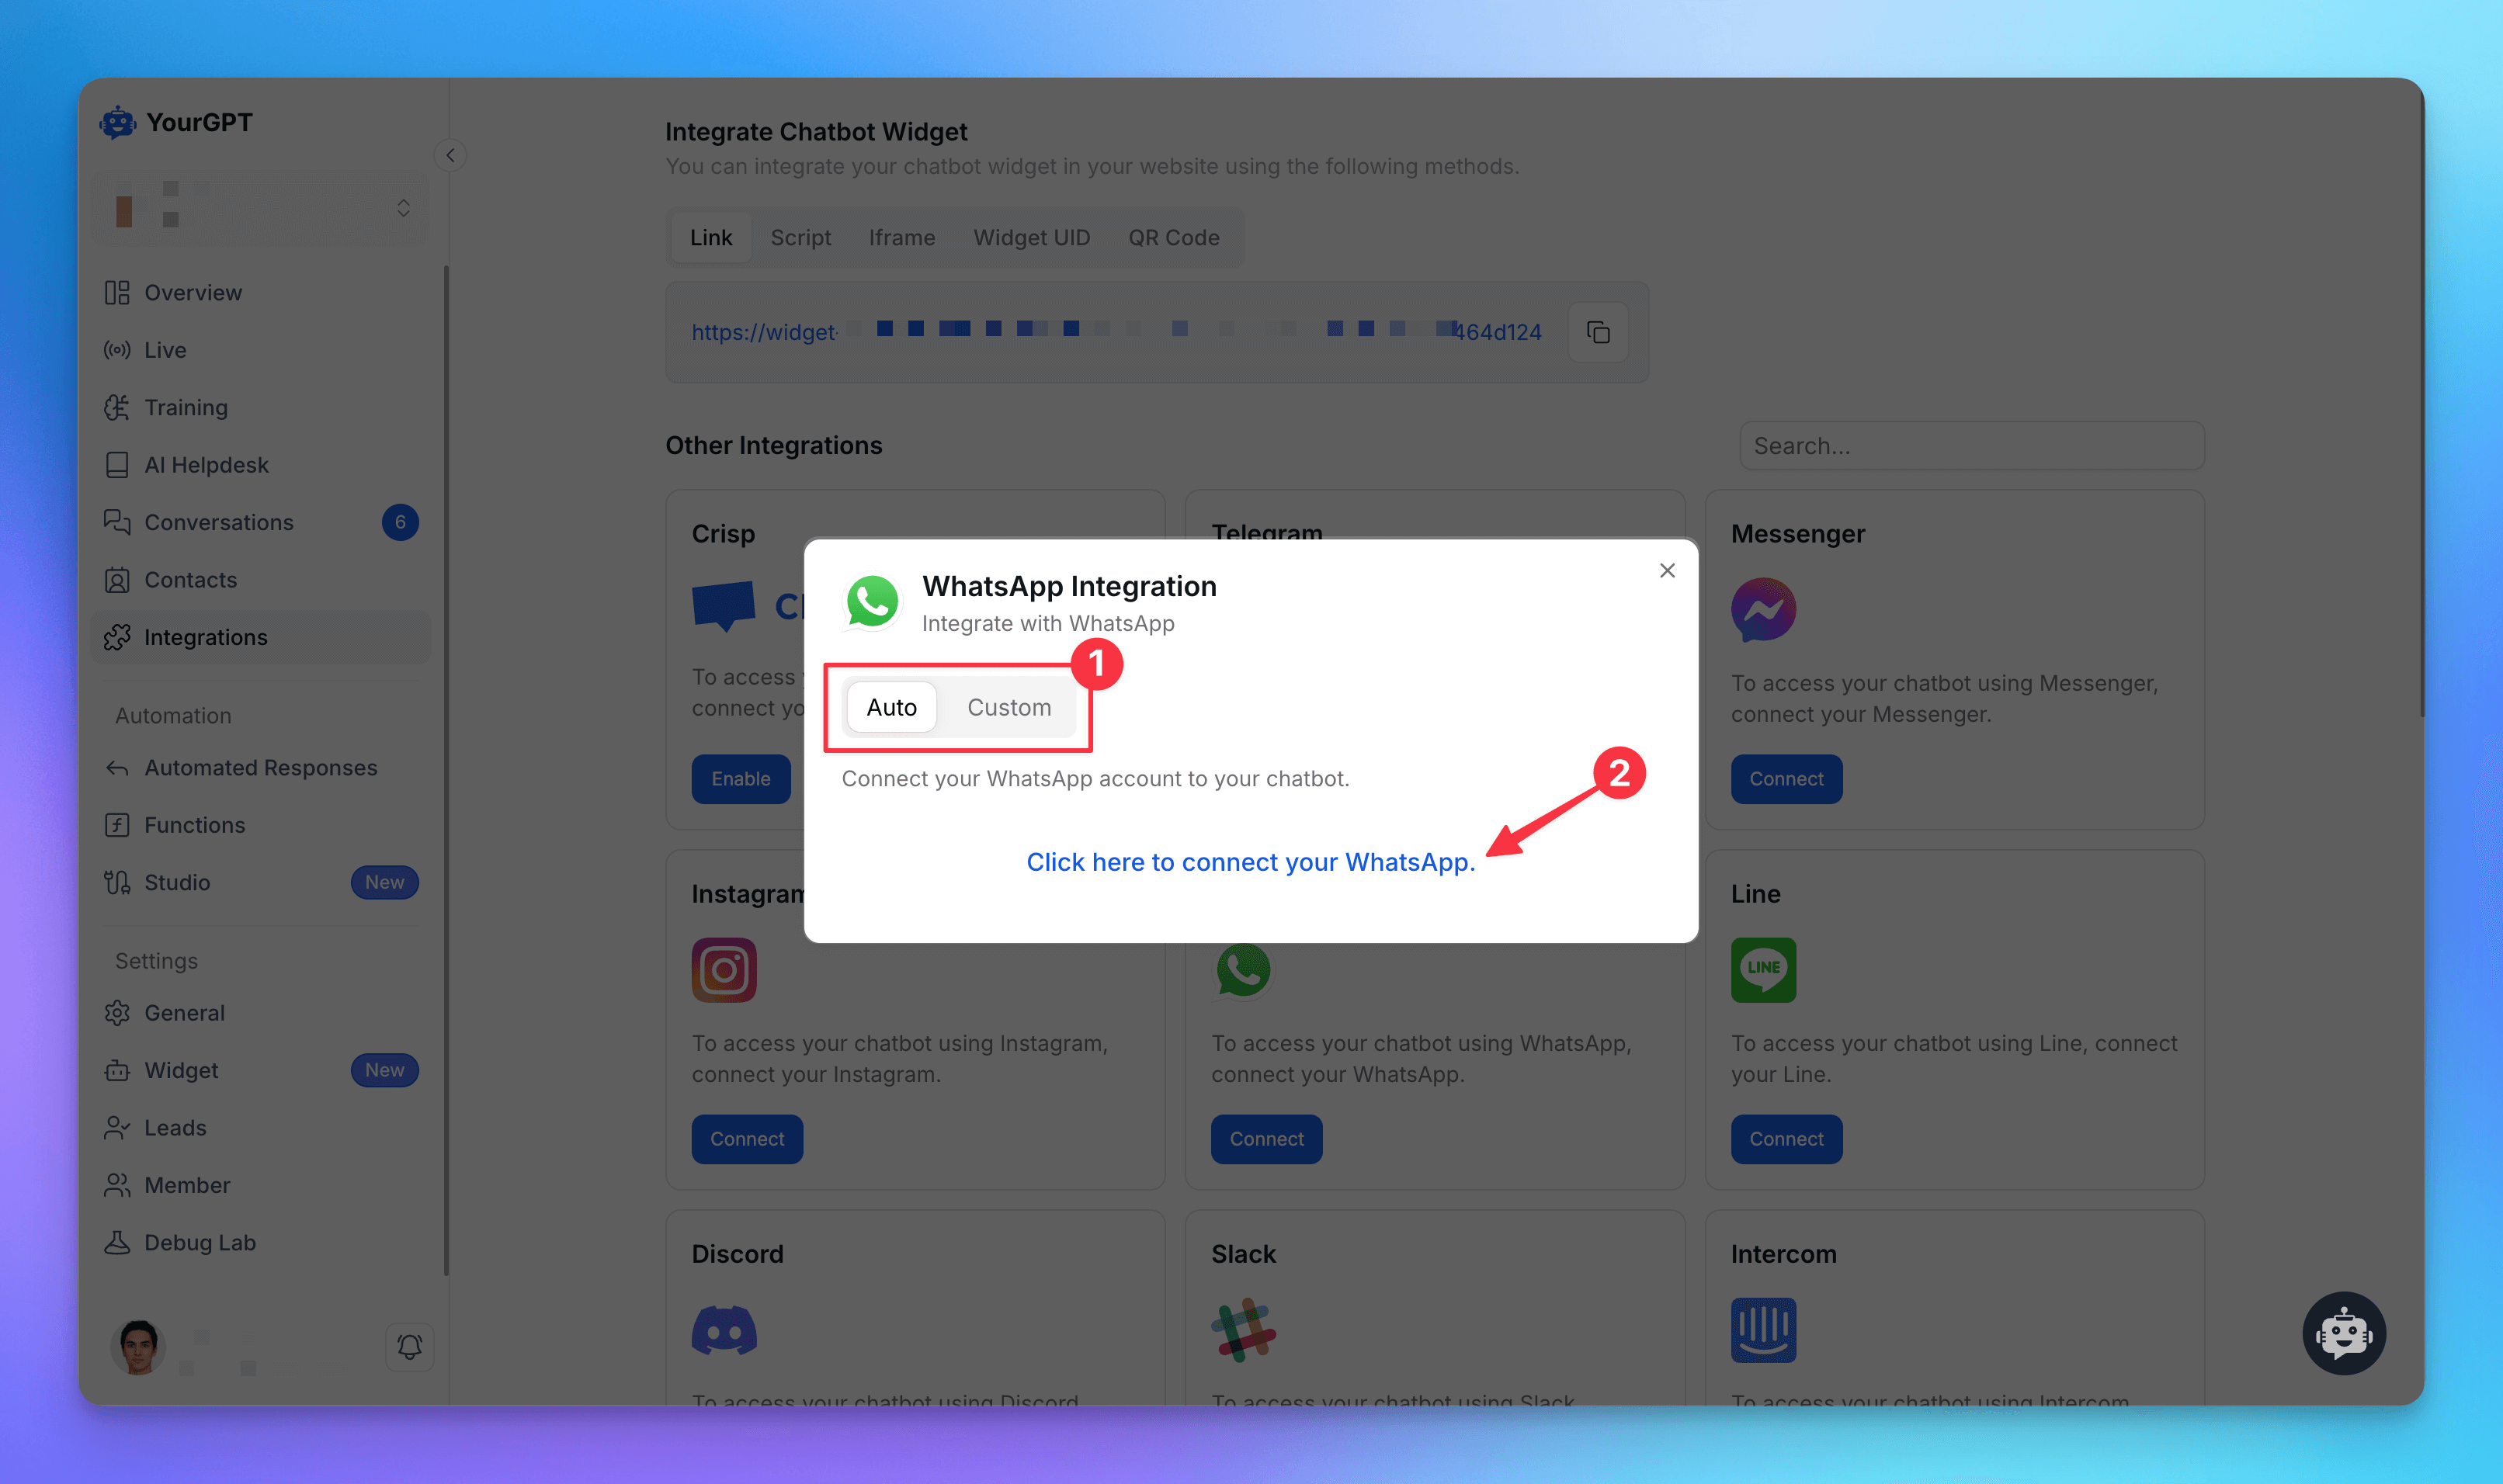
Decide how you want to connect your WhatsApp Business account:
• Custom Setup: Manually enter your Page ID, Access Tokens, and other configurations.
• Auth Setup: Use Meta’s quick setup wizard for a simplified, automated integration.
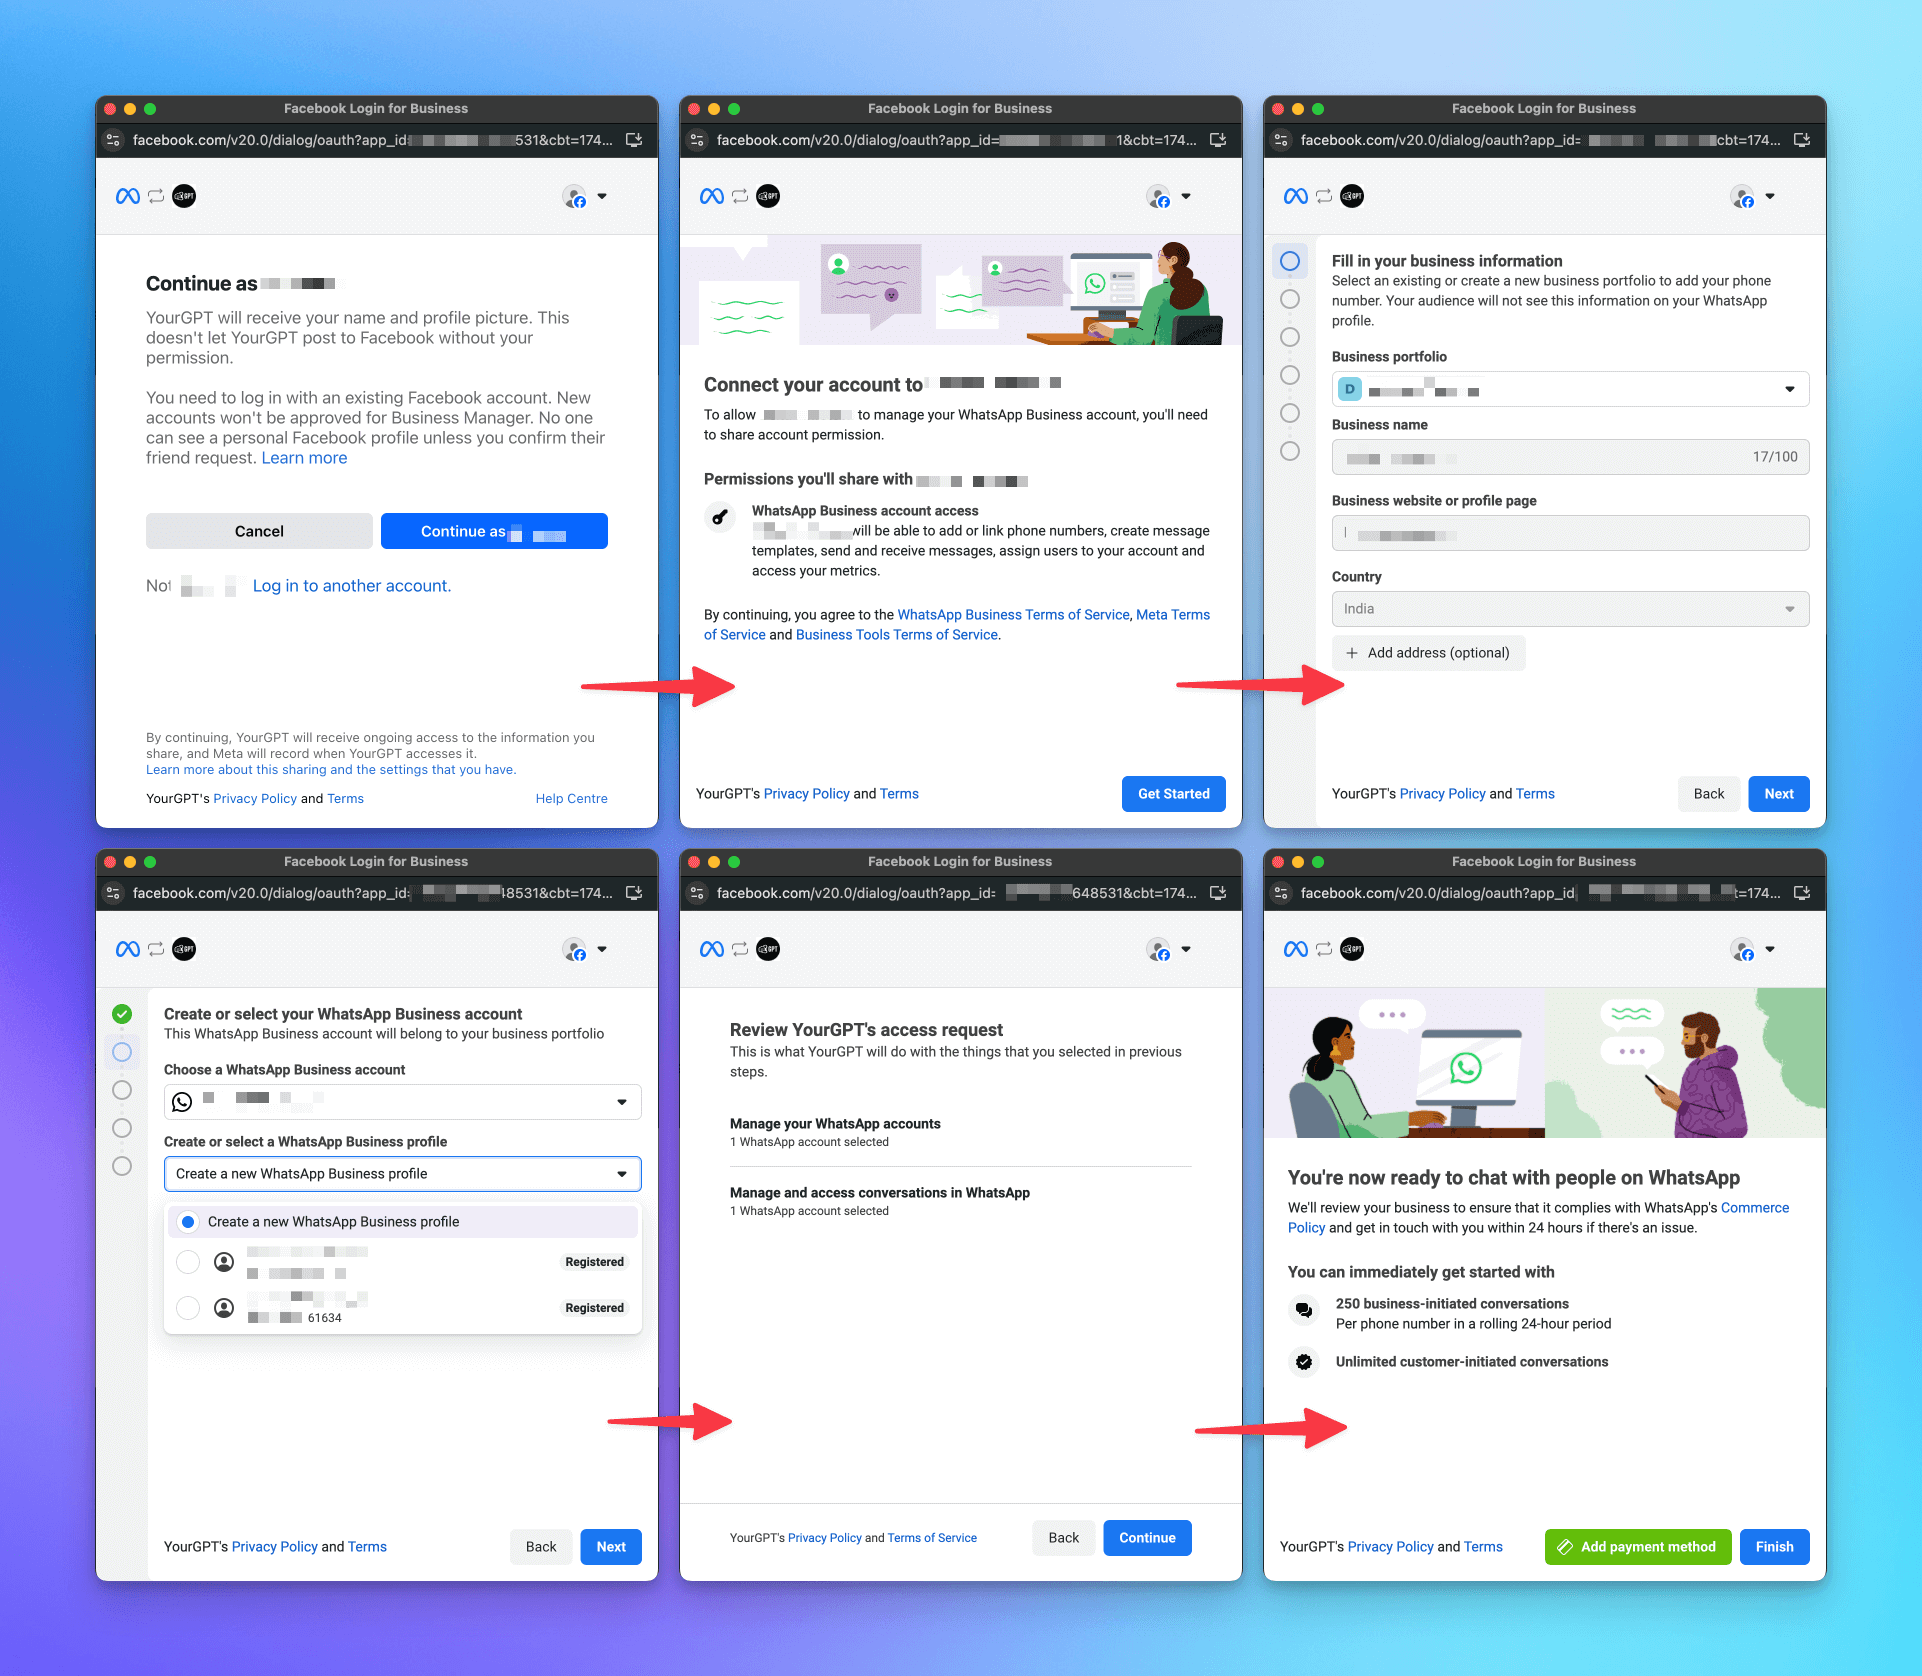
Step 3: Complete the Setup on Meta Portal
You’ll be redirected to the Meta portal. Here, select your WhatsApp Business Profile and choose the phone number you want to connect.
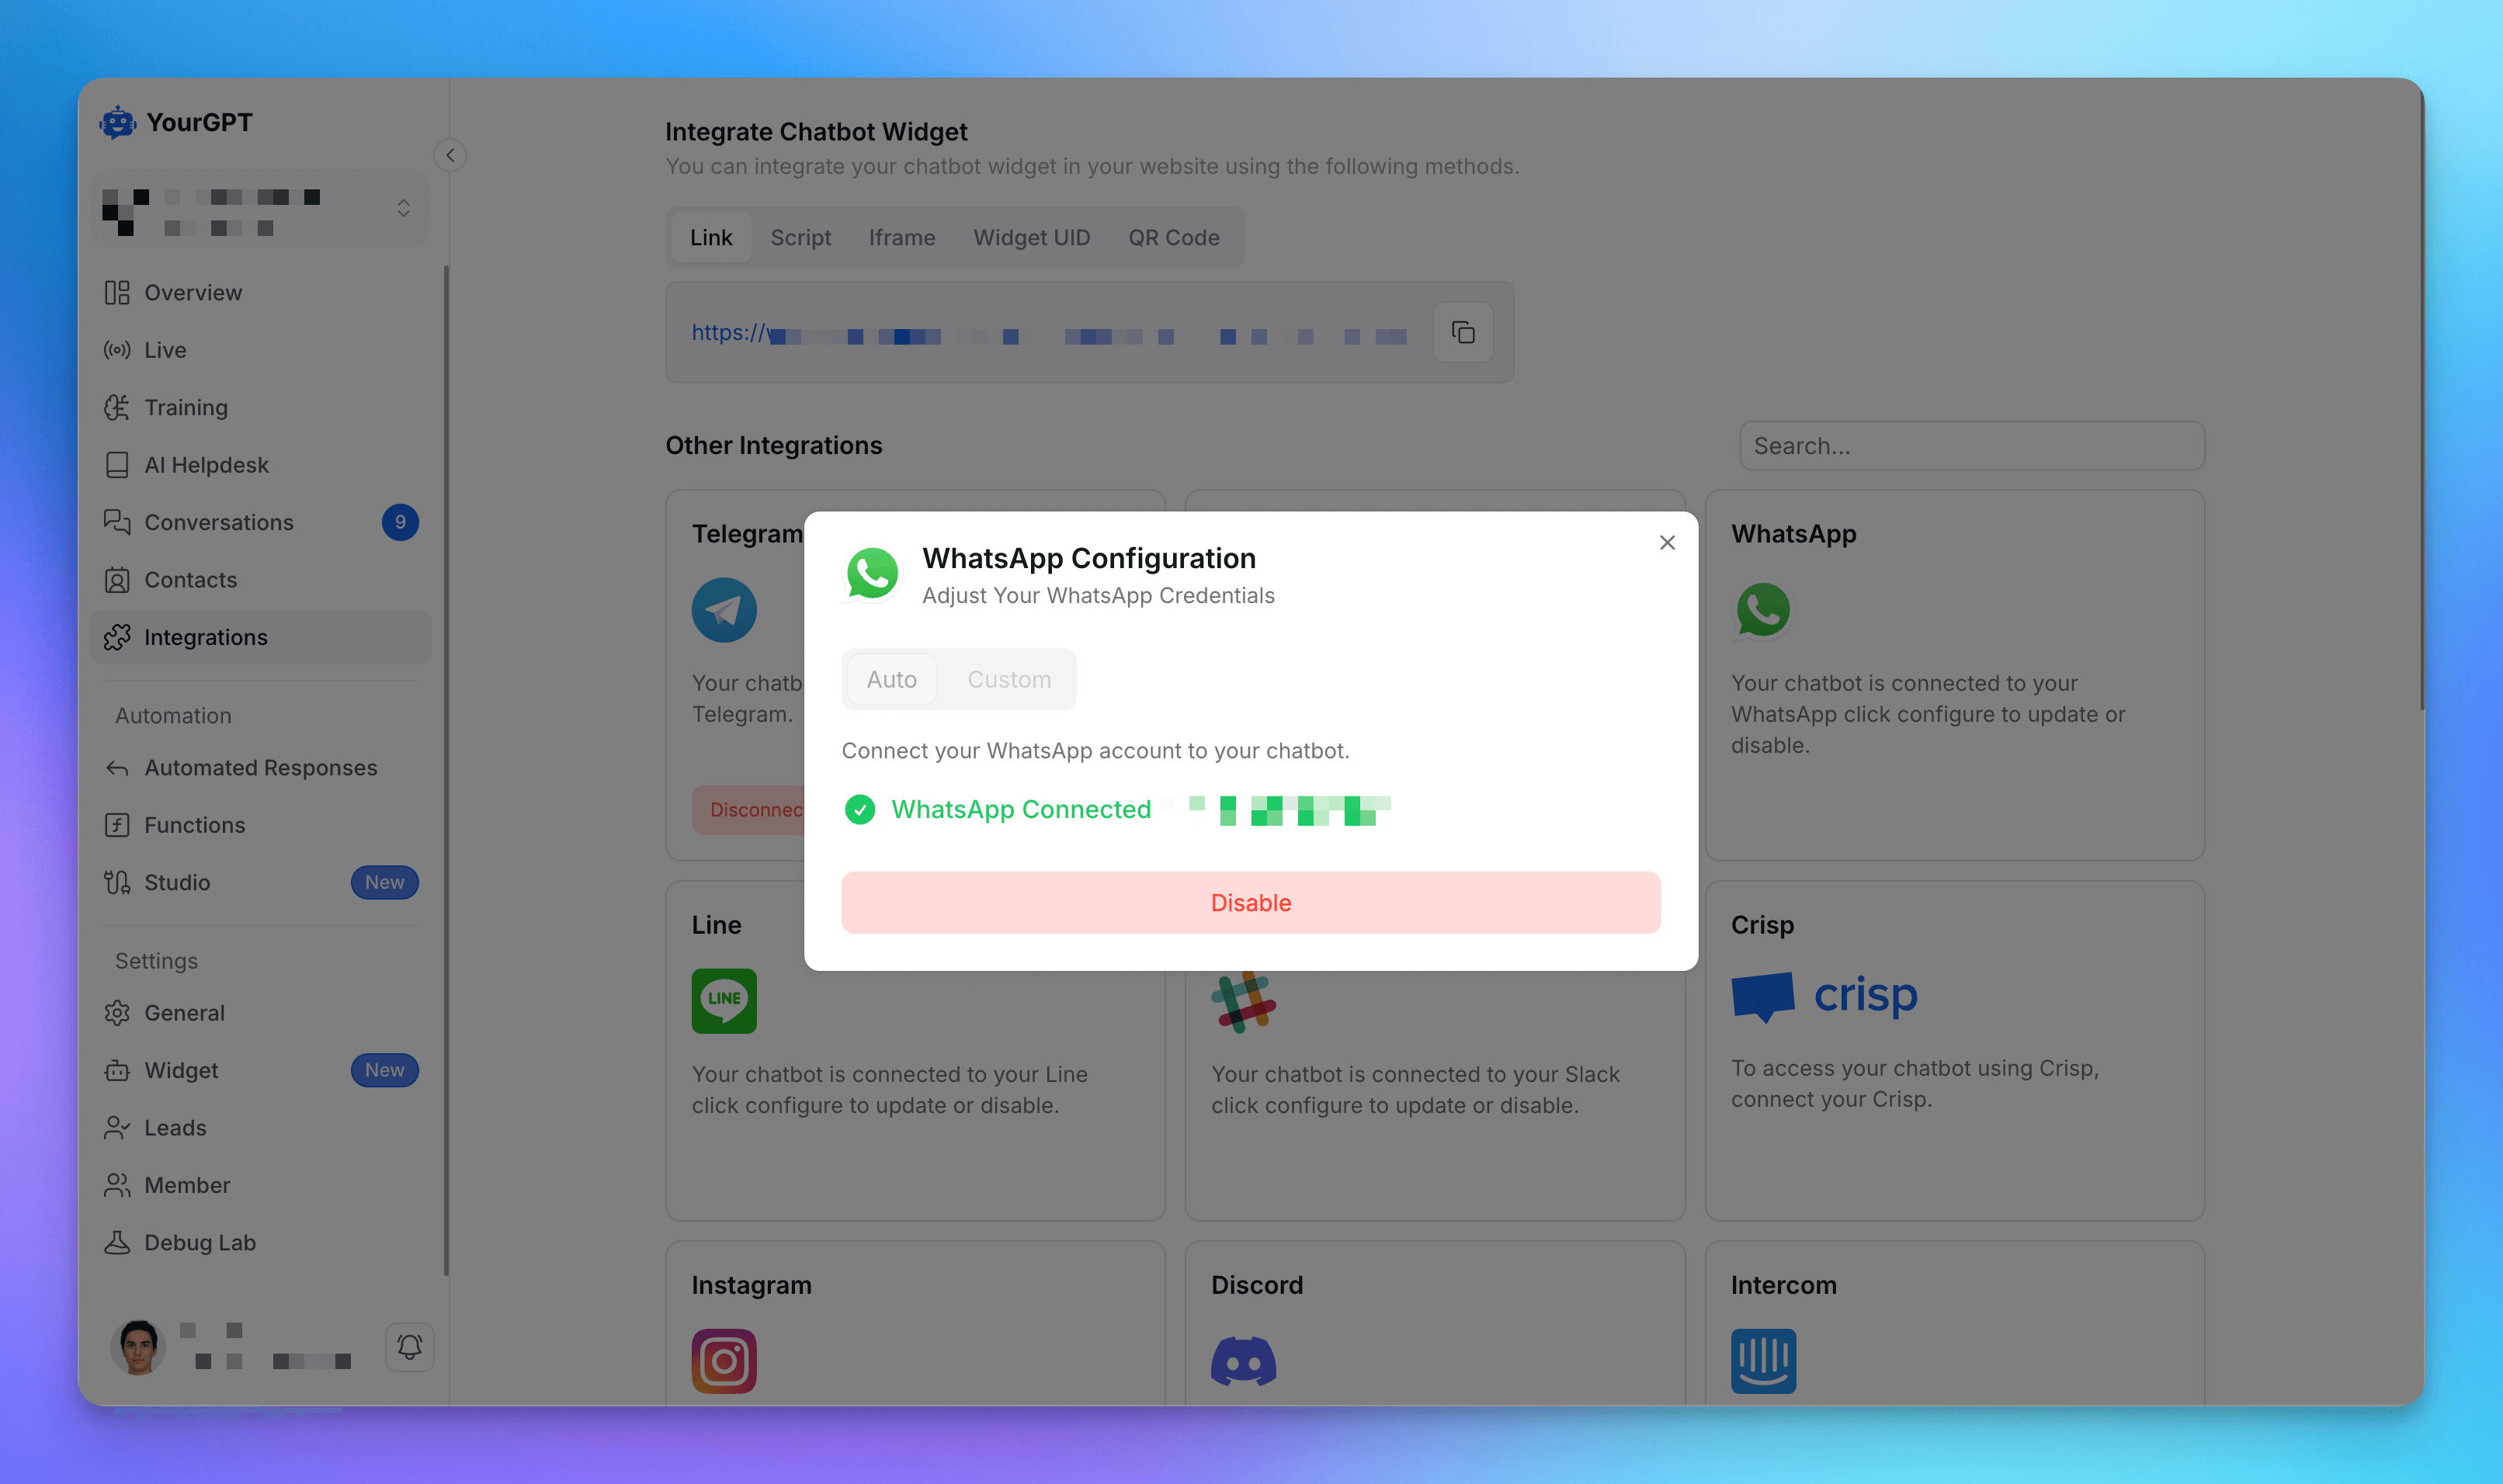
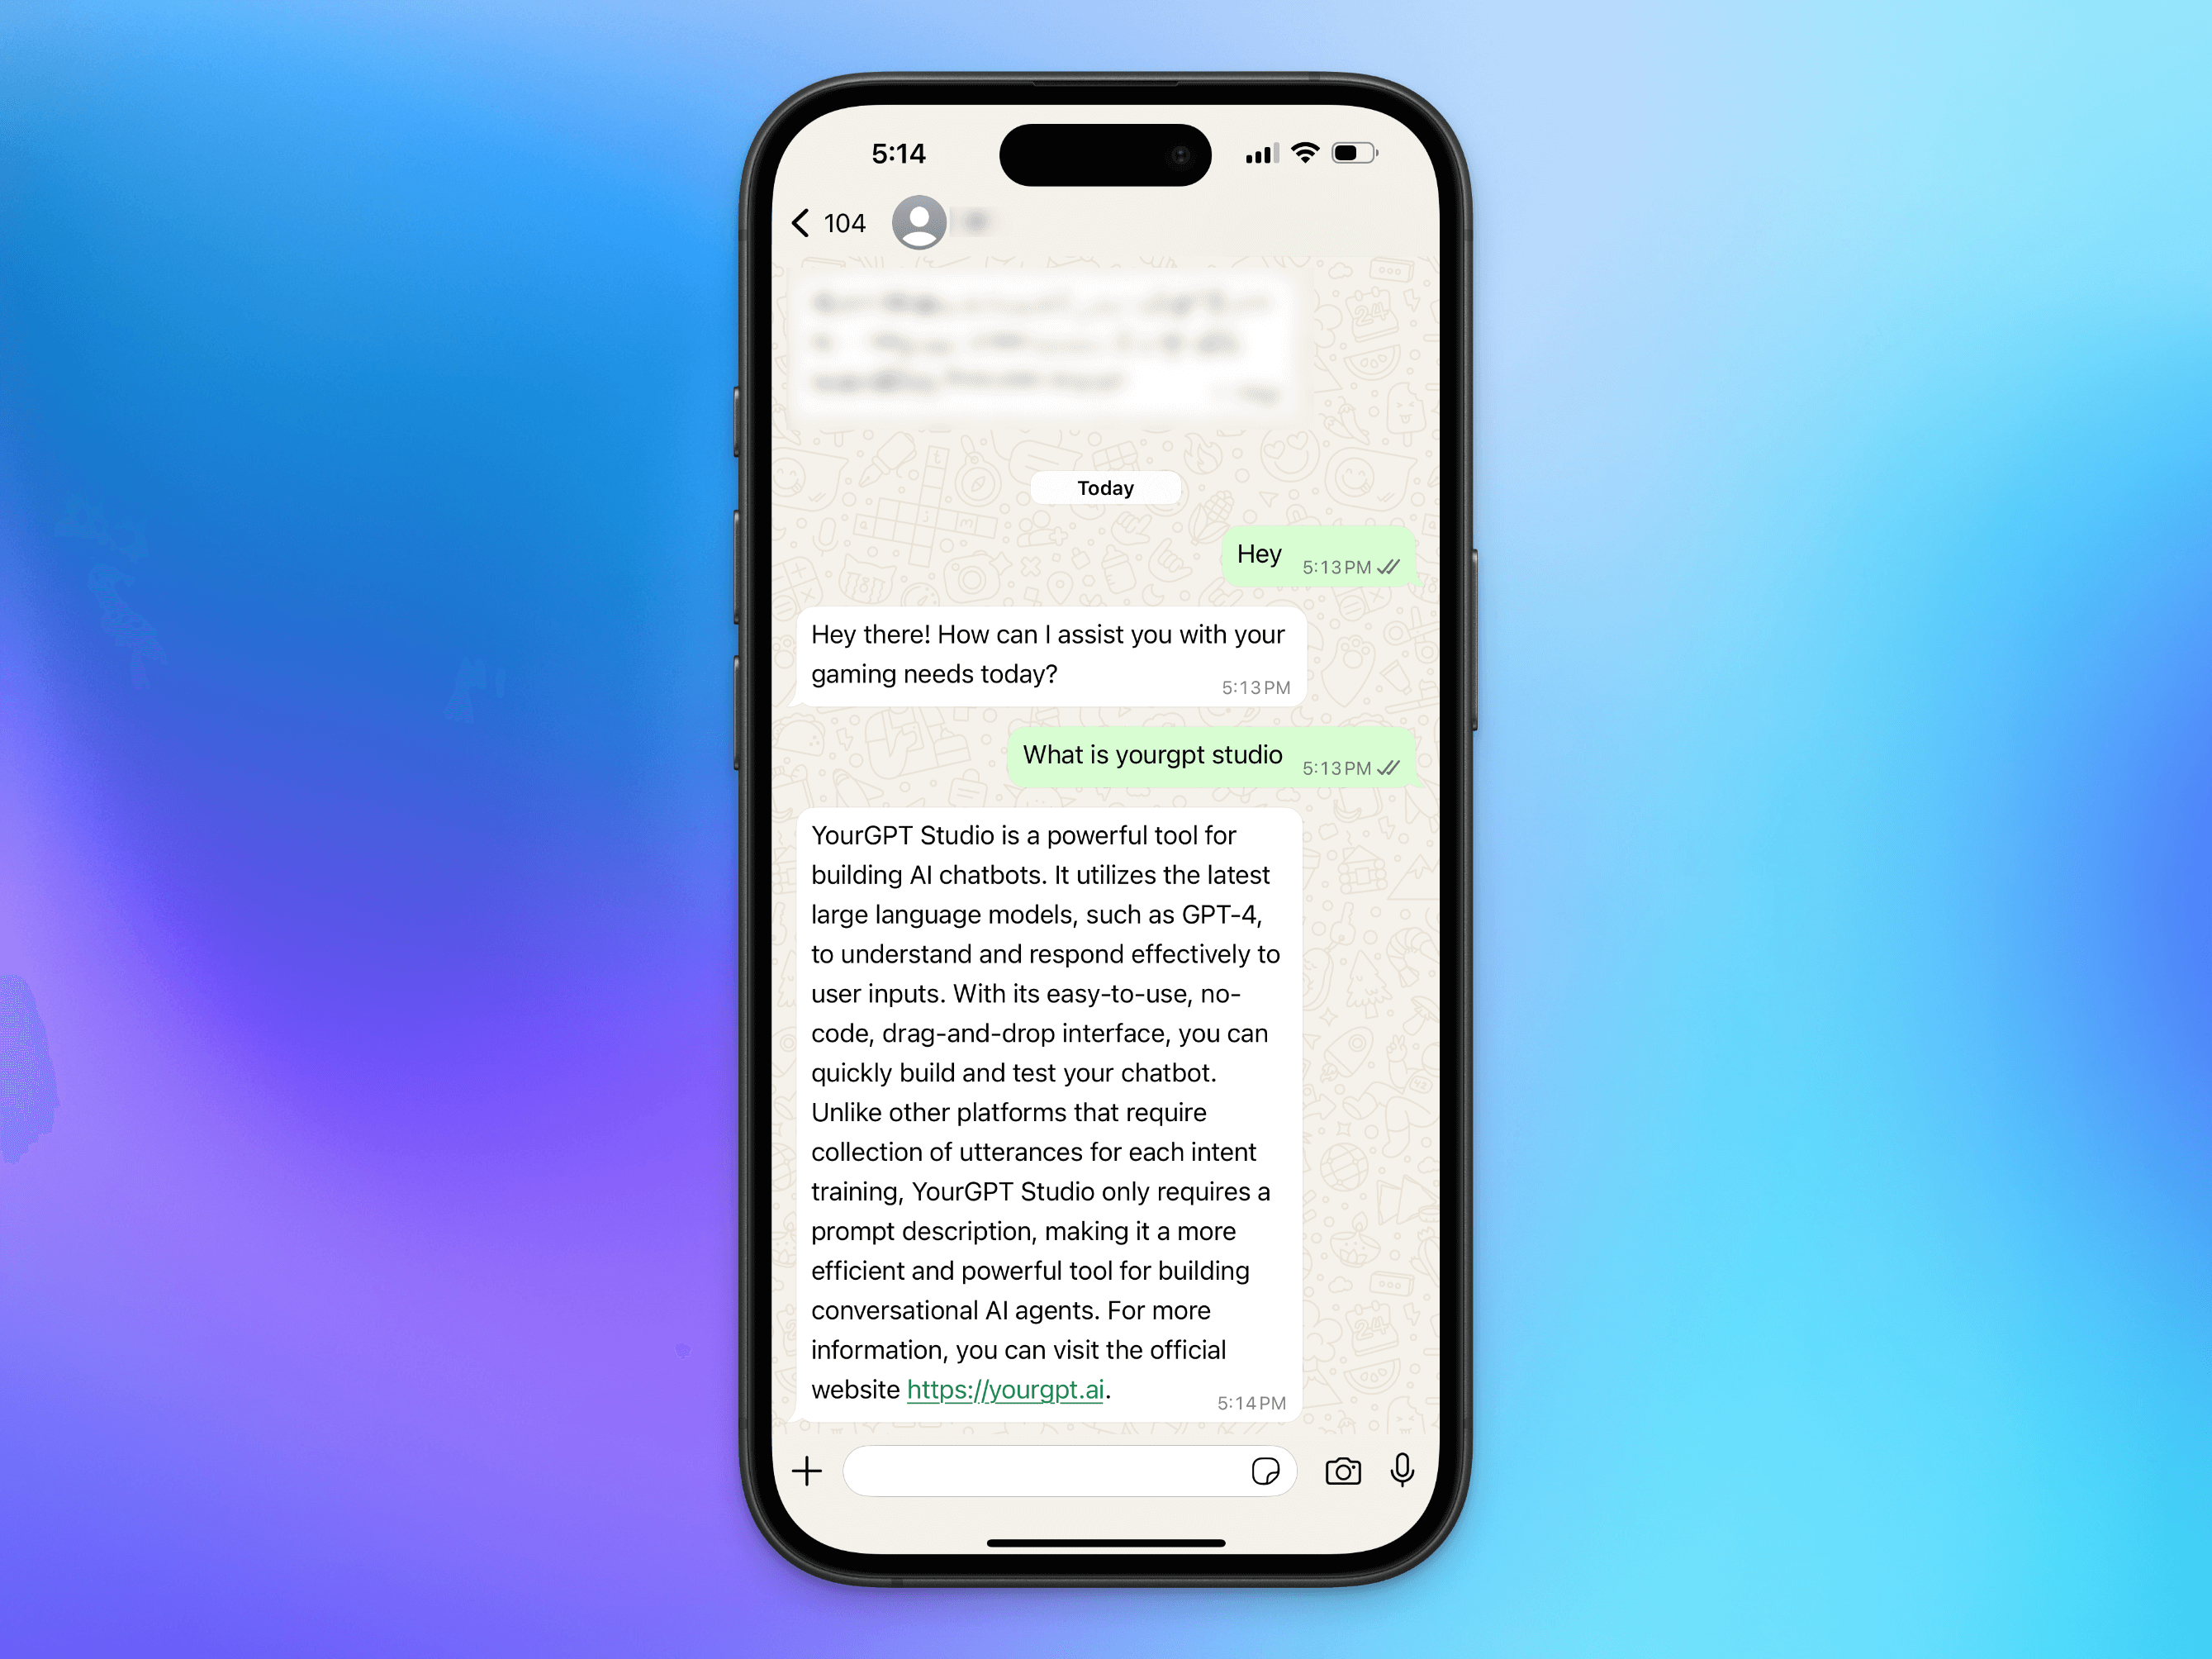
Step 4: Start Messaging Your Bot
Once the setup is complete and your number is connected, you can begin sending messages to your bot via WhatsApp. Your bot will respond automatically.
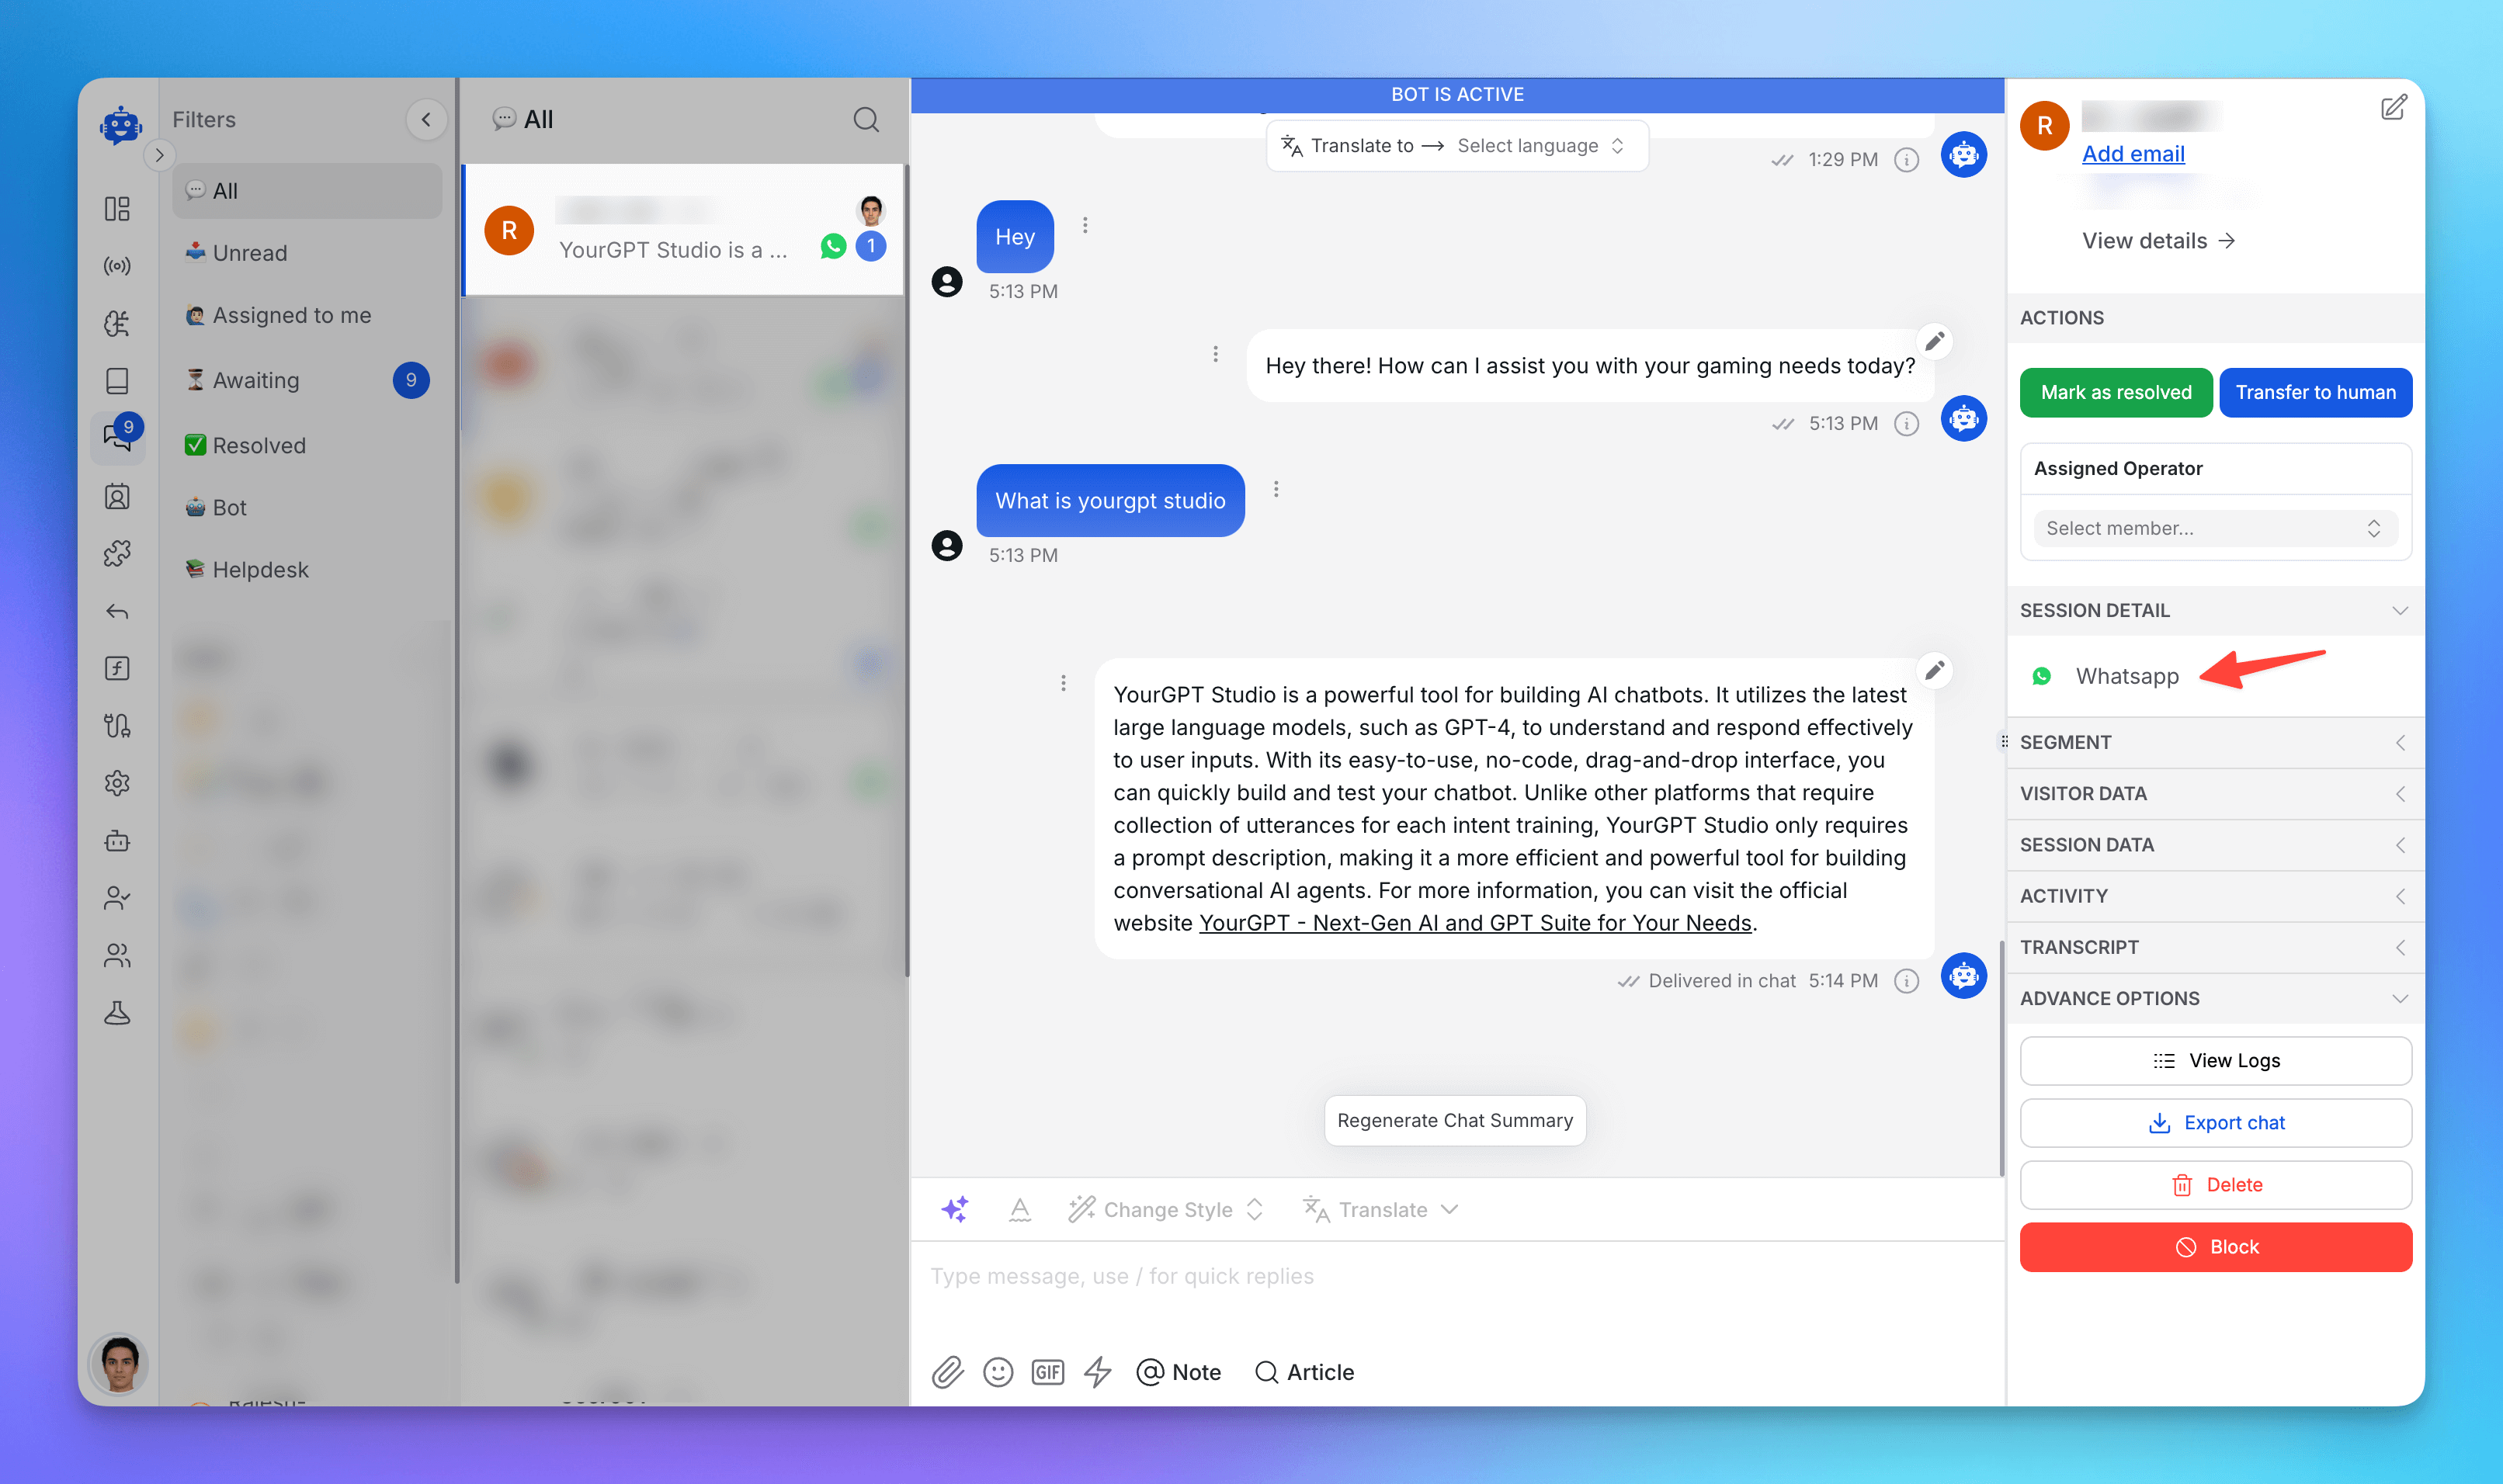
Monitor Chats in Your Dashboard
View all WhatsApp conversations in your dashboard, marked under the WhatsApp source.
You can also create custom views to better organize and distinguish chats from different integrations.
Related Articles
Make your AI Chatbot Proactive to Boost Visitor Engagement
Set up proactive chatbot triggers in YourGPT to boost visitor engagement and start conversations at the right moments.
Capturing & Syncing Leads from YourGPT Chatbot
Capture and sync leads from your YourGPT chatbot using pre-chat forms, AI flows, or SDK—and send them directly to your CRM or tools.