
Customising Chat Widget using Code
This cookbook recipe will help you customise the appearance and behaviour of the YourGPT Chatbot widget on your website. We also provide Chatbot SDK customise the widget styling according to your need.
Whether you want to change its look, add custom text, or include important disclaimers—this guide will walk you through it step-by-step.
✏️ Section 1: Show a Notice Before the Chat Starts
You may want to inform users that using the chatbot means accepting your terms, privacy policy, or disclaimers.
This section shows how to display a notice message below the chat input without altering the core widget code.
📦 What This Does
Replaces the default
.brandingBarbelow the input boxAdds your custom message or link (e.g. Privacy Policy)
Visible before the user starts chatting
🛠️ Steps to Implement
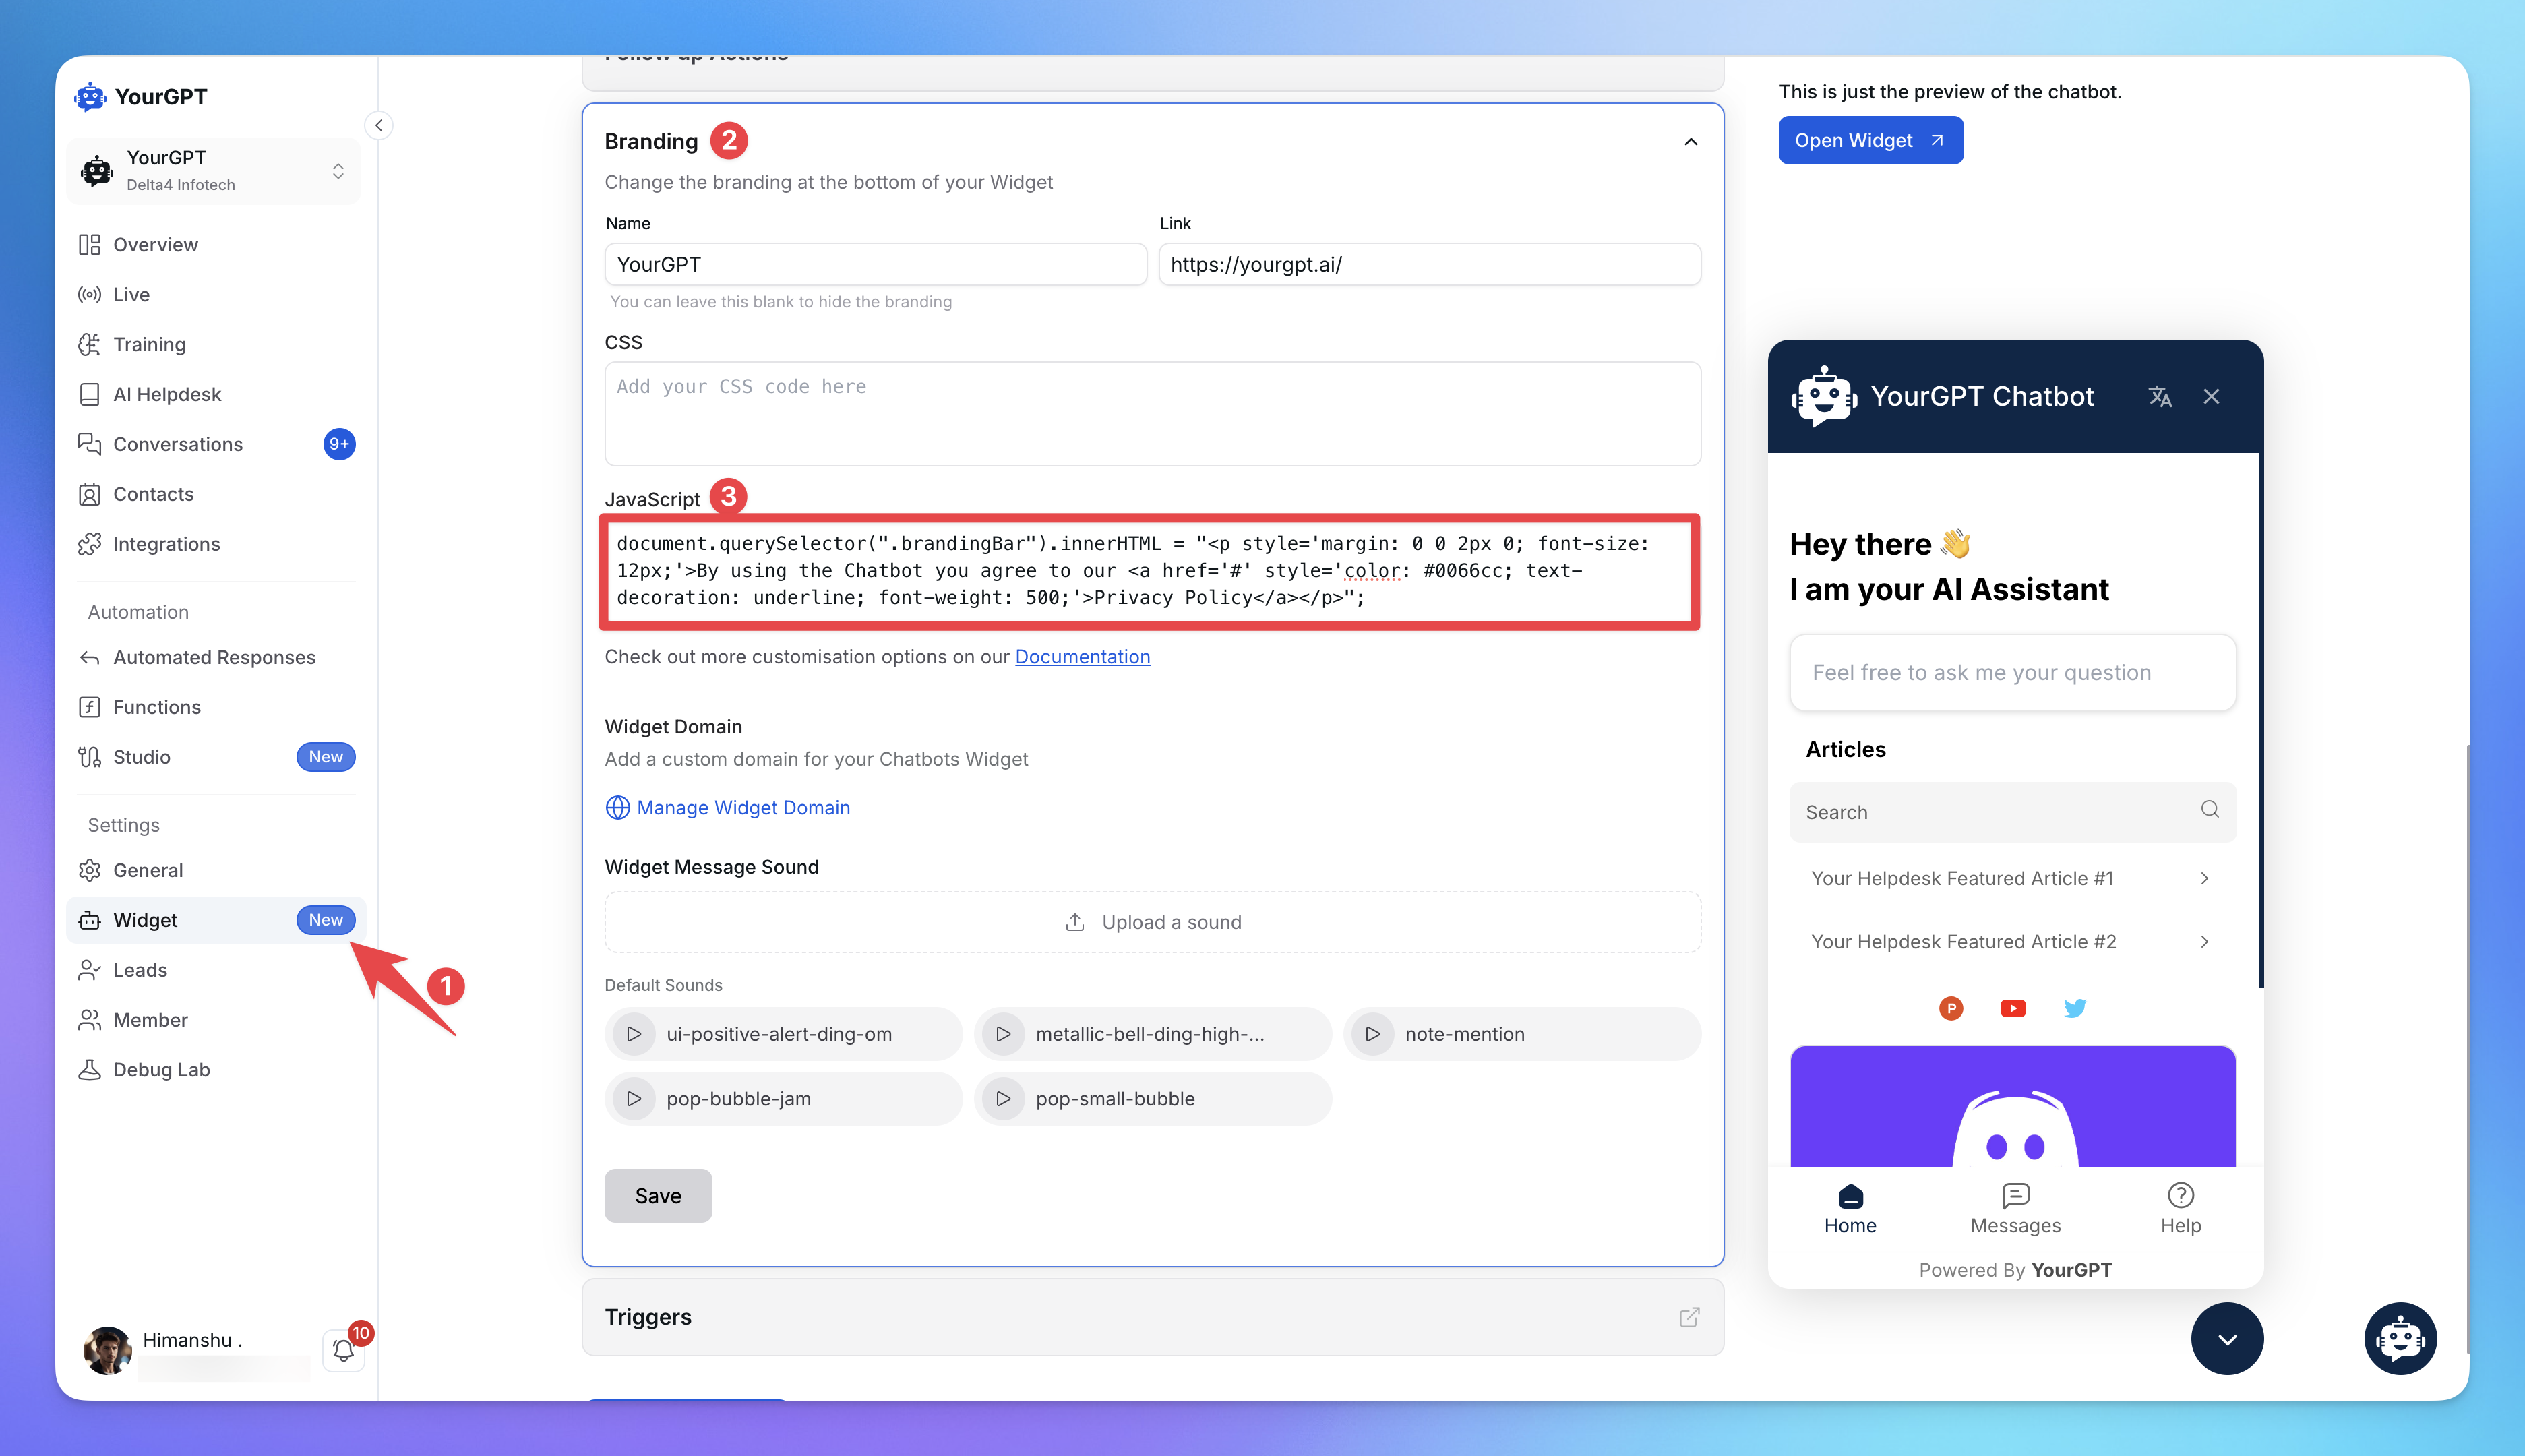
Go the Widget Setting
Scroll to the Branding Section
Add the Javascript Code:
document.querySelector(".brandingBar").innerHTML = "<p style='margin: 0 0 2px 0; font-size: 12px;'>By using the Chatbot you agree to our <a href='#' style='color: #0066cc; text-decoration: underline; font-weight: 500;'>Privacy Policy</a></p>";Save the Changes.
📝 Example Output
This script will show the following message inside the widget interface:
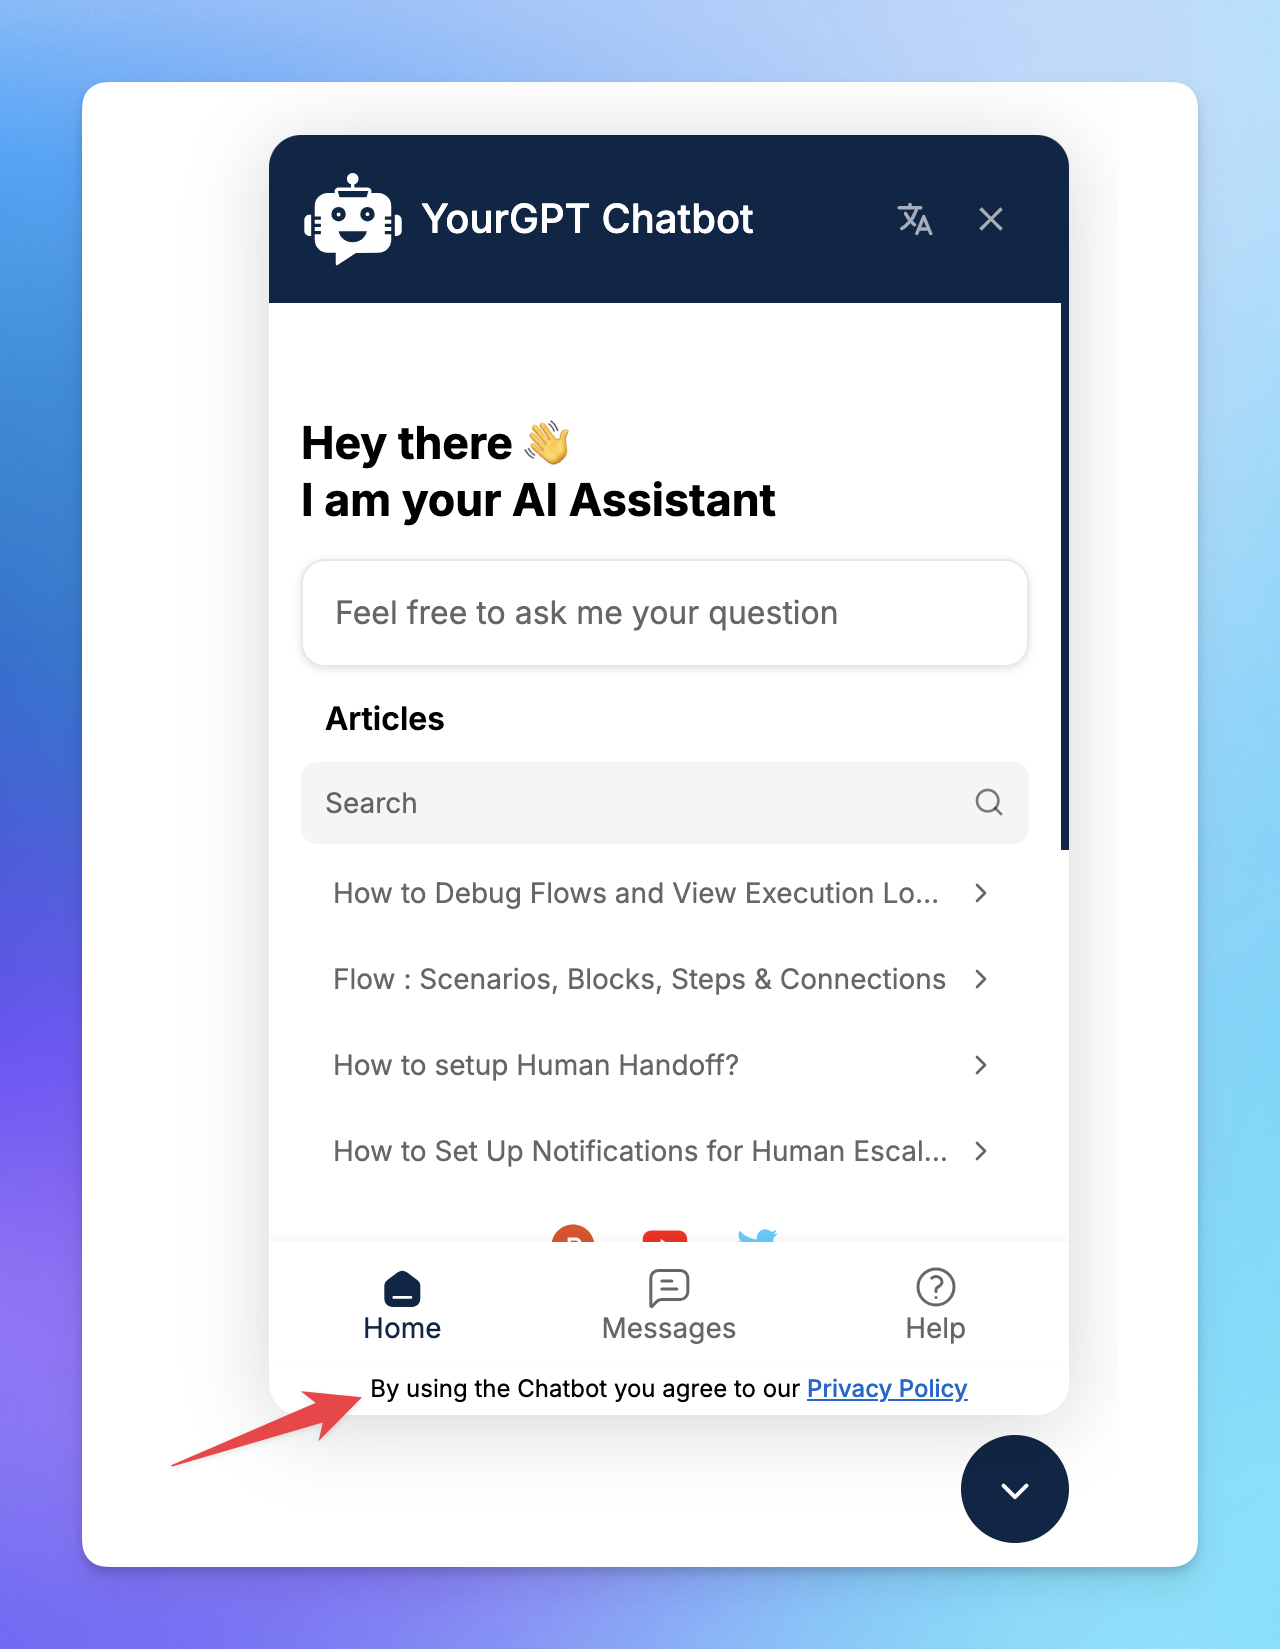
By using the Chatbot you agree to our [Privacy Policy]
You can change the message and link as needed.
🧩 More Customisation Options (Coming Soon)
Want to do more with your widget? Upcoming sections will include:
Full Widget Customisation
Add animated Backgrounds
& more