
How to Create and Test Webhooks in Studio?
Webhooks allow your AI Agent to interact with external services by sending and receiving data in real time. This guide walks you through setting up a webhook in Studio.
1. Setting Up a Webhook
Step 1: Create a Webhook Endpoint
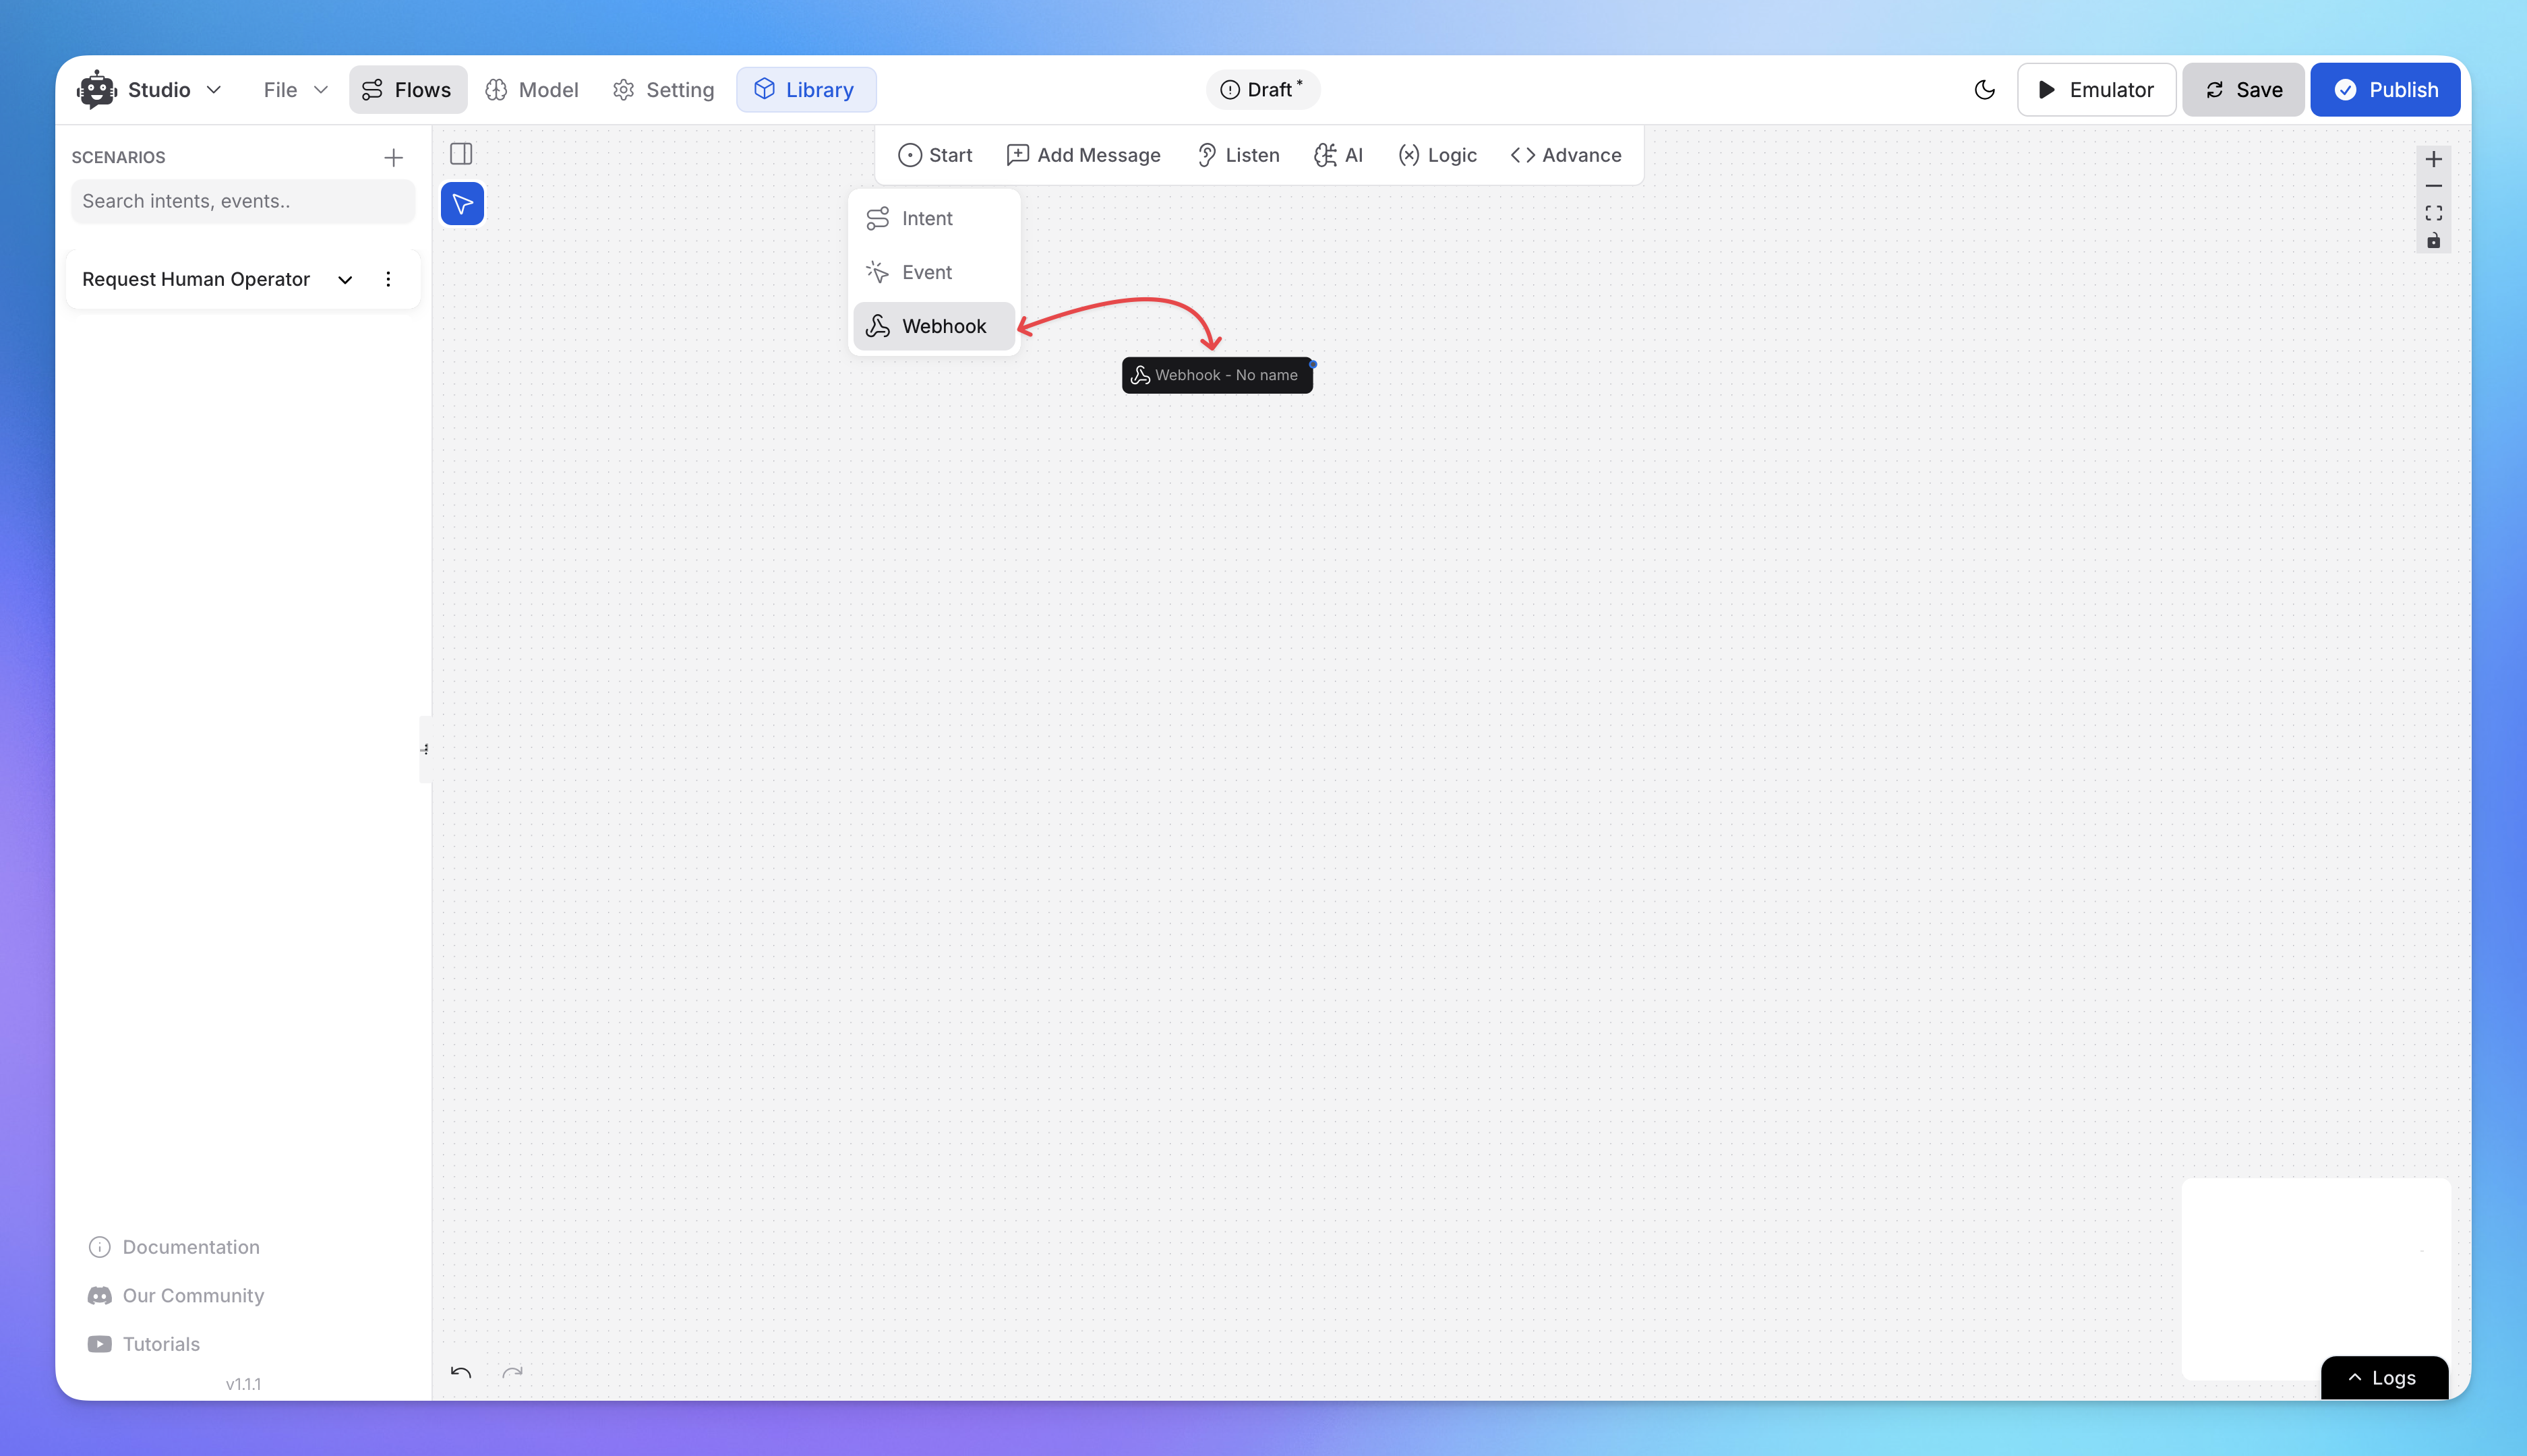
Open Studio and navigate to the Flows section.
From Start Category, add the Webhook node.
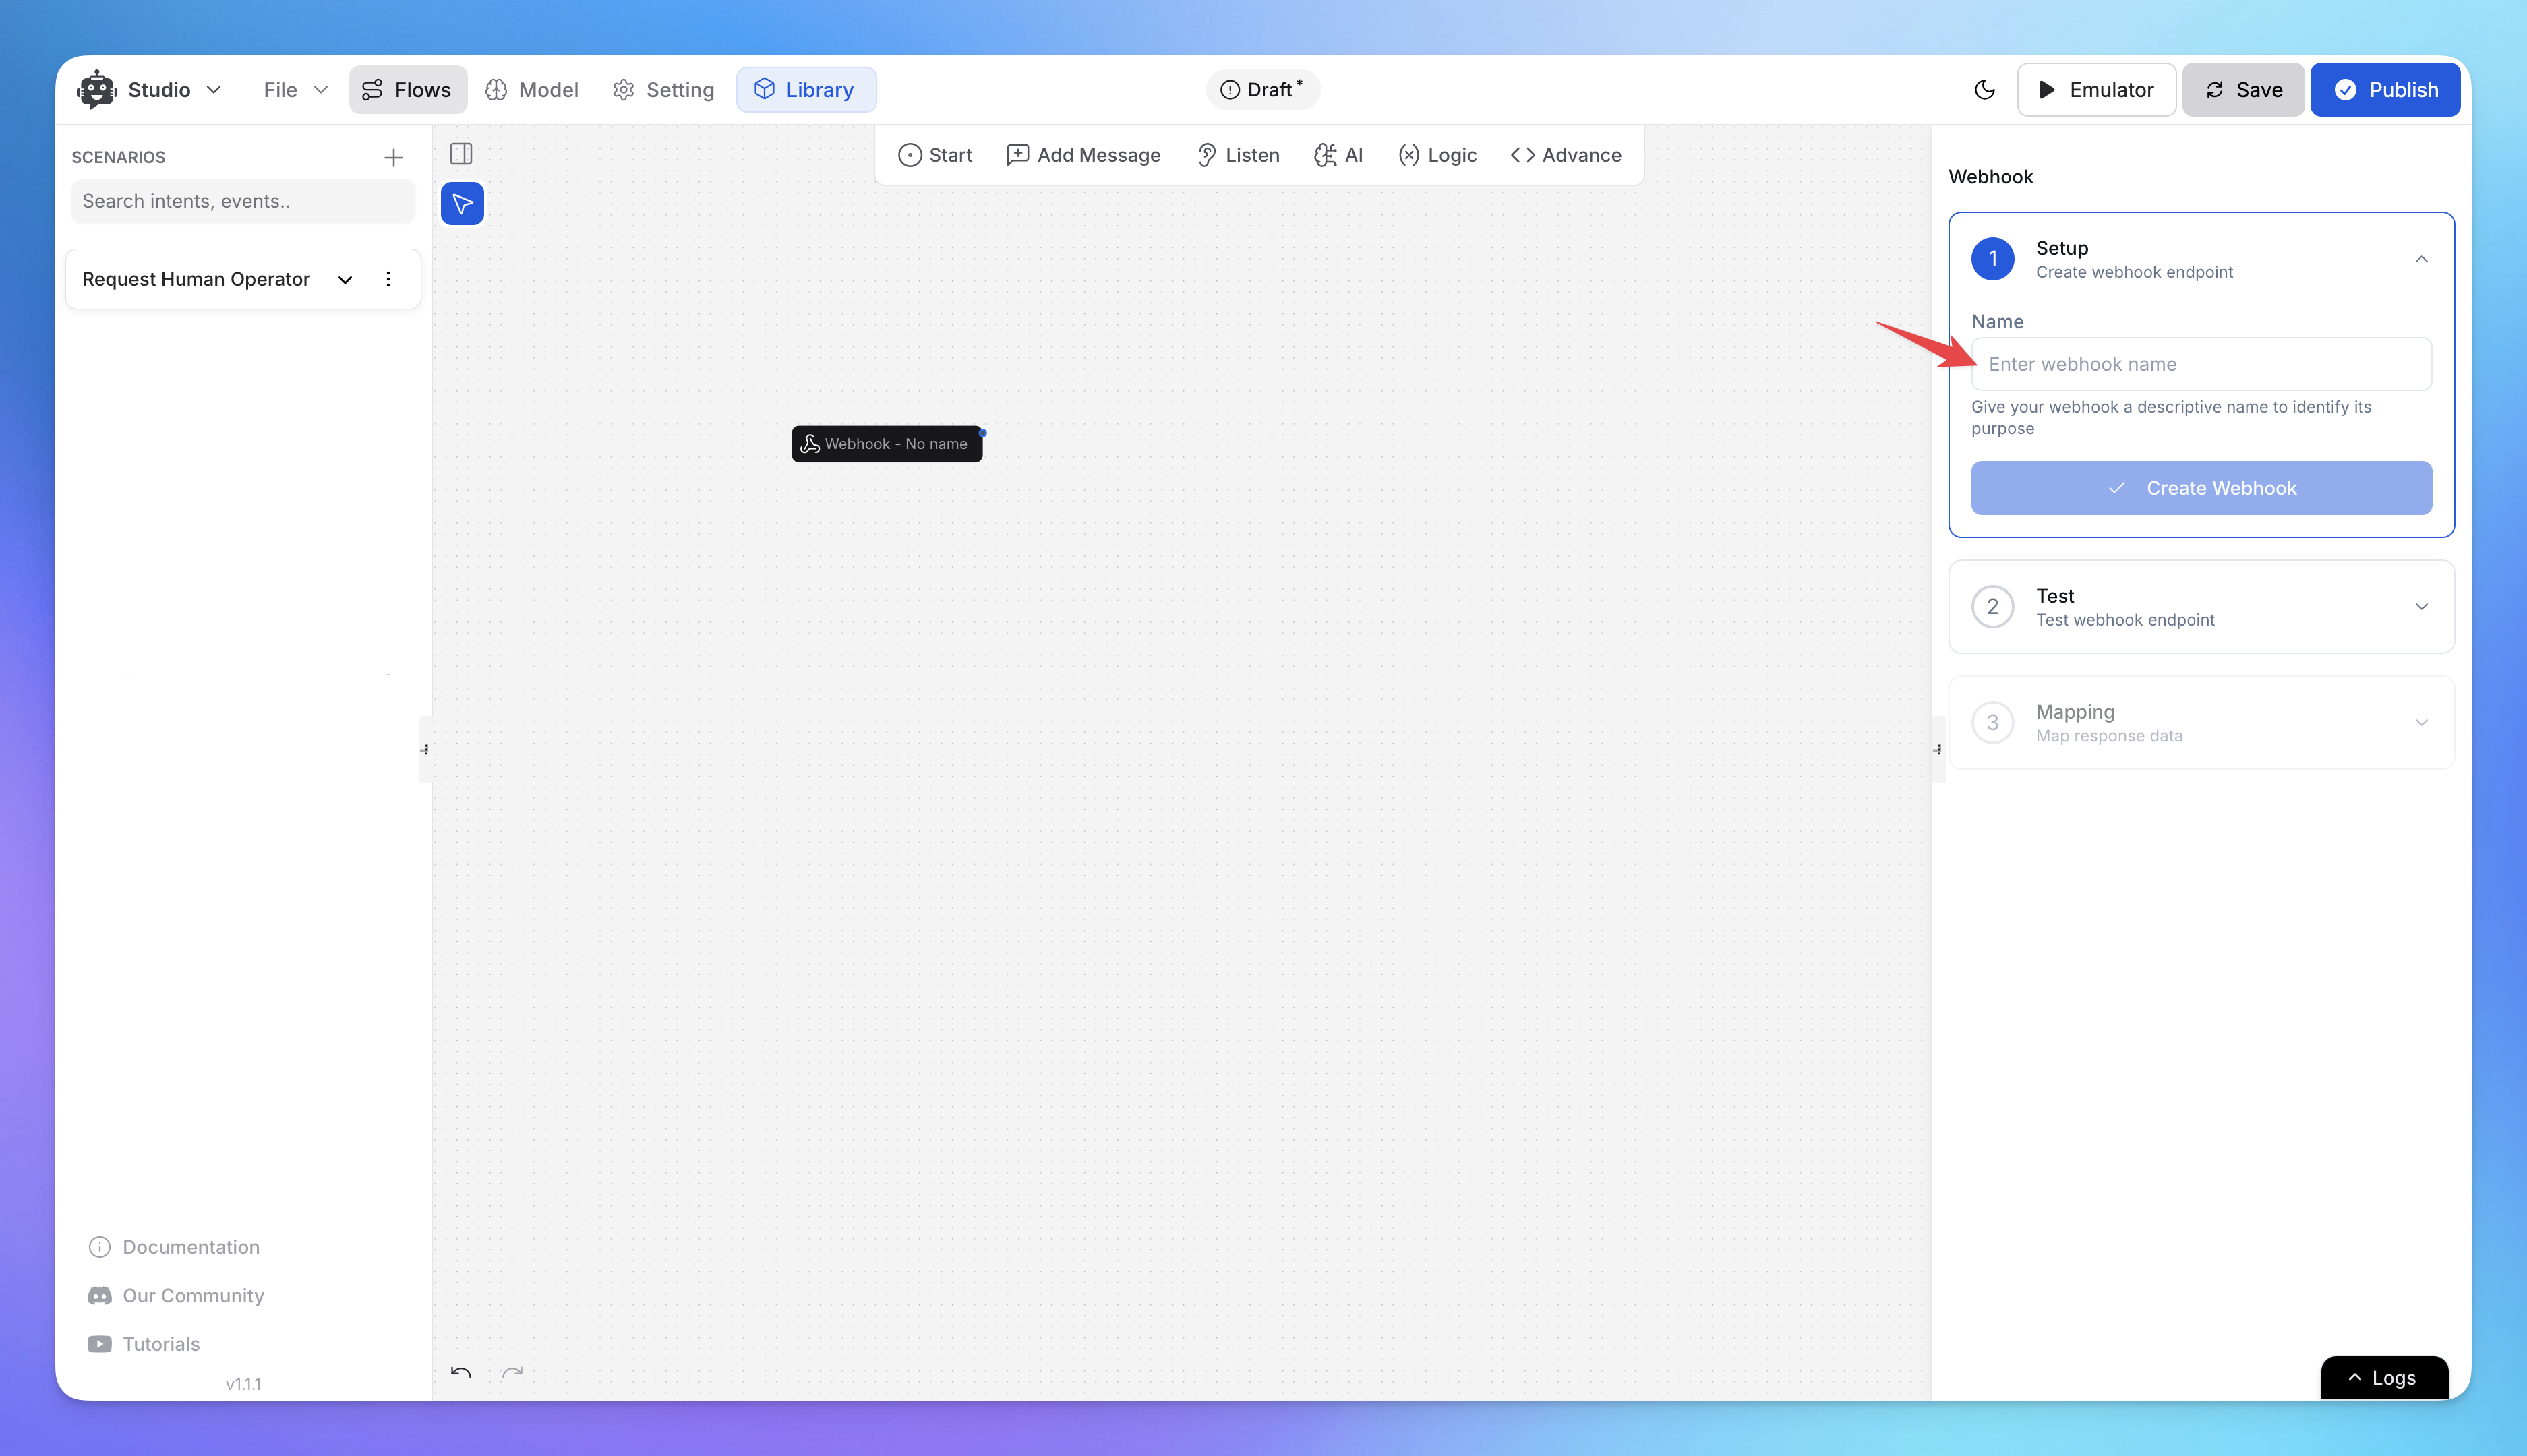
In the setup panel, enter a name for the webhook.
Click Create Webhook to generate the endpoint.
Step 2: Copy the Webhook URL
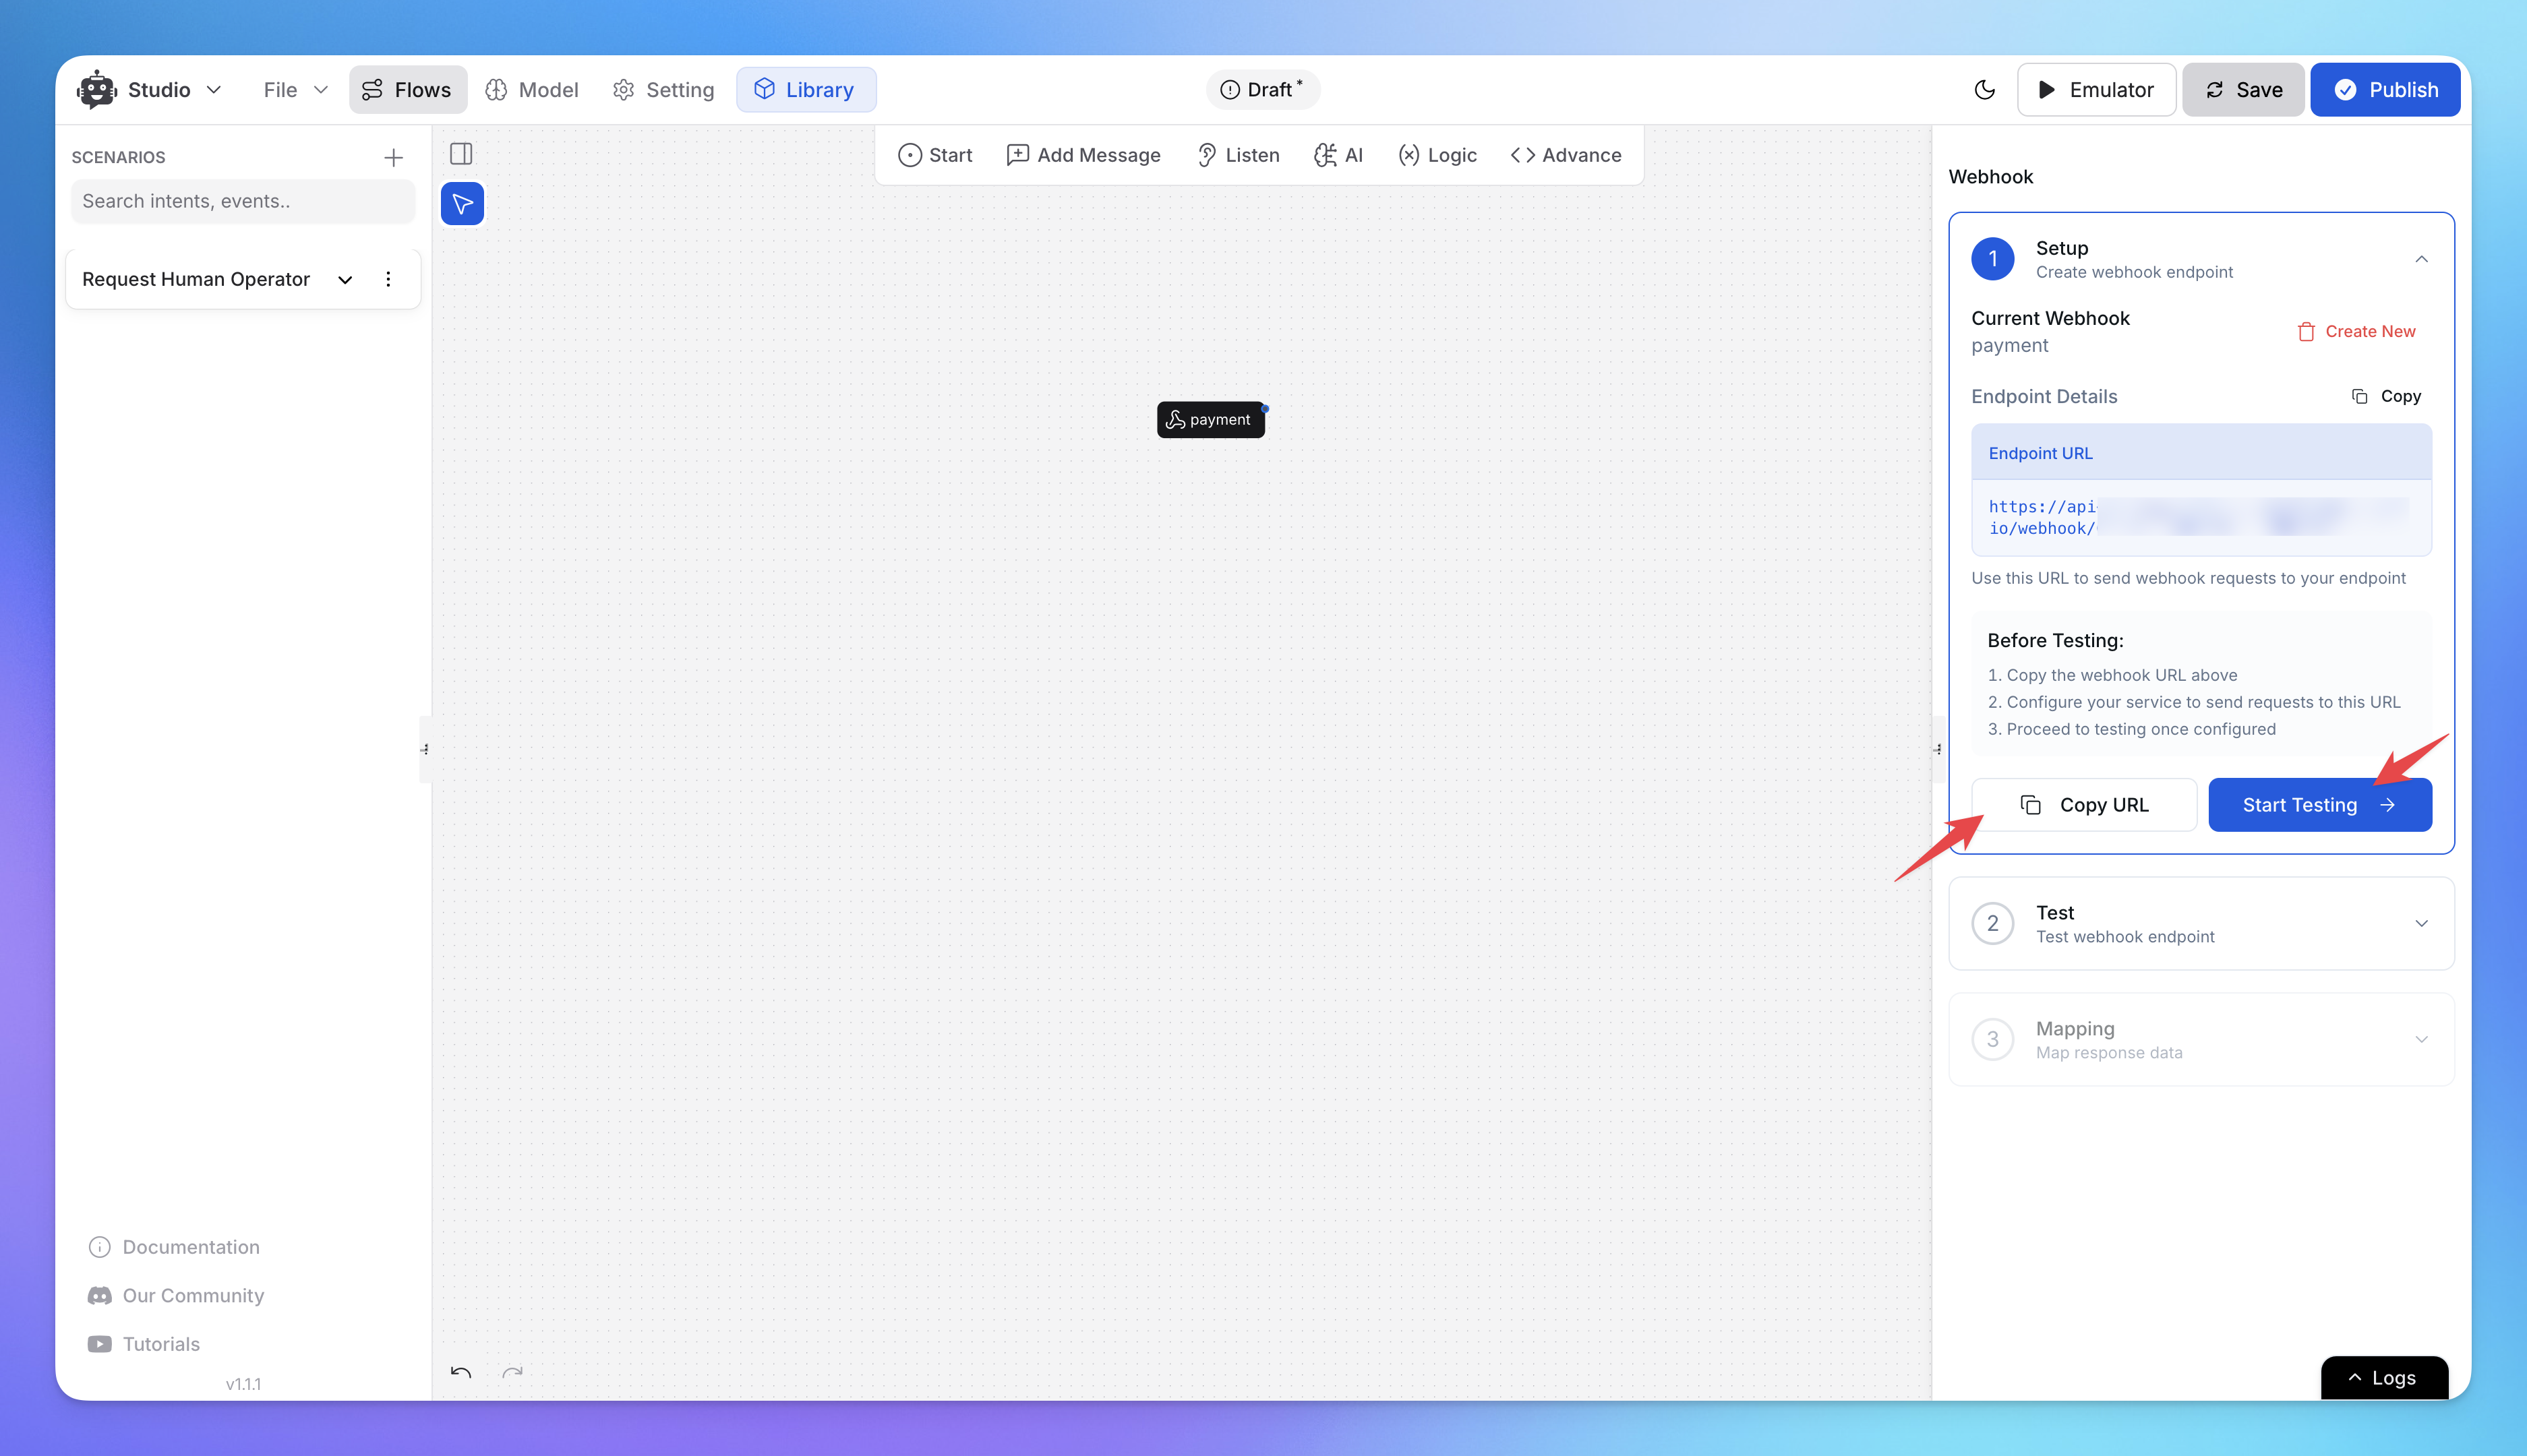
After creating the webhook, you will receive a Webhook URL.
Copy this URL for further integration with external services.
Use the copied Webhook URL to send the required data in the request body.
Step 3: Test the Webhook in Studio
In the Webhook section in Studio, click Start Testing.
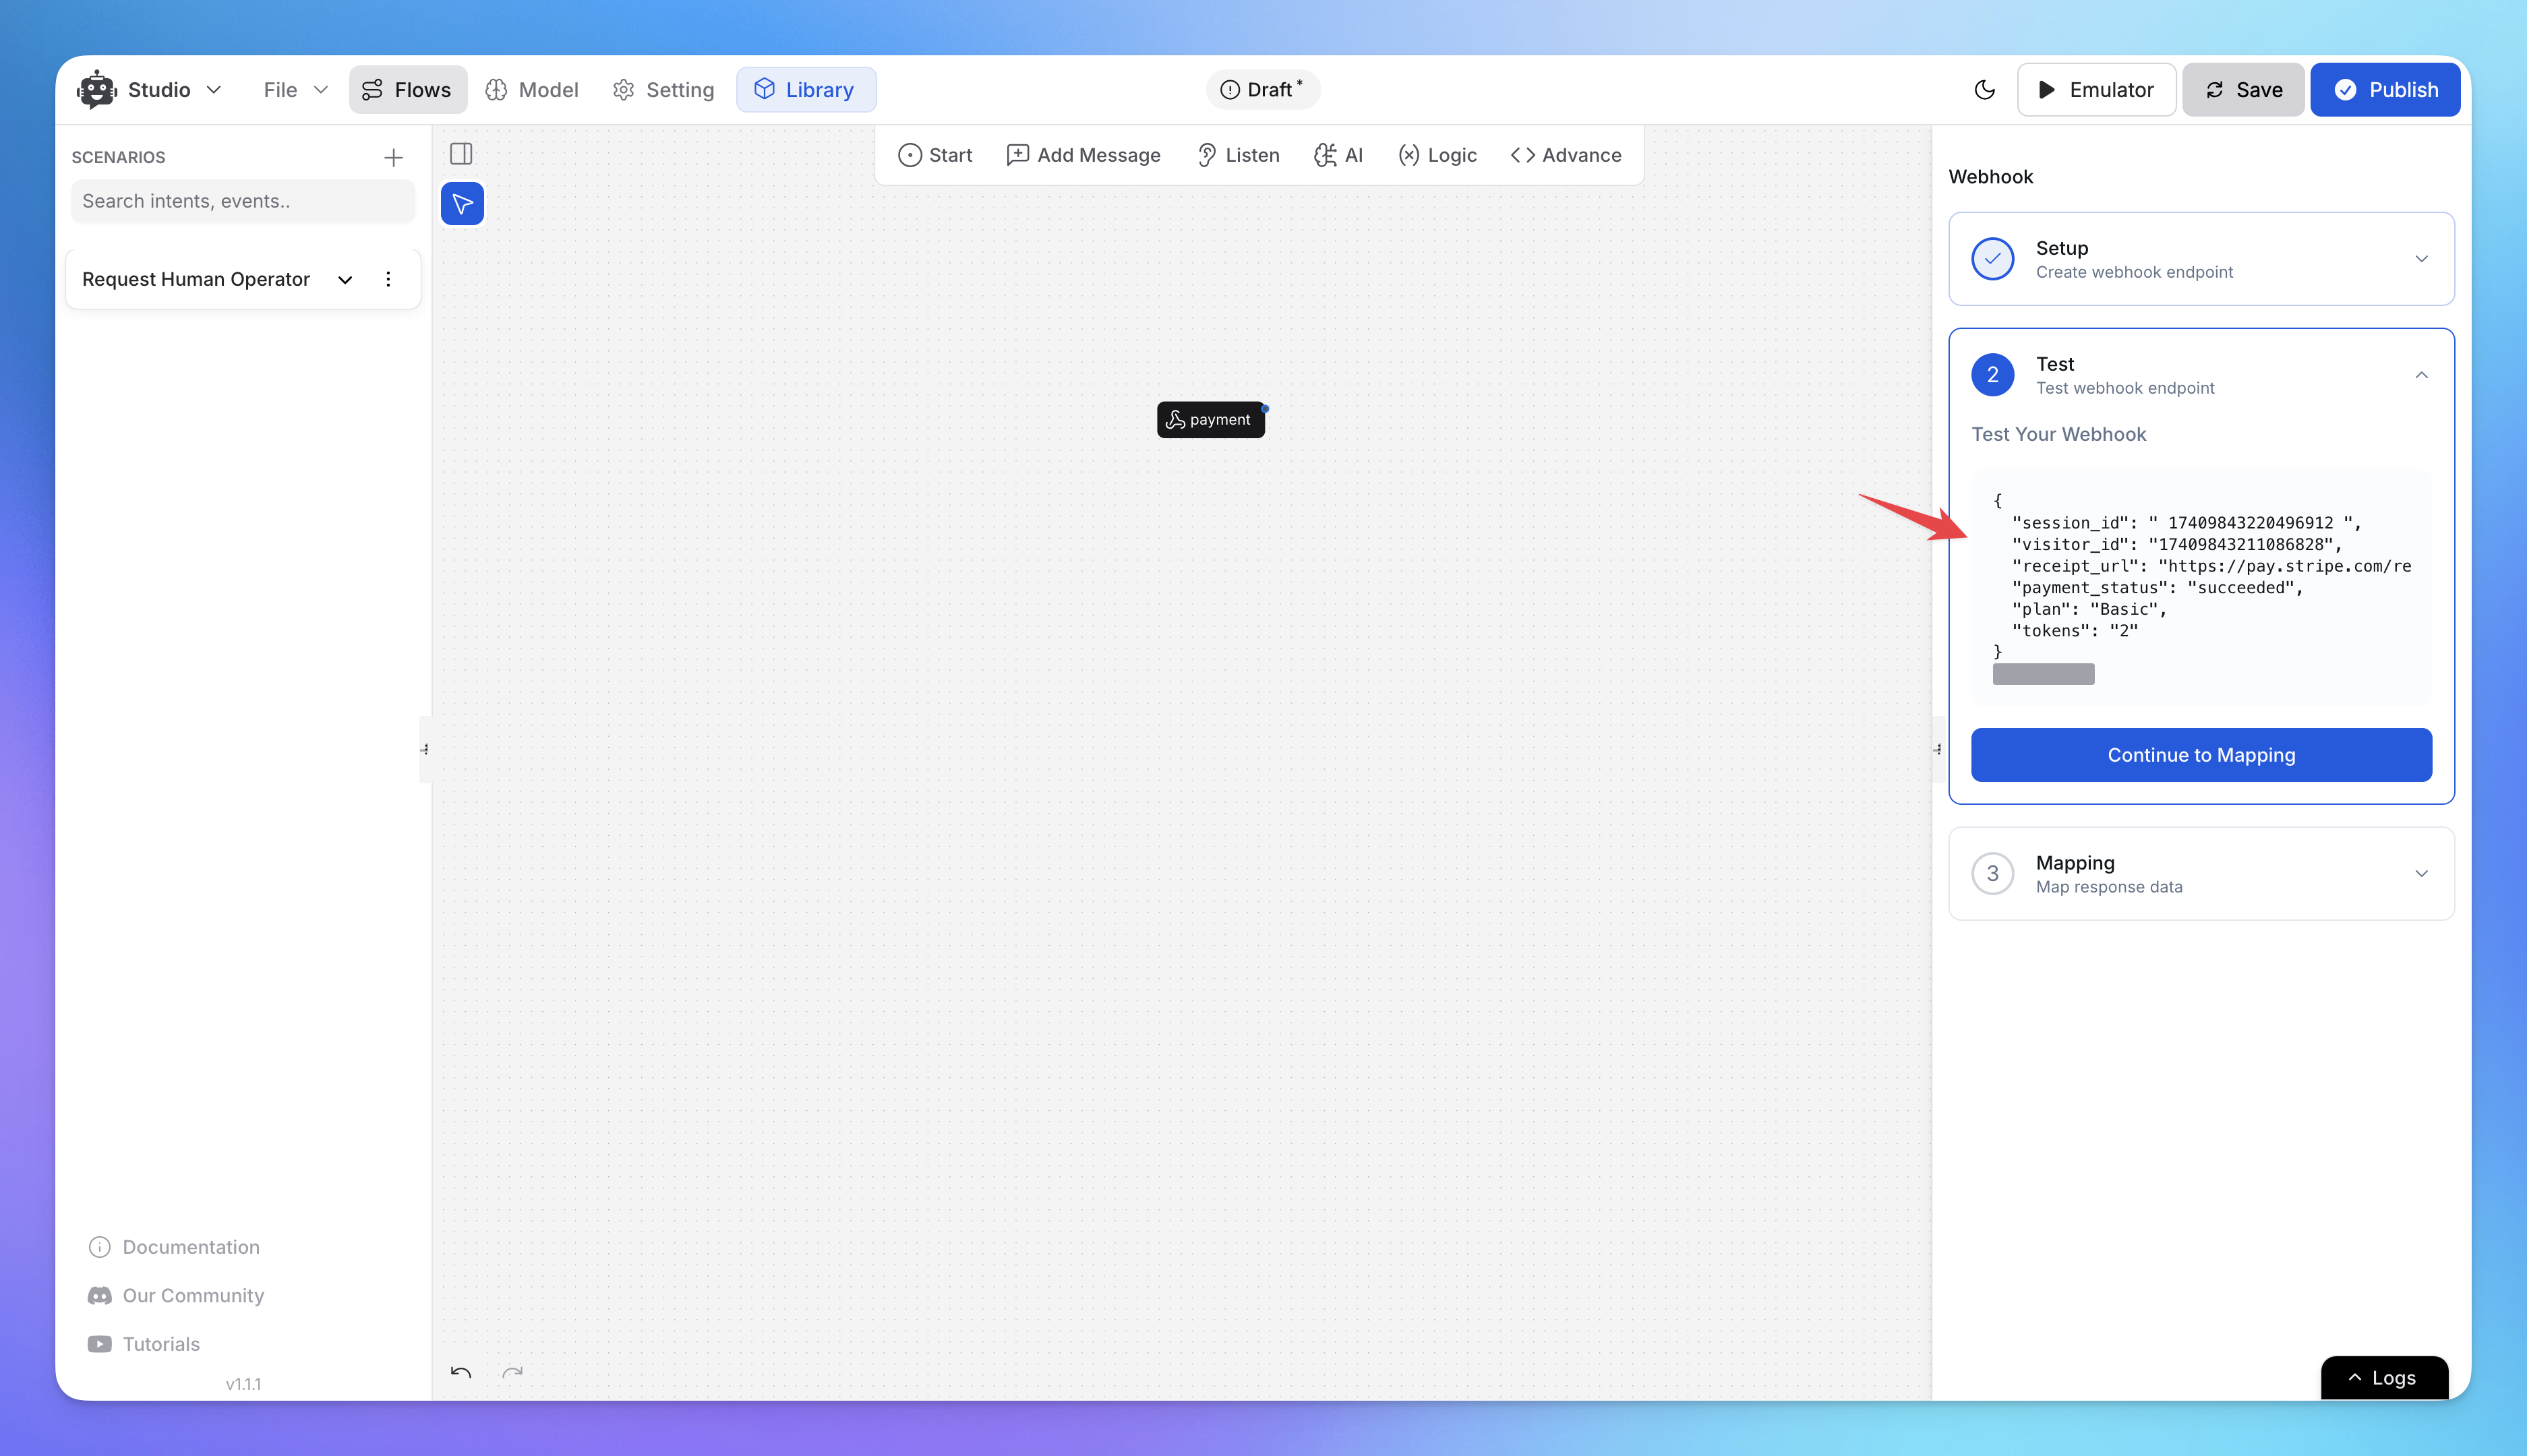
Send test requests to verify that the webhook is functioning as expected.
Step 4: Verify Incoming Webhook Data
The webhook will receive data from the external system, confirming the event.
Click Continue Mapping to proceed with structuring the response data.
Step 5: Map Incoming Data

Match the received data fields with corresponding variables in your AI Agent flow.
Ensure correct mapping to process responses efficiently.
Store the retrieved data in a Flow Variable to use further in decision-making or responses.
Example: Webhook for Payment Processing
Scenario:
An AI Agent is used in an e-commerce platform to process customer payments securely. When a user makes a payment, the AI Agent sends a webhook request to the payment gateway and receives a confirmation response.
Implementation:
Webhook Name:
Payment ProcessingWebhook Request:
Method: POST
URL:
https://payment-gateway.com/api/chargePayload:
{
  "user_id": "12345",
  "order_id": "67890",
  "amount": "99.00",
  "currency": "USD",
  "payment_method": "card",
  "metadata":{
   "session_uid":1292383920
 }
}
Webhook Response Mapping:
Transaction Status:
successTransaction ID:
txn_abc123Payment Mode:
UPIAmount:
$99.00
Final AI Response:
"Your payment of
$99.00has been successfully processed via UPI. Transaction ID: txn_abc123. Thank you for your purchase!"
Related Articles
How to use Intents in Chatbot Studio?
This guide walks you through creating and using Intents to enhance your chatbot’s capabilities.
Flow : Scenarios, Blocks, Steps & Connections
This article fully details how steps/nodes and blocks work, how to configure them, create paths and connections.
How to capture and store a user’s response?
This article provides a complete guide on capturing user responses, such as name, email, and more, and shows how to store and utilize them in your chatbot to create personalized and engaging experiences.
How to Add & Configure Text, Image, and File Messages in Studio
Learn how to send text, images, and files with your ai agent using studio.
How to Debug Flows and View Execution Logs in Chatbot Studio?
Learn how to debug your flows, check flow execution logs, and view logs within the Chatbot Studio
How to Set Up Conditions in AI Studio
Set Conditions to Understand What Information Users Are Looking For
How to create and use forms in AI Studio?
This guide will walk you through the process of creating and using forms to improve the user experience with your AI agent