Walk Through: Getting Started with Chatbot Studio
This is a walkthrough guide for understanding and using the Studio interface.
The Chatbot Studio is divided into three main sections:
Scenario: The main component in the studio where you organize and manage intents, events, or workflows.
Canvas: The working area of the studio, primarily containing nodes and blocks where workflows are designed for specific tasks.
Tool Bar: Includes File, Flows, Model, Settings, Change Mode, Emulator, Save, and Publish.
Nodes are individual elements that you can drag and drop onto the canvas to build your workflow. Blocks are groups of multiple Nodes combined into one unit.
Let's get a clear understanding of how Studio works.
Step 1: Go to Chatbot Studio
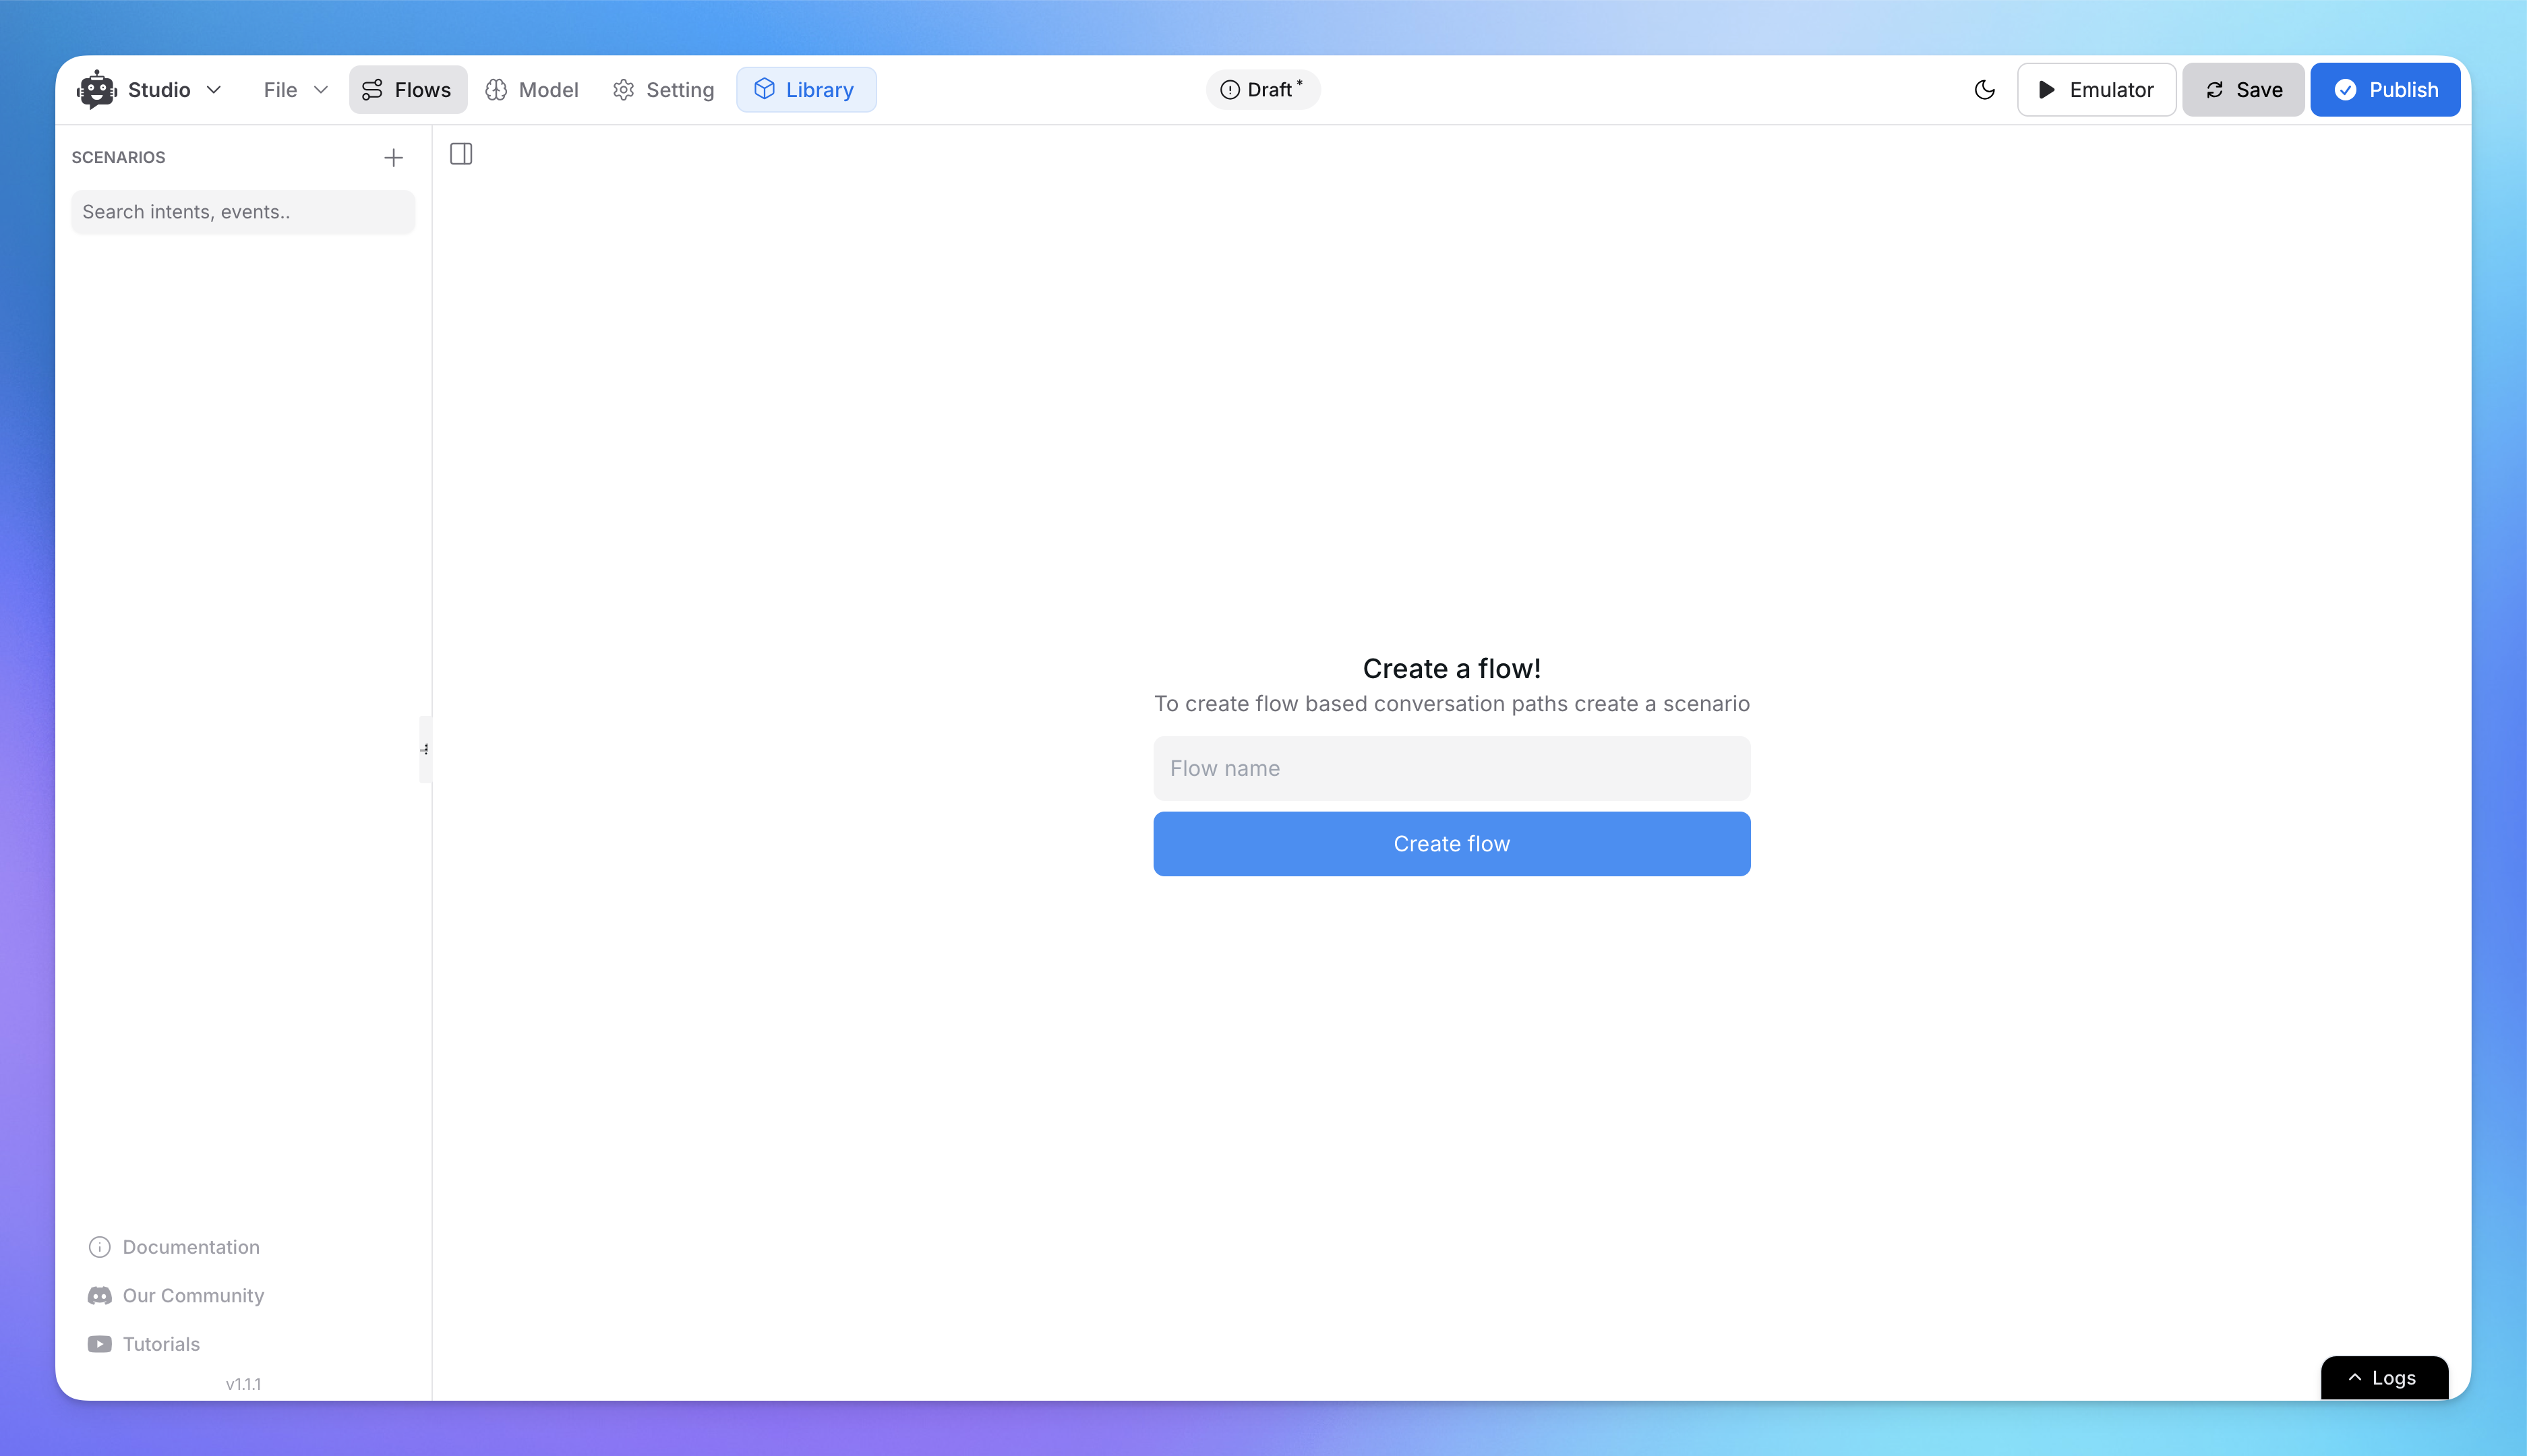
Open the Studio.
You’ll see the workspace where you can create scenarios and build workflows.
Add
Flow nameto create your first flow scenario.
Step 2: Create a New Scenario Flow
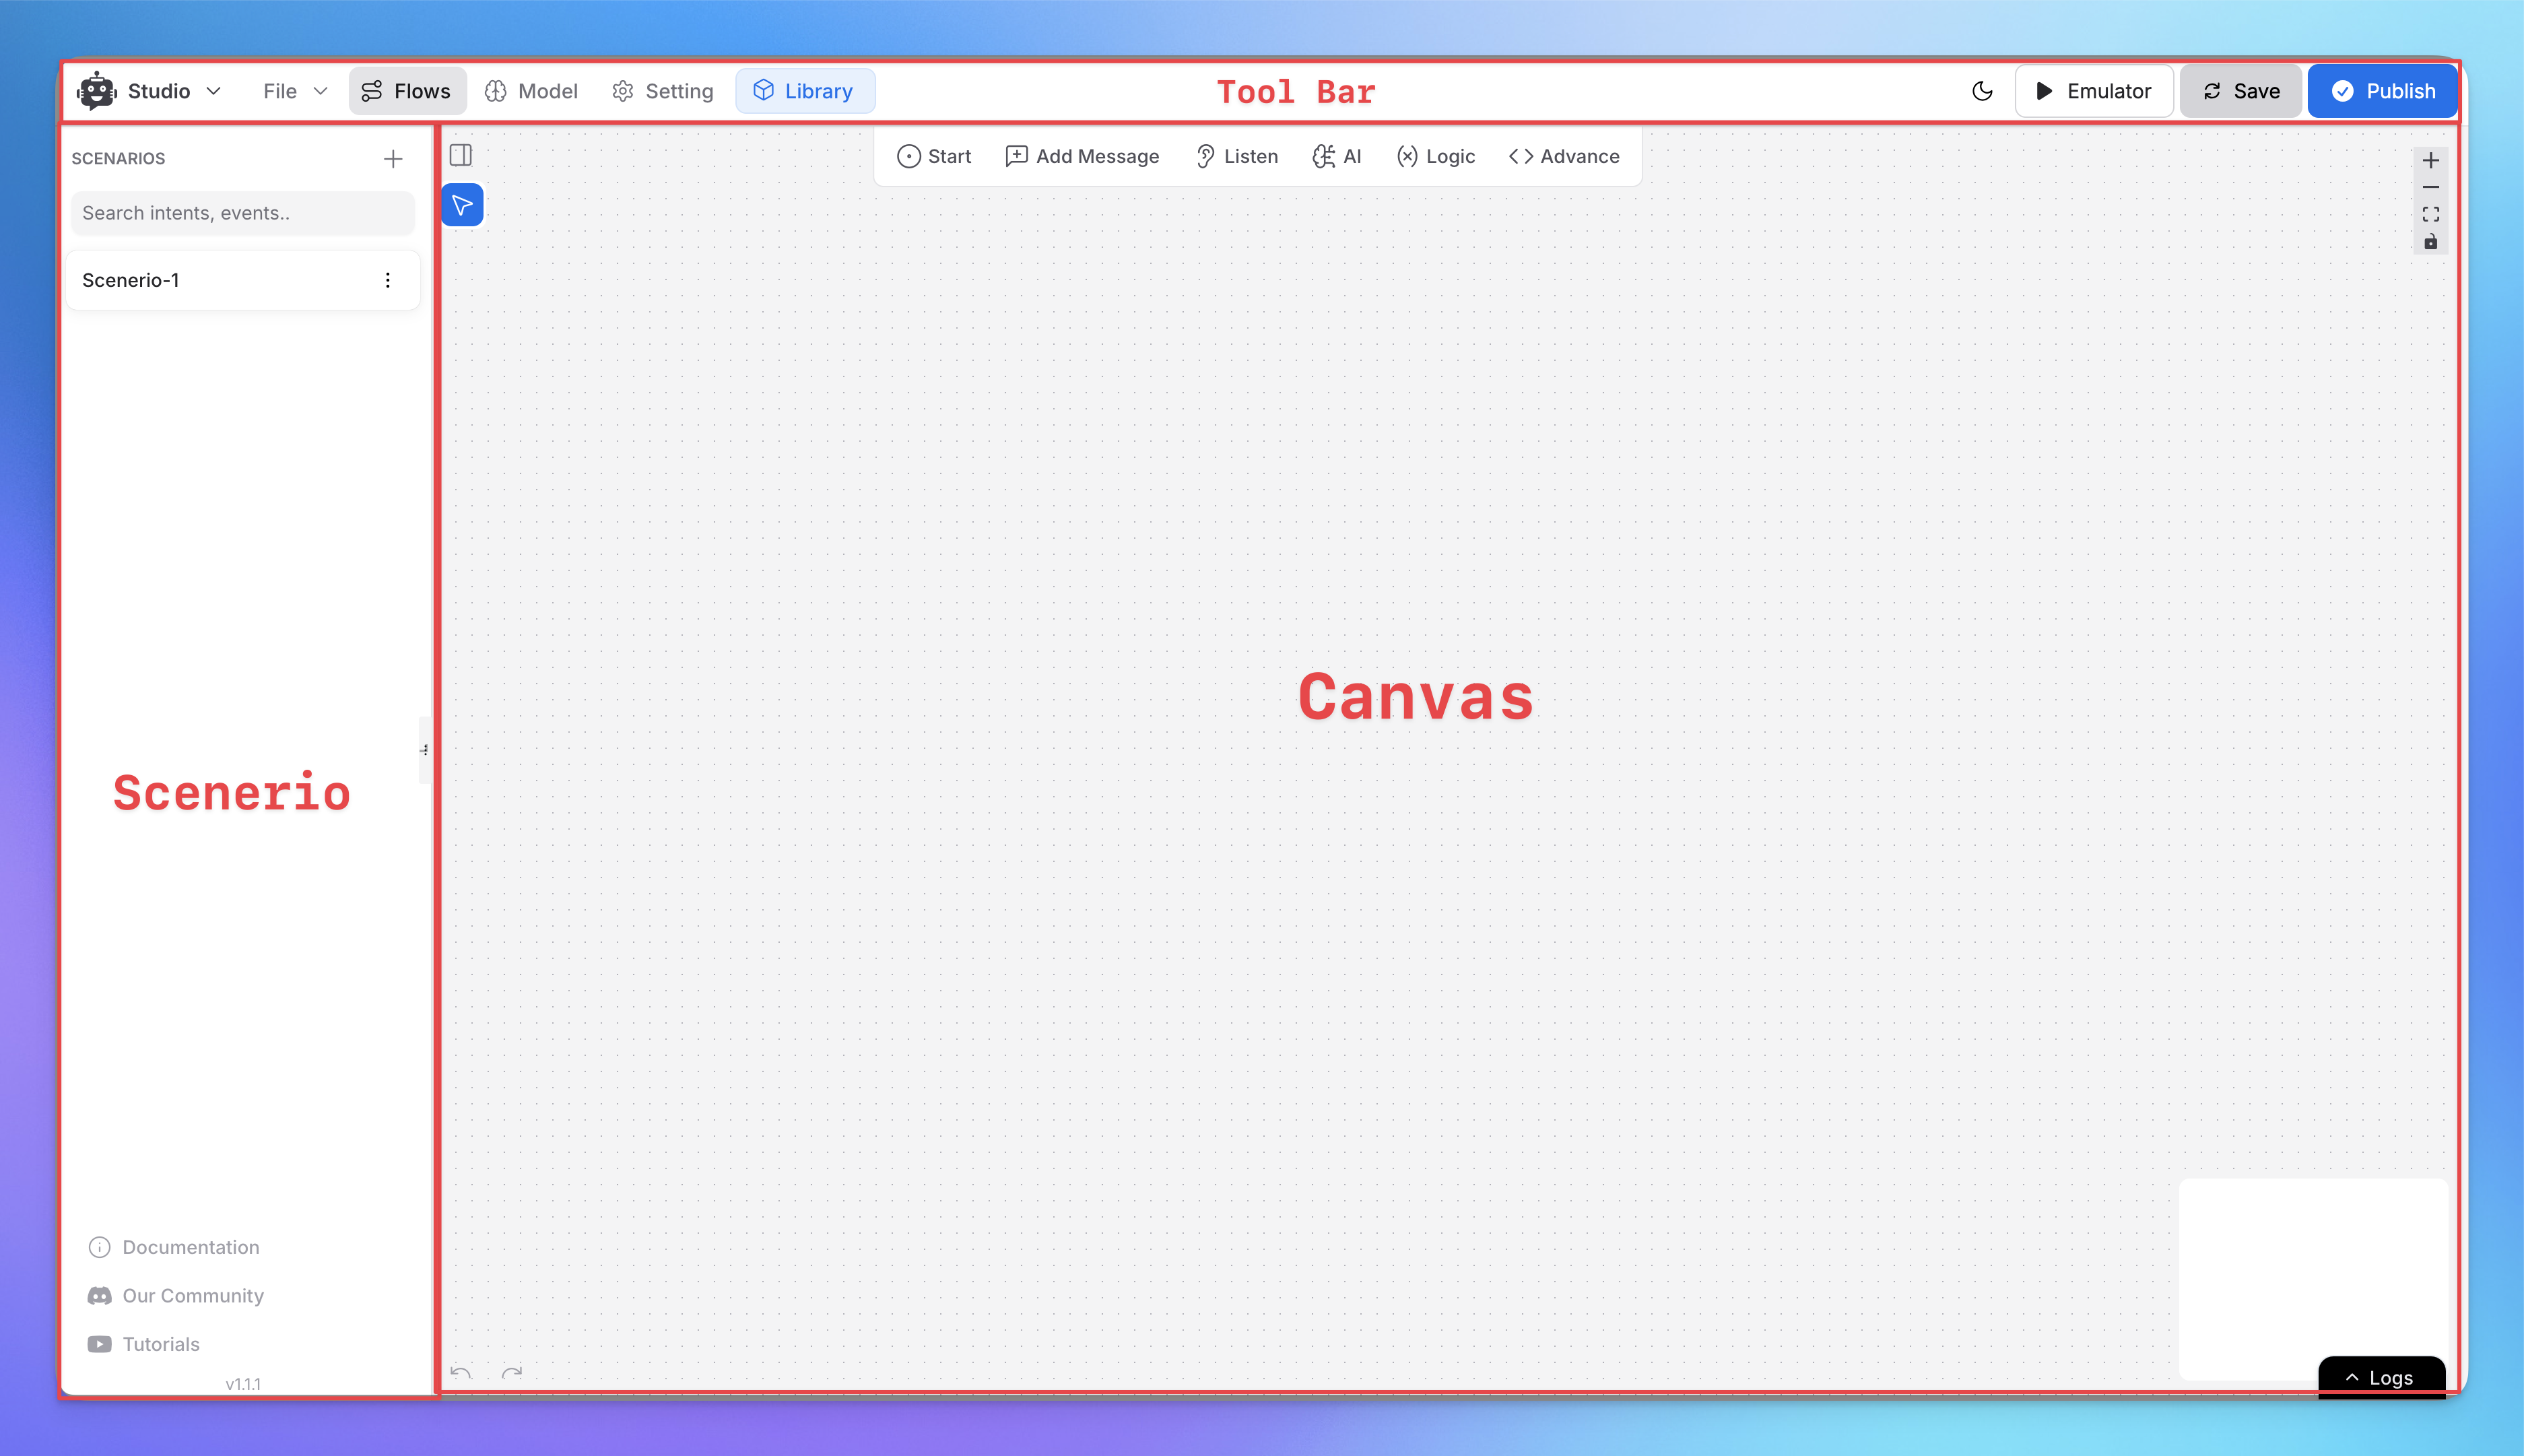
On the left sidebar, click the + icon under "Scenarios" to create a new flow.
Name your scenario (e.g., "Scenario-1") for easy identification.
For Detailed Guide Follow our helpdesk article on Flow : Scenarios, Blocks, Steps & Connections.
How to export studio templates, scenarios, Components?
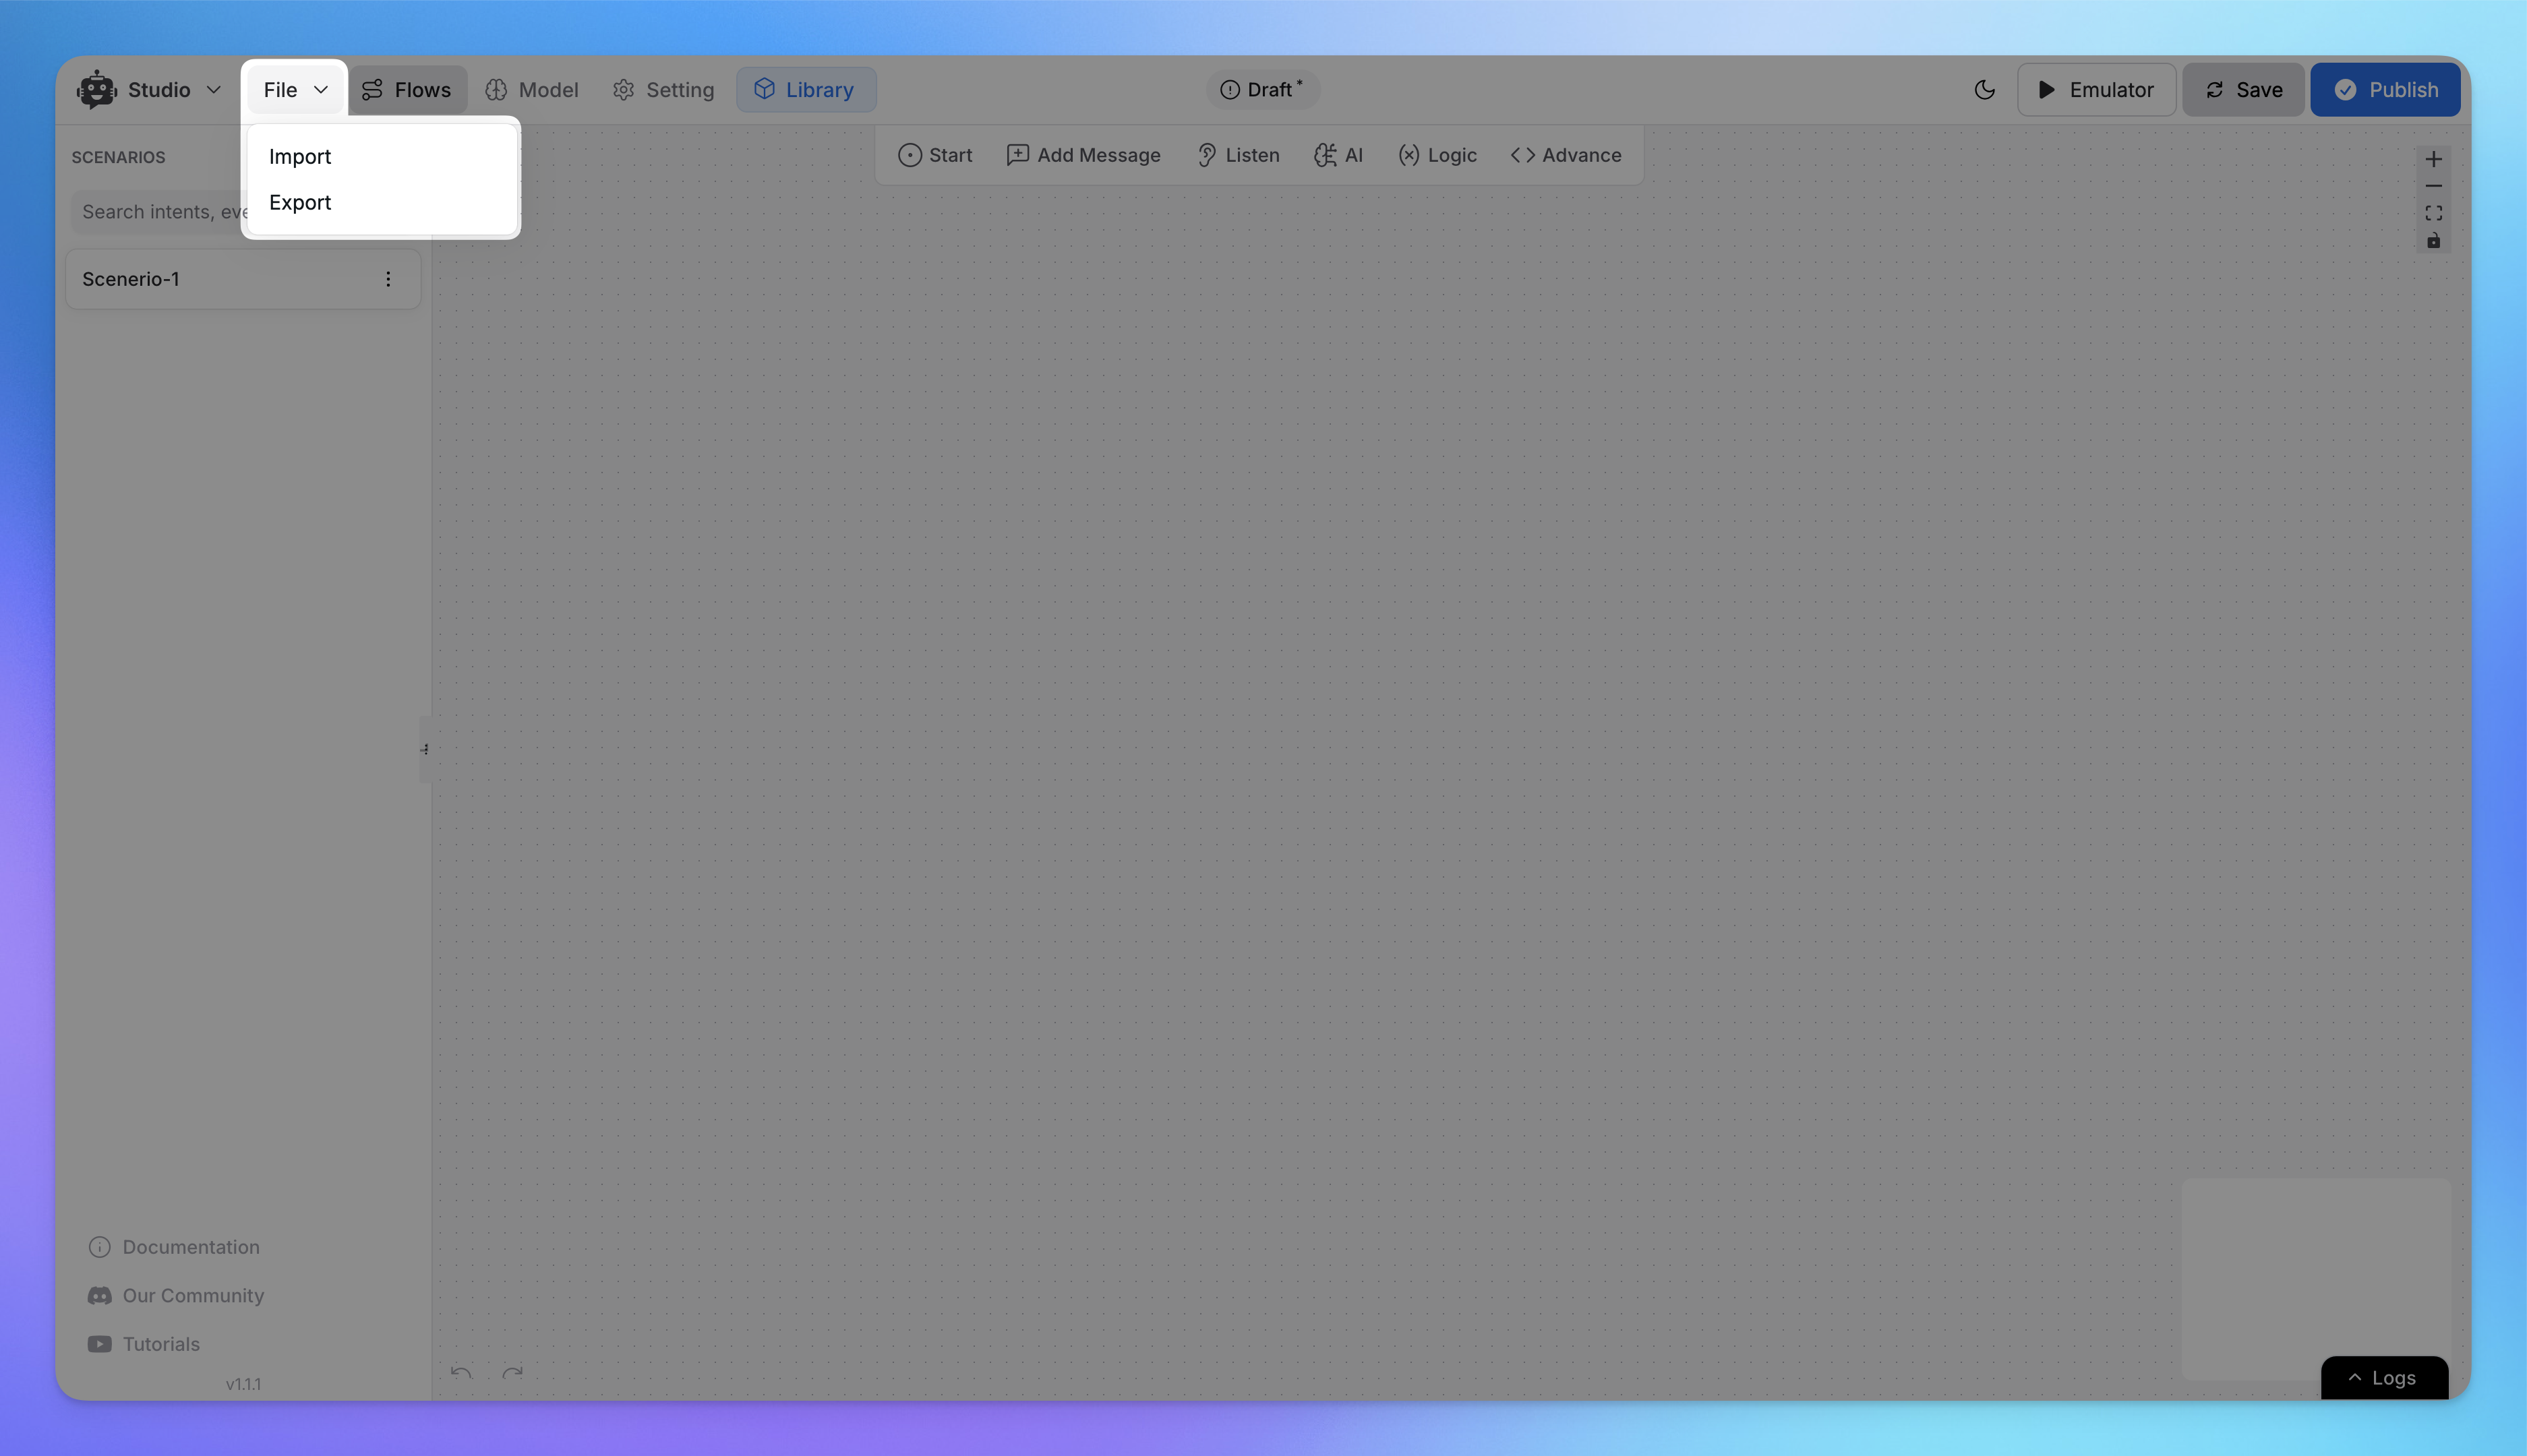
To Export: Open the File menu in the top-left corner, select Export, and follow the steps to download your templates, scenarios, or components to your device.
To Import: Open the File menu, select Import, and upload the desired file from your device to integrate it into your workspace.
Essential Tools for Navigation Inside Chatbot Studio
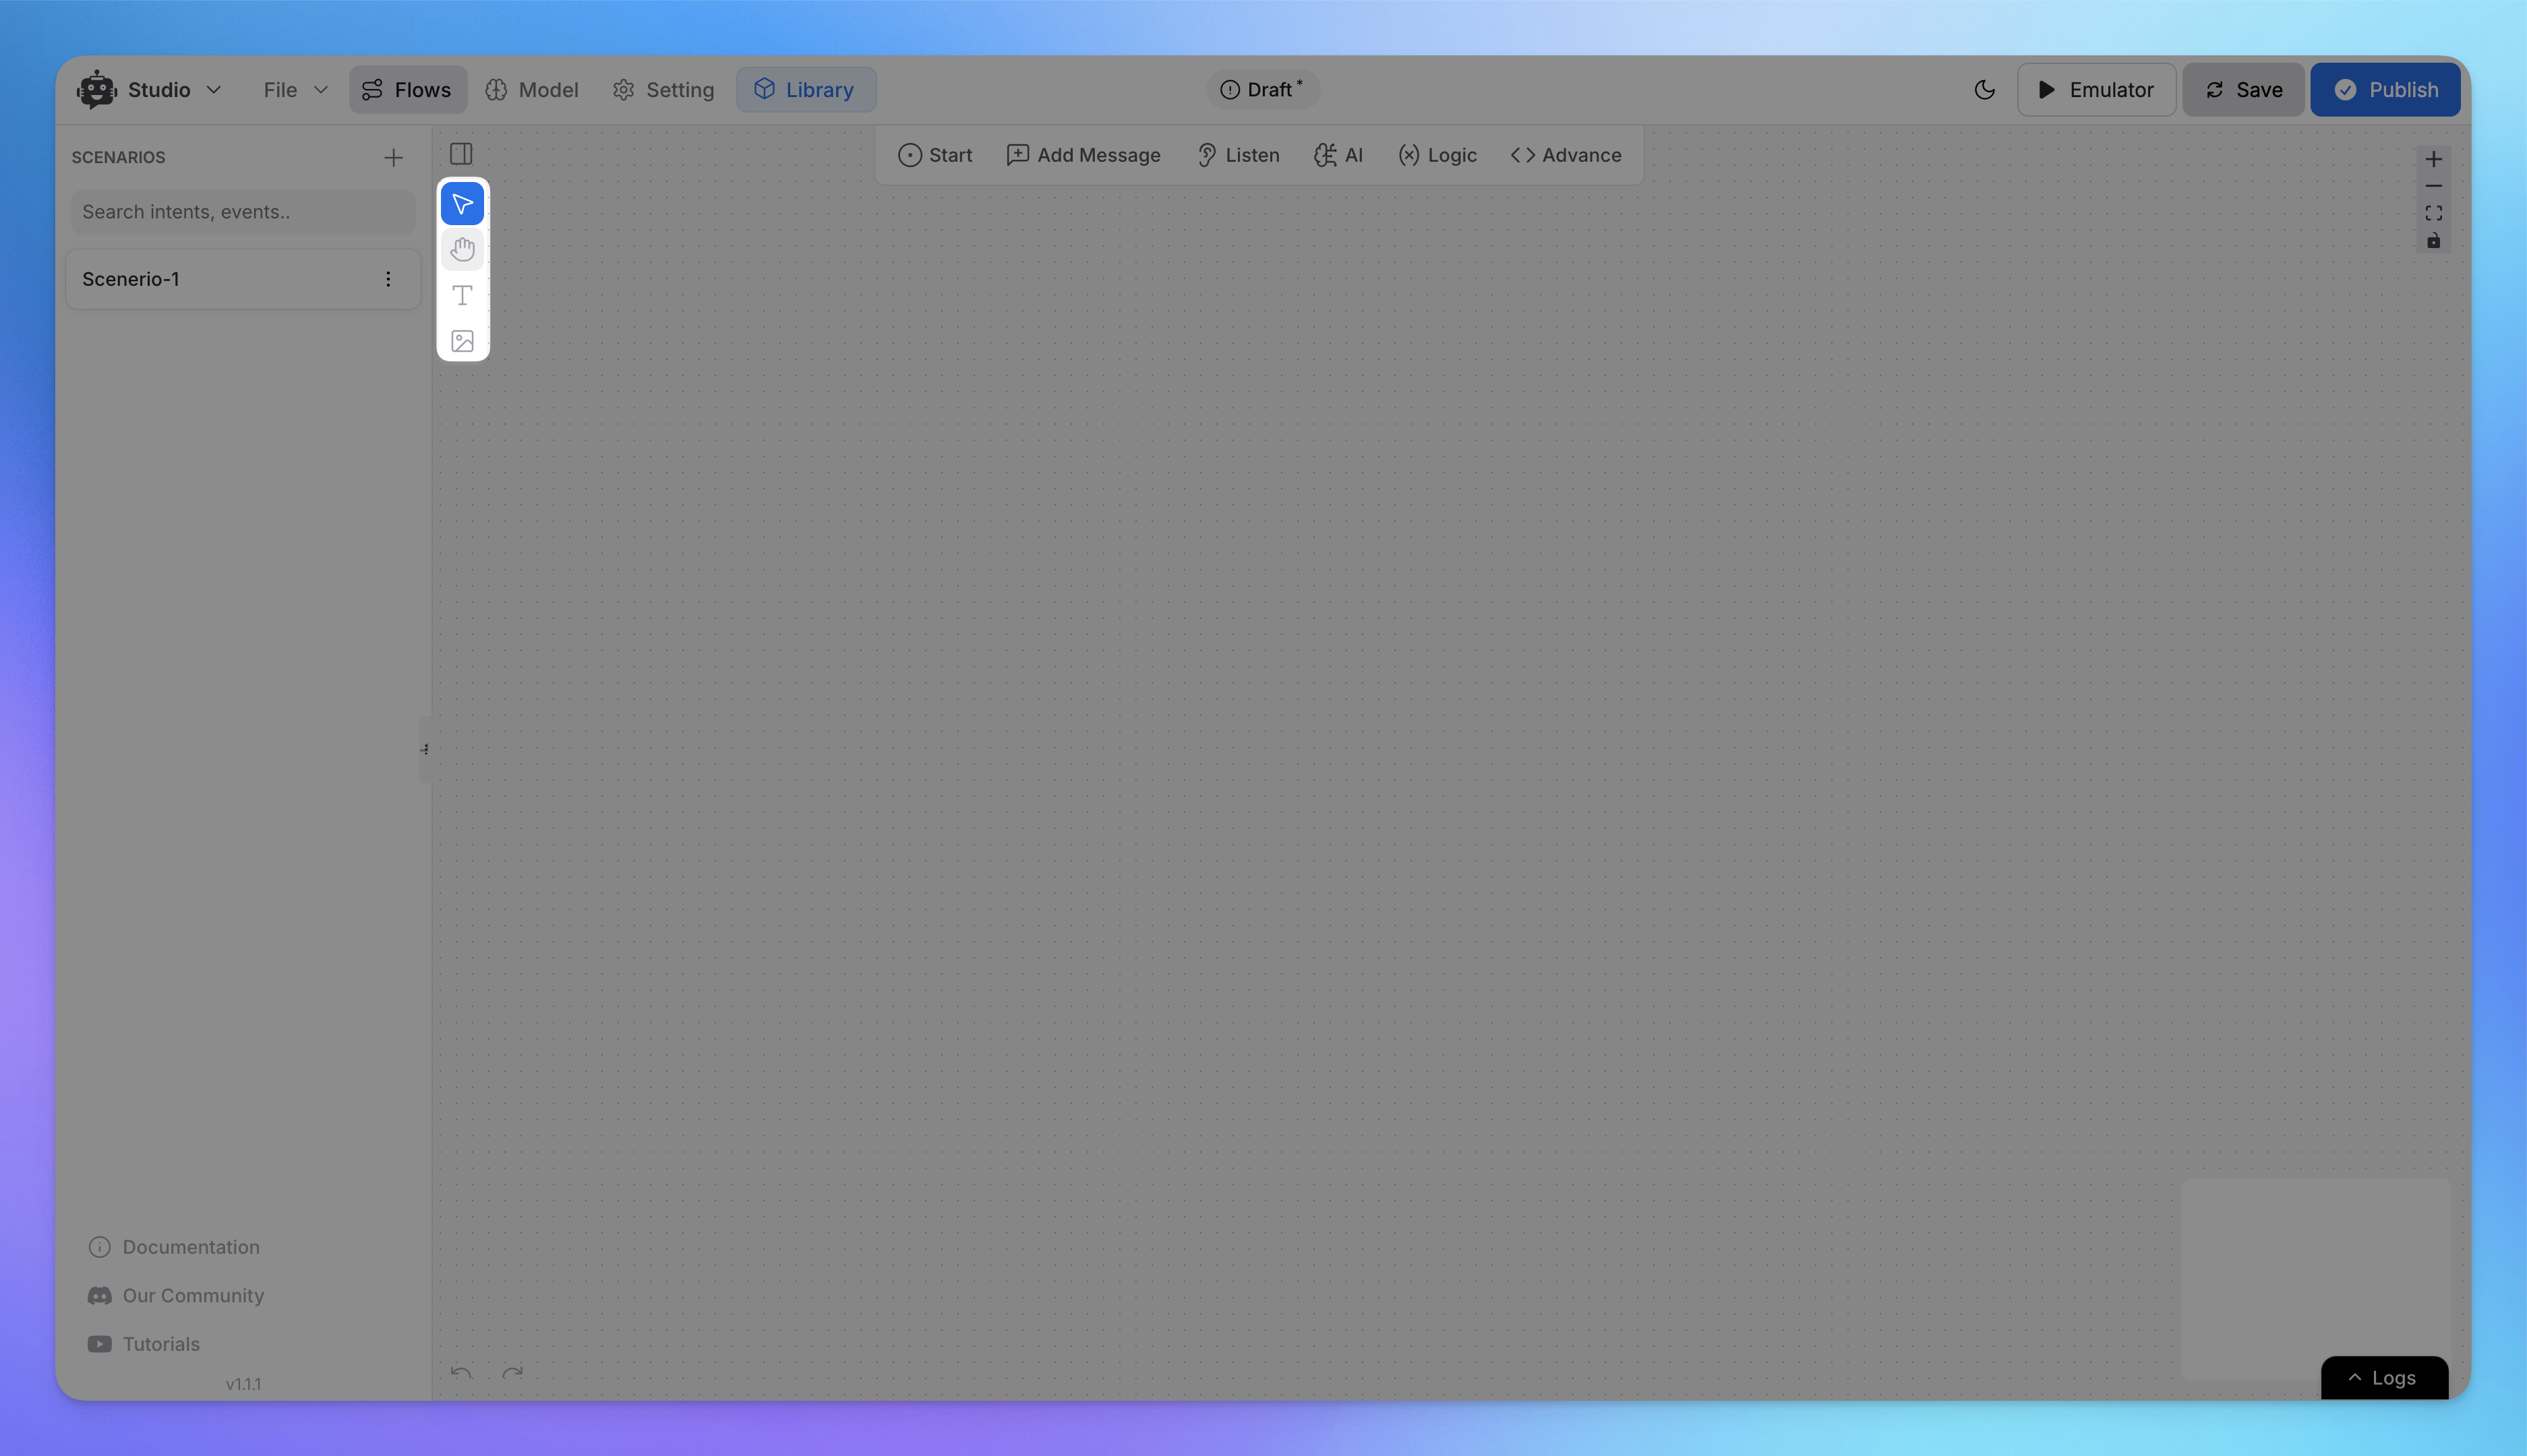
In the Left Side of Canvas, Hover on to the Cursor Icon
Hand Tool: Moves the canvas by clicking and dragging on empty space.
Text Tool: Adds comments or labels by clicking on the canvas and typing.
Image Tool: Add images as comments by selecting or dragging them.
In the Right Side of Canvas:
Zoom Tool: Adjust the zoom level using clicks or the scroll wheel.
Recenter Tool: Reset the view to its default position with a single click.
Lock Tool: Lock elements to avoid accidental movement or editing.
Step 3: Add Actions to Your Workflow
Use the toolbar at the top to add different elements to your workflow. Below are the options:
Start:
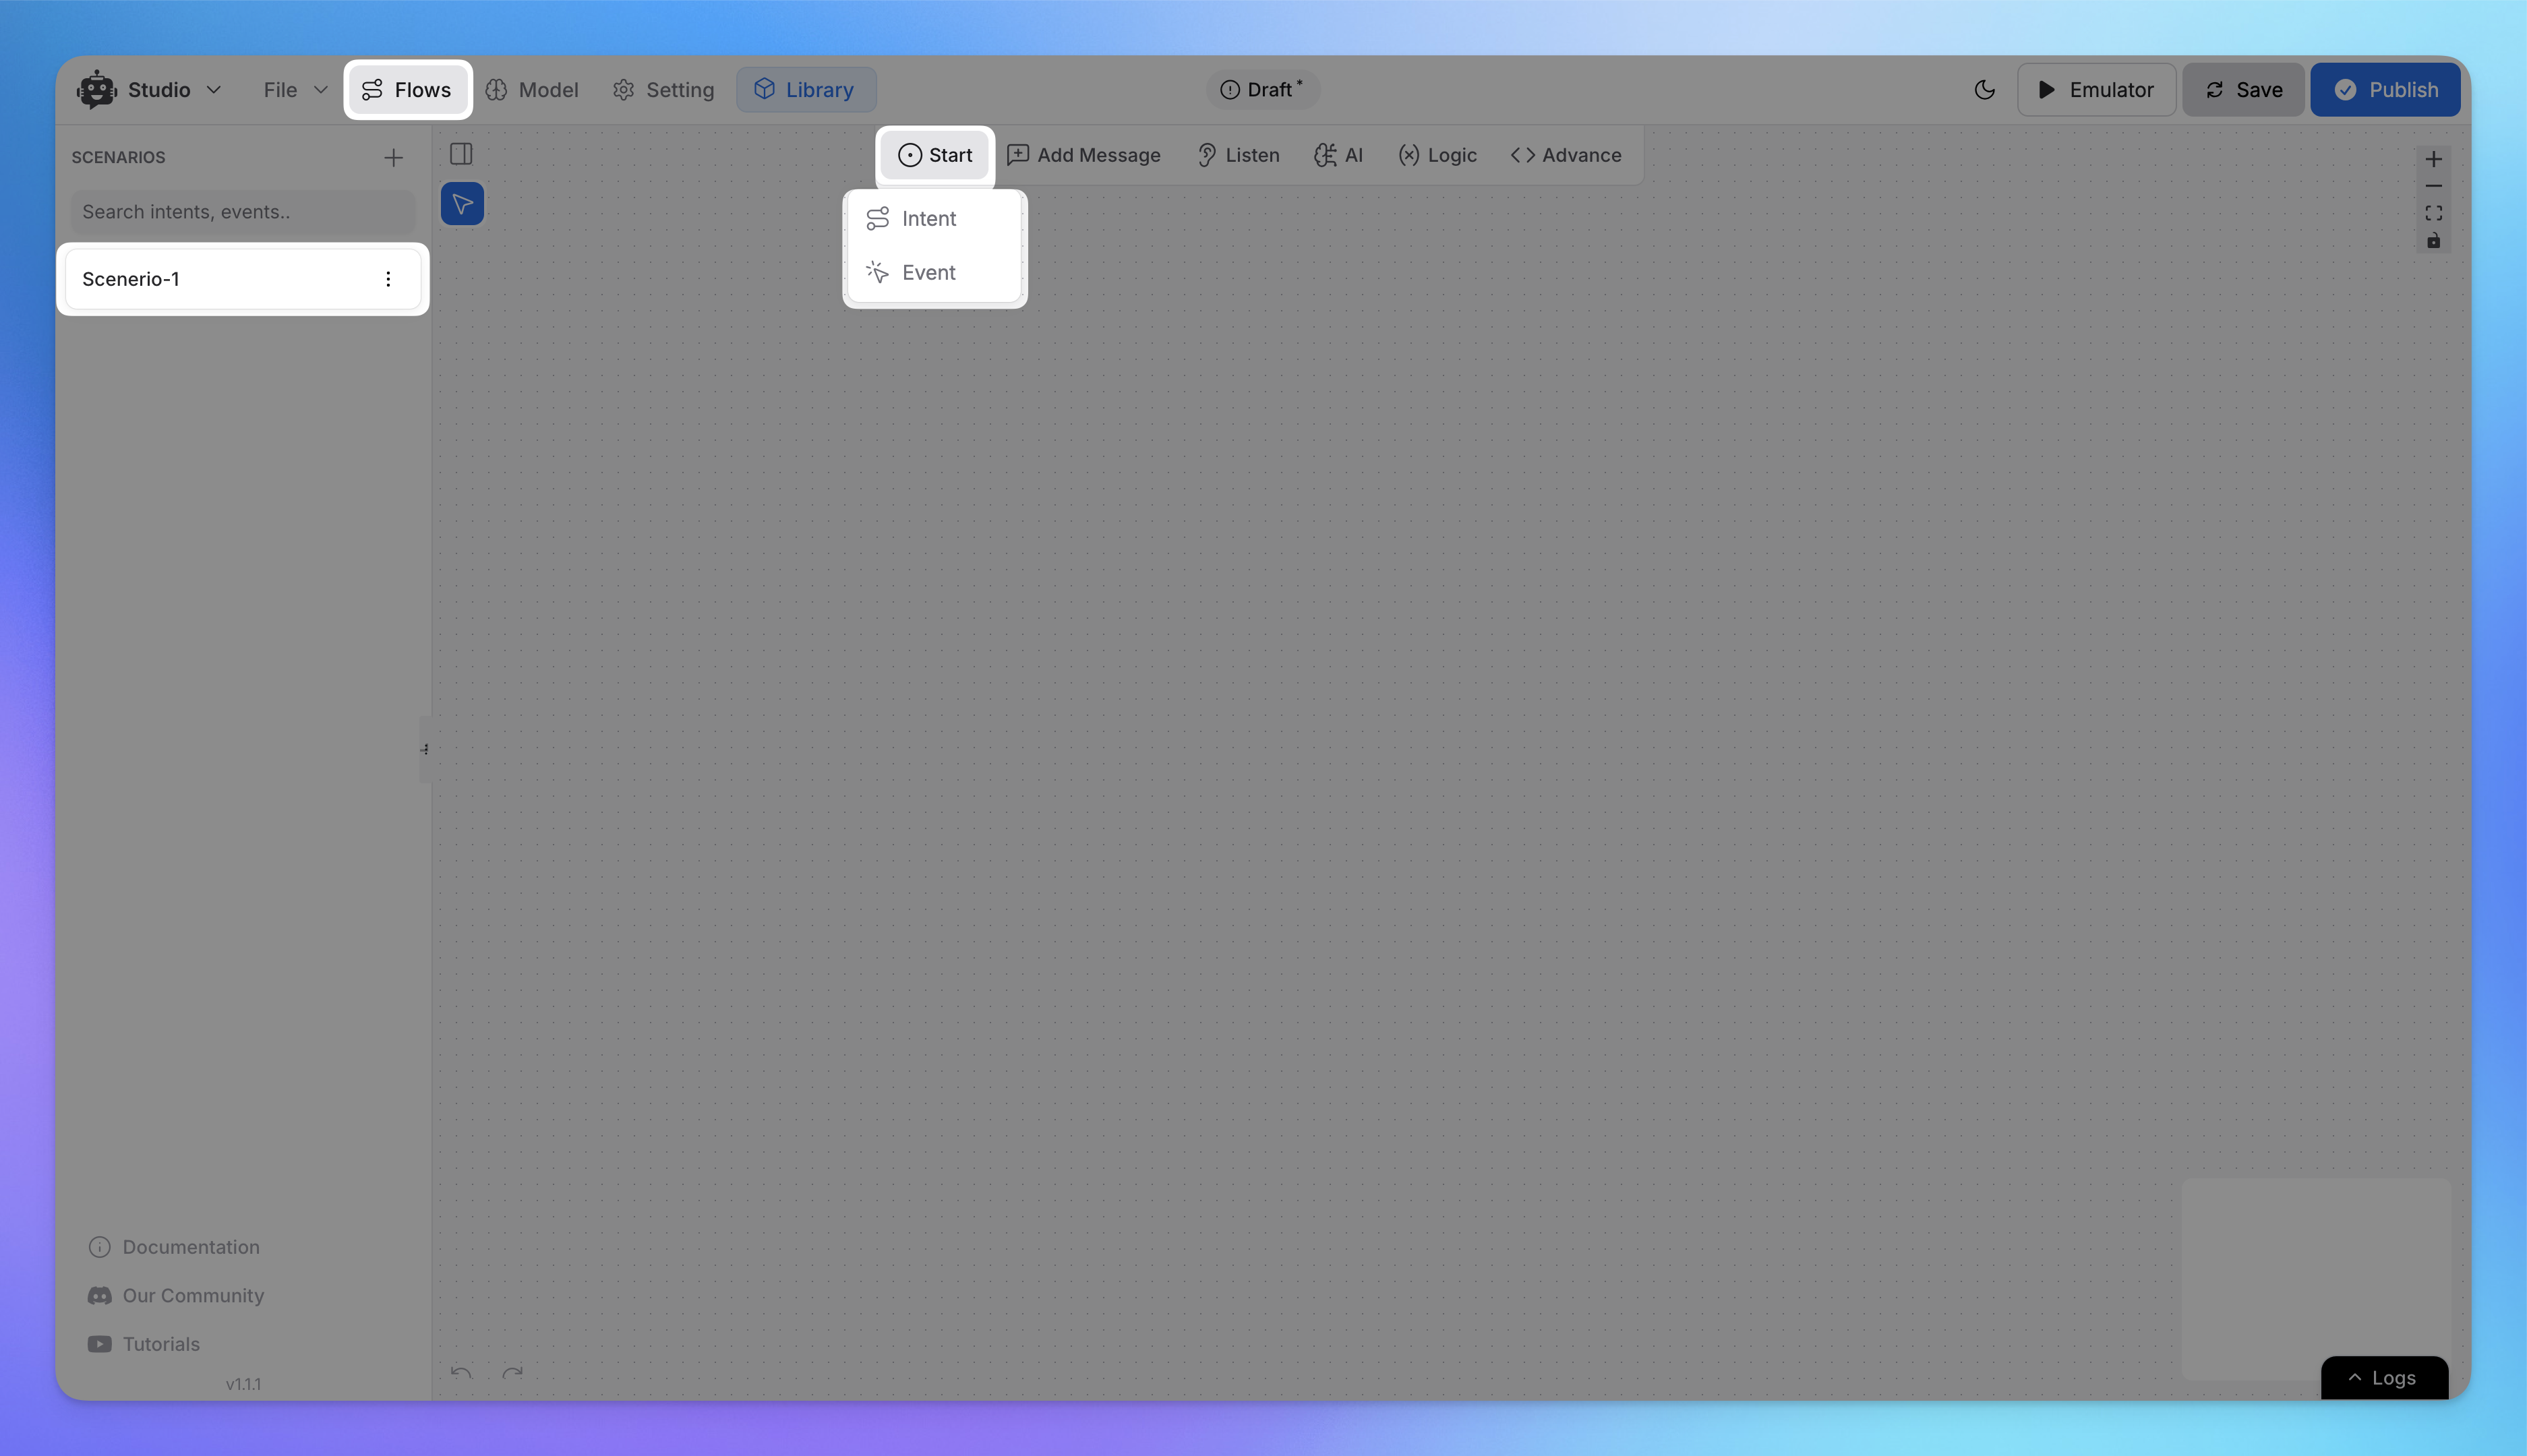
Hover on the Start in the Canvas.
Select one of the following triggers to begin your workflow:
Intent: Start the flow when a user's message matches a defined intent.
Event: Trigger the flow based on system events.
Add Message:
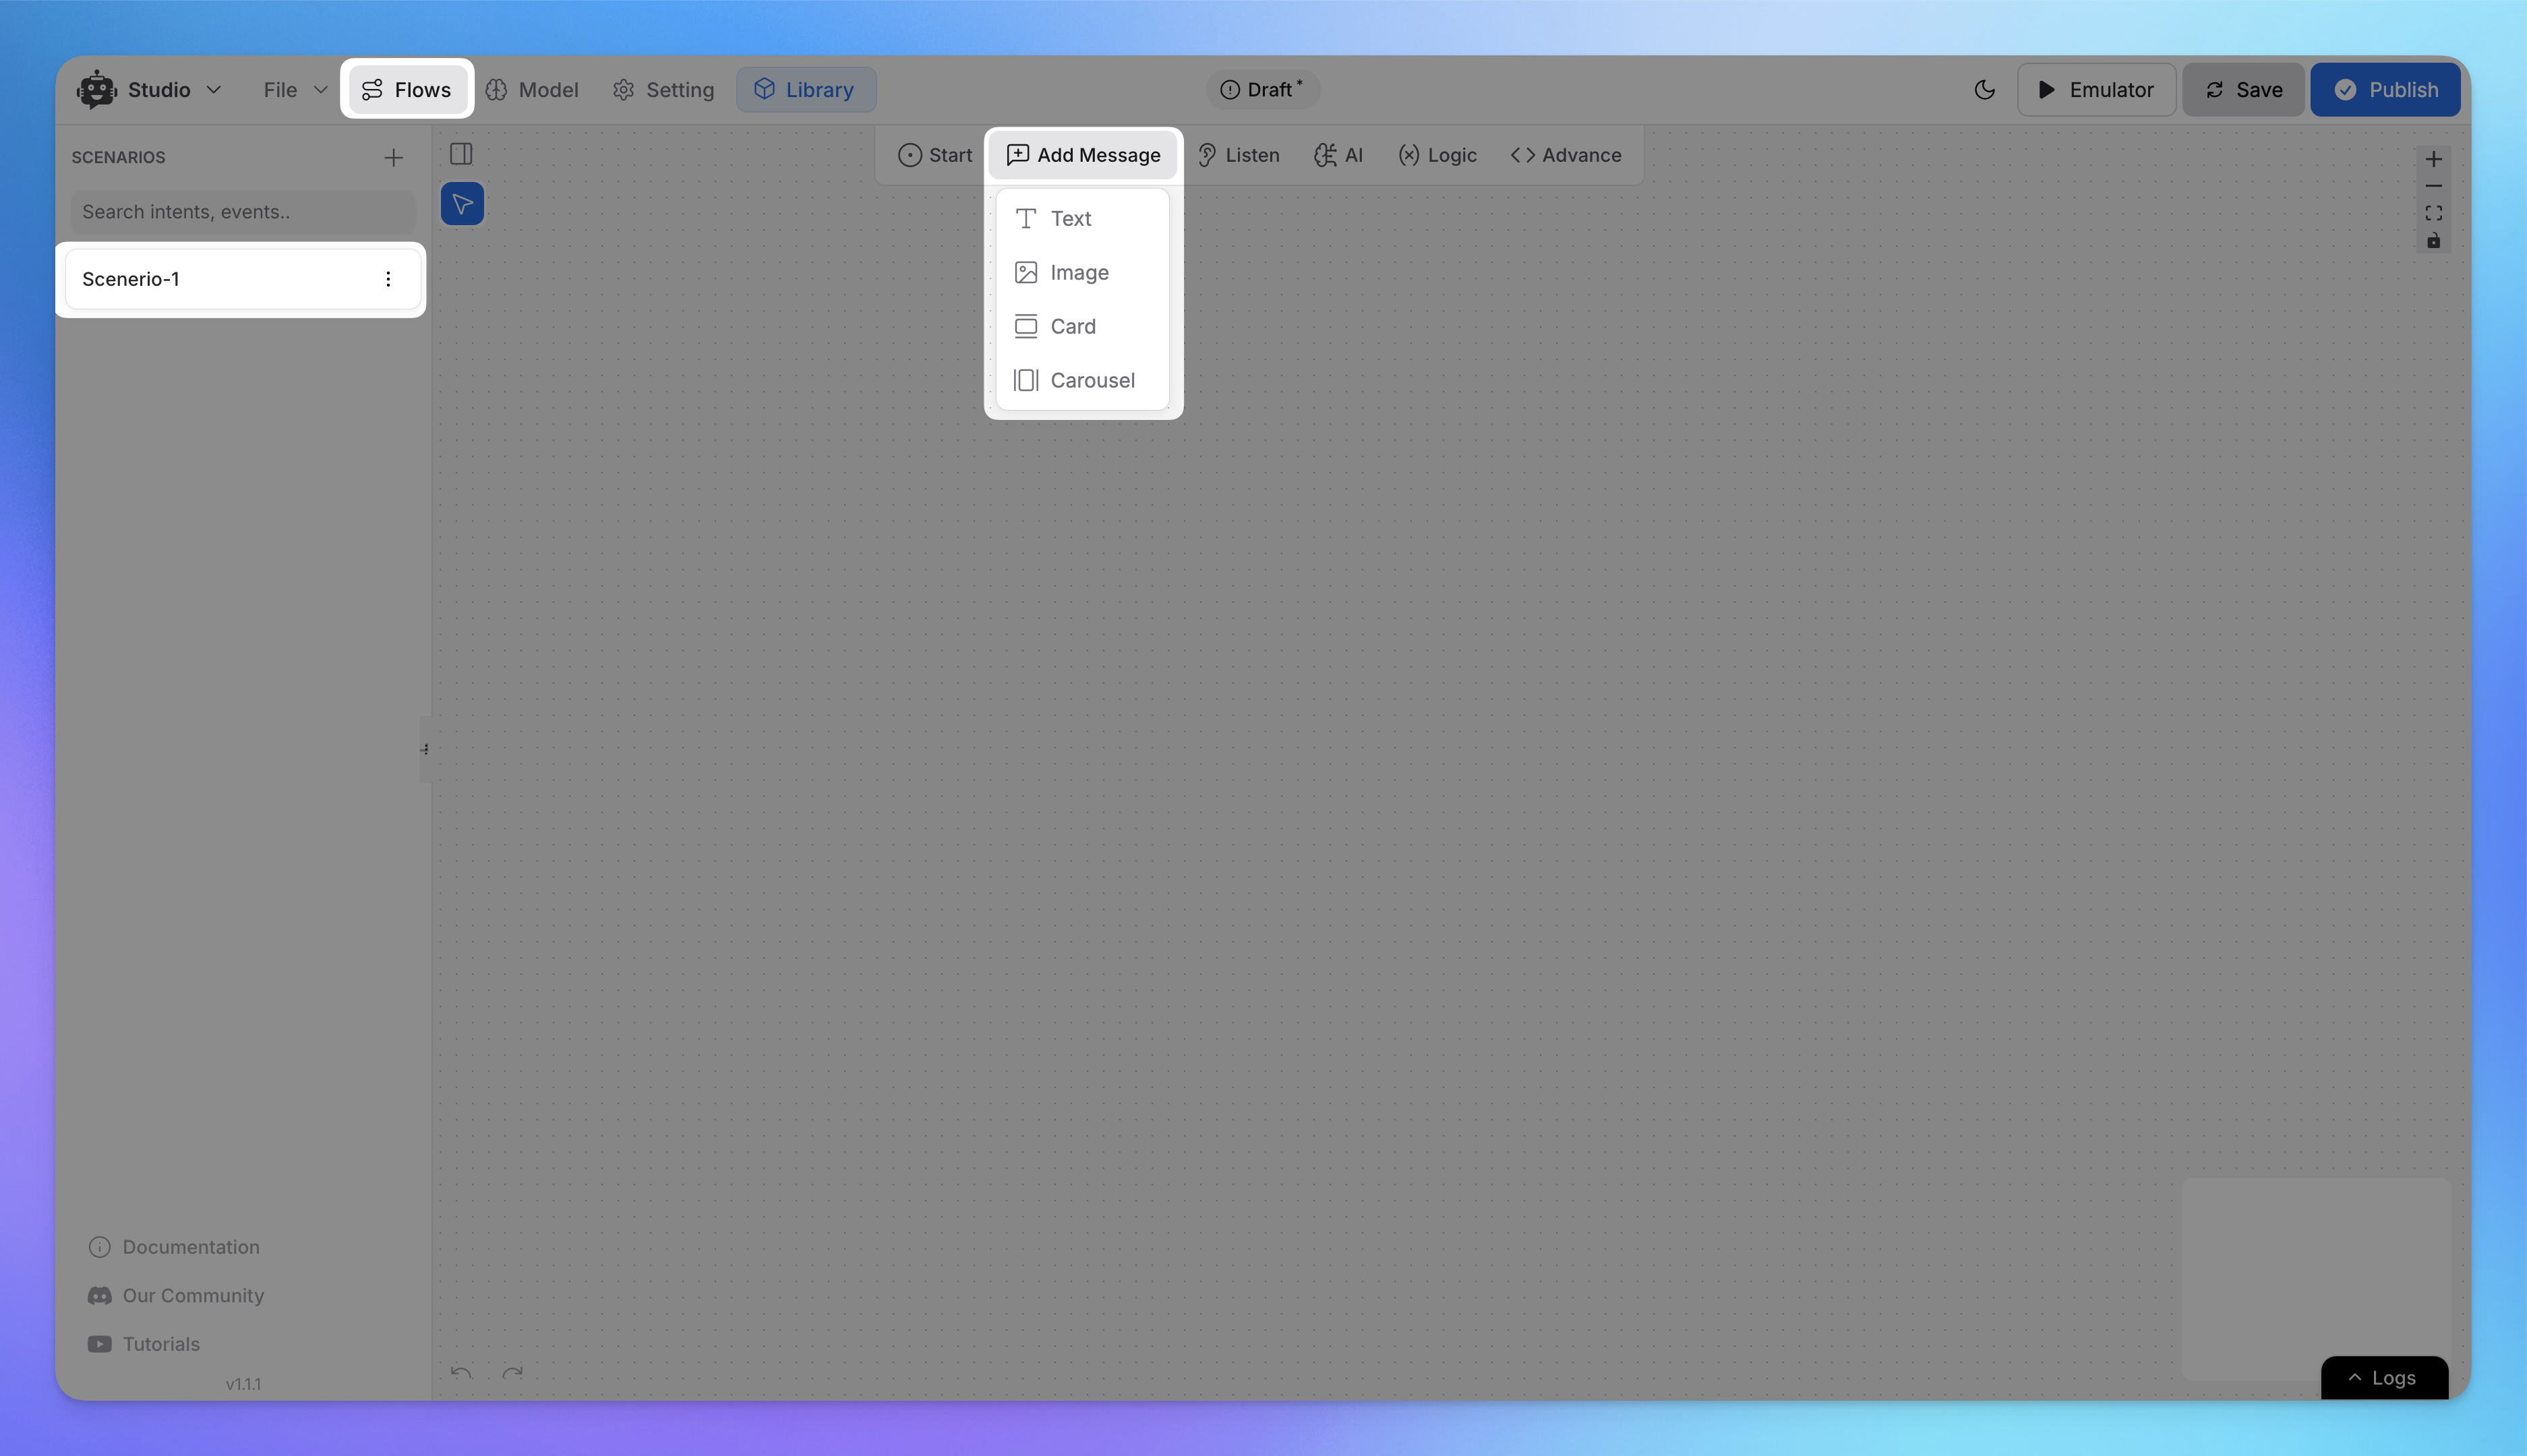
Choose Add Message to add responses for the AI chatbot.
Options include:
Text Node: Simple text-based responses.
Image Node: Visual elements to enhance engagement.
Card Node: Clickable cards for links, buttons, or other actions.
Carousel Node: Multiple cards users can scroll through.
Listen:
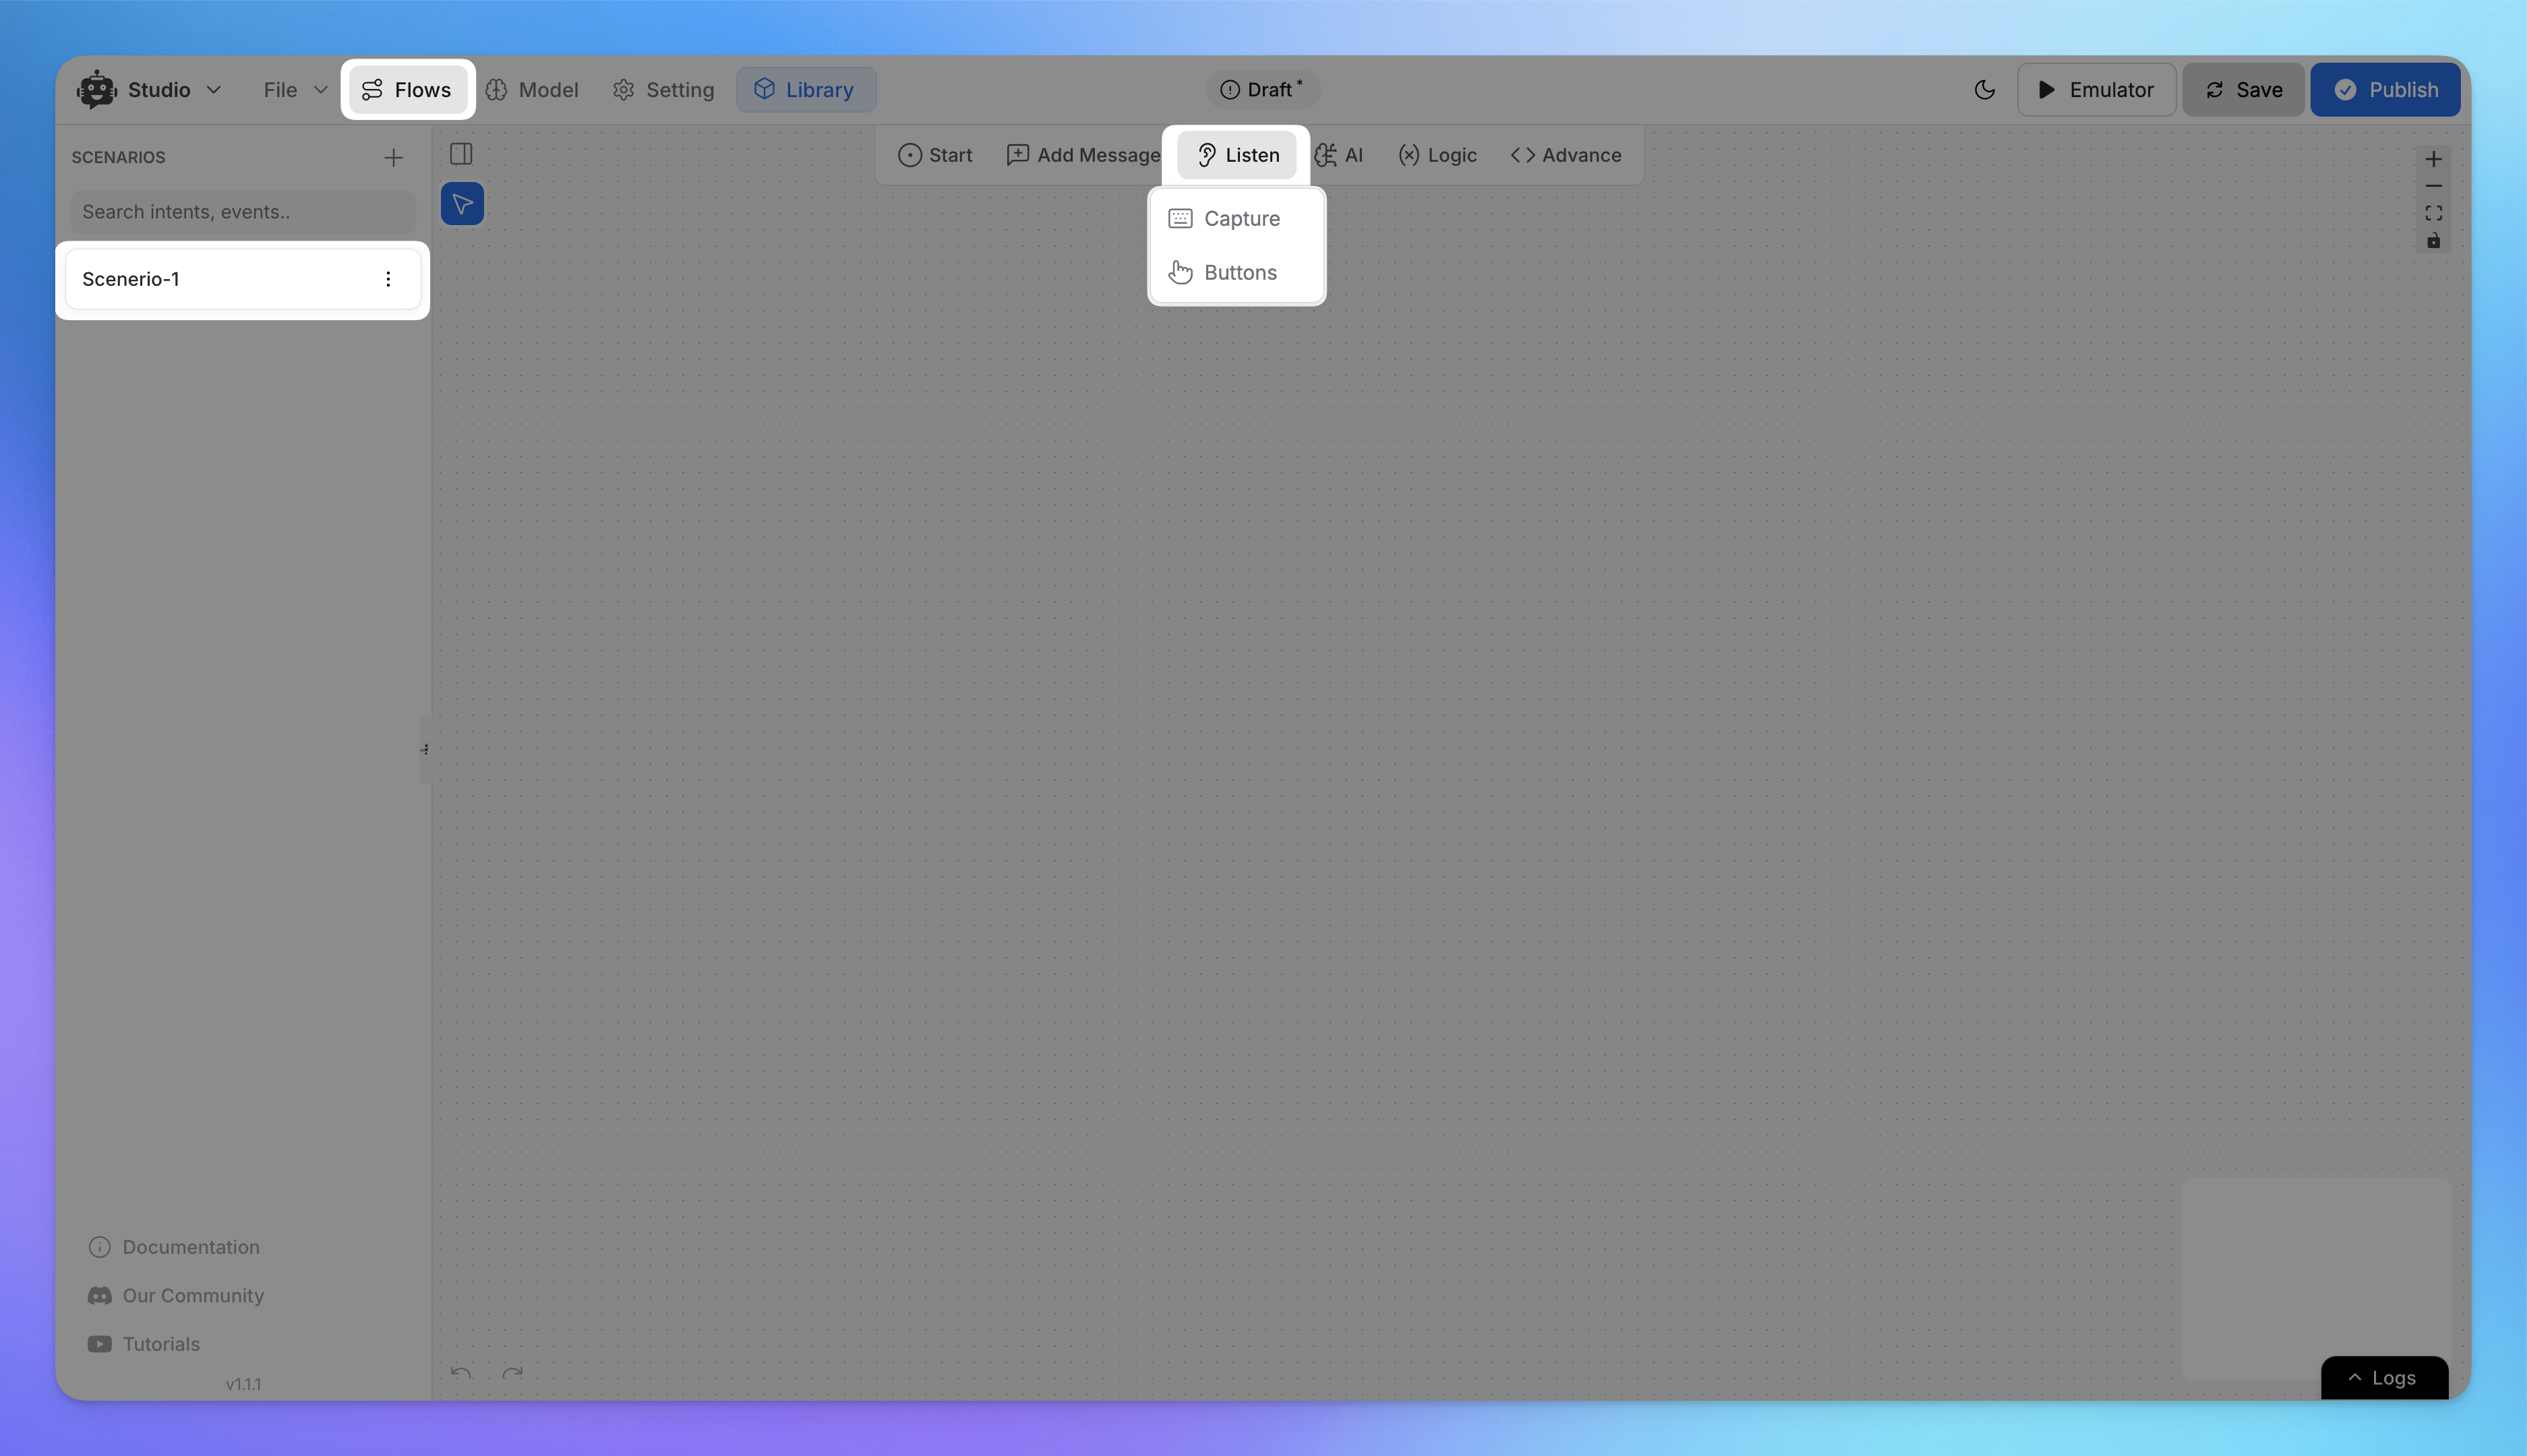
Use Listen to capture user input.
Options:
Capture Node: Retrieve free-text responses from users.
Buttons Node: Add predefined options users can click.
AI Task:
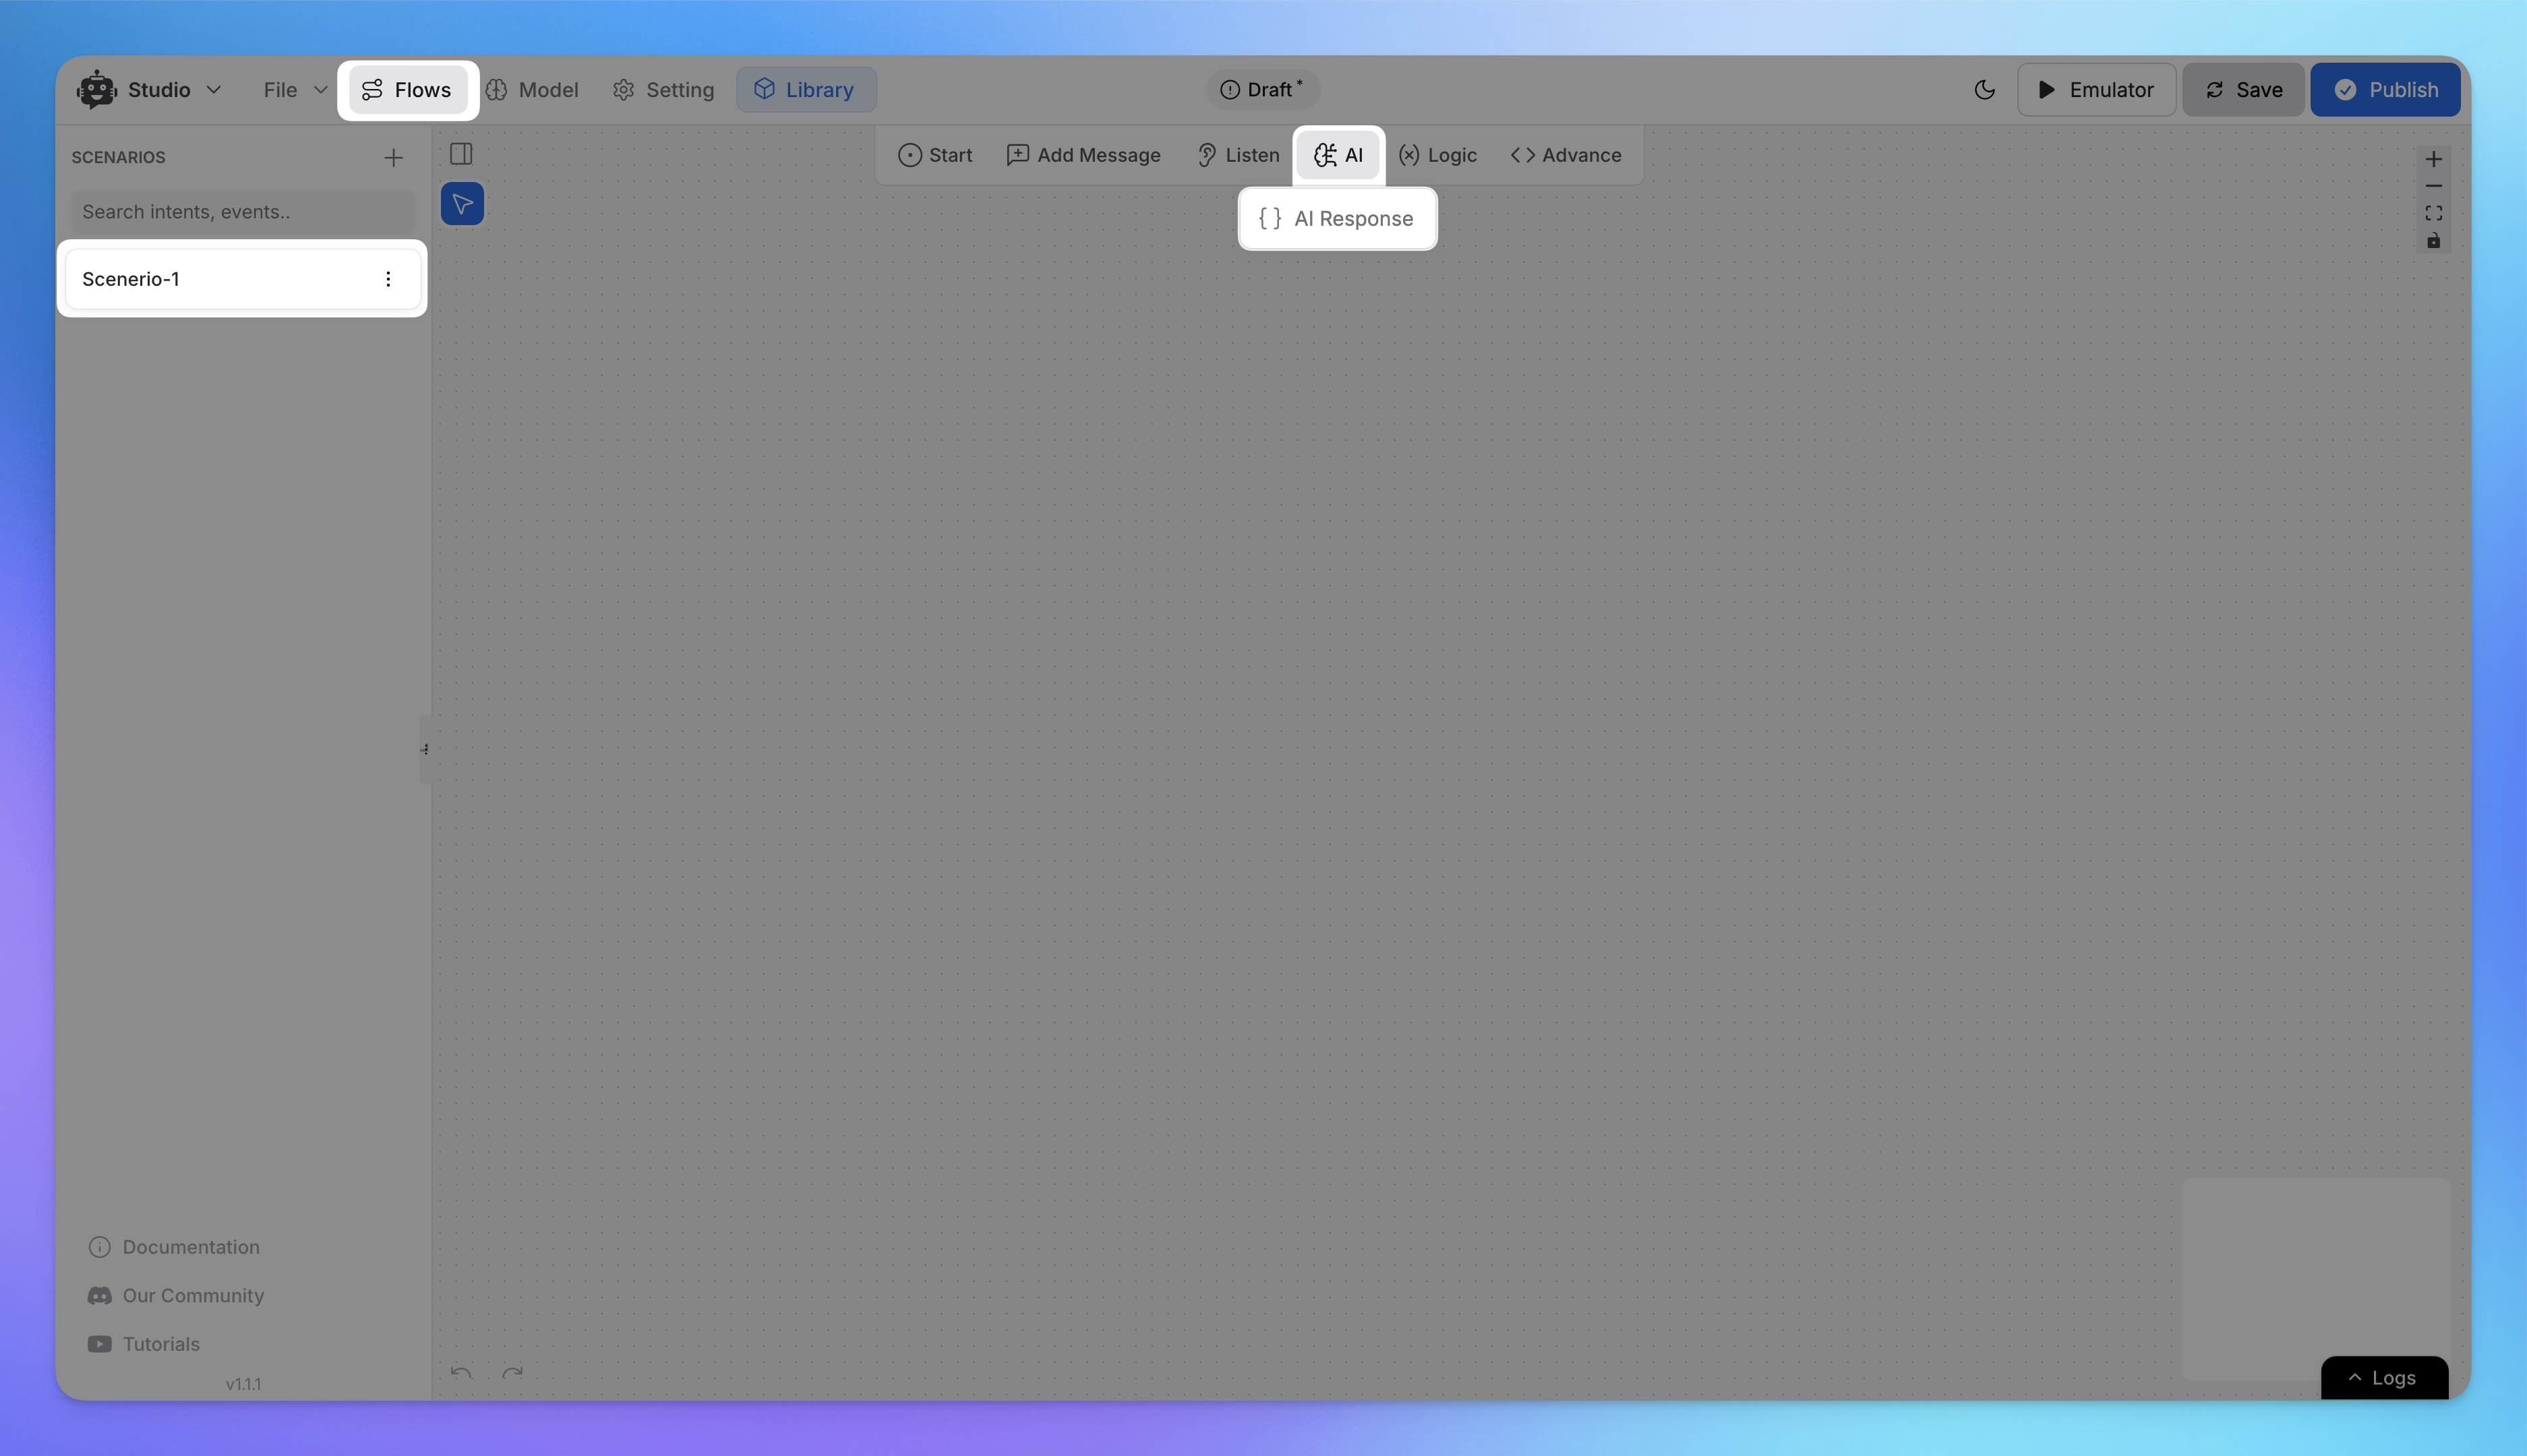
Add AI Responses Node to integrate intelligent replies powered by GPT models.
Configure the type of AI response based on your chatbot's use case.
Logic:
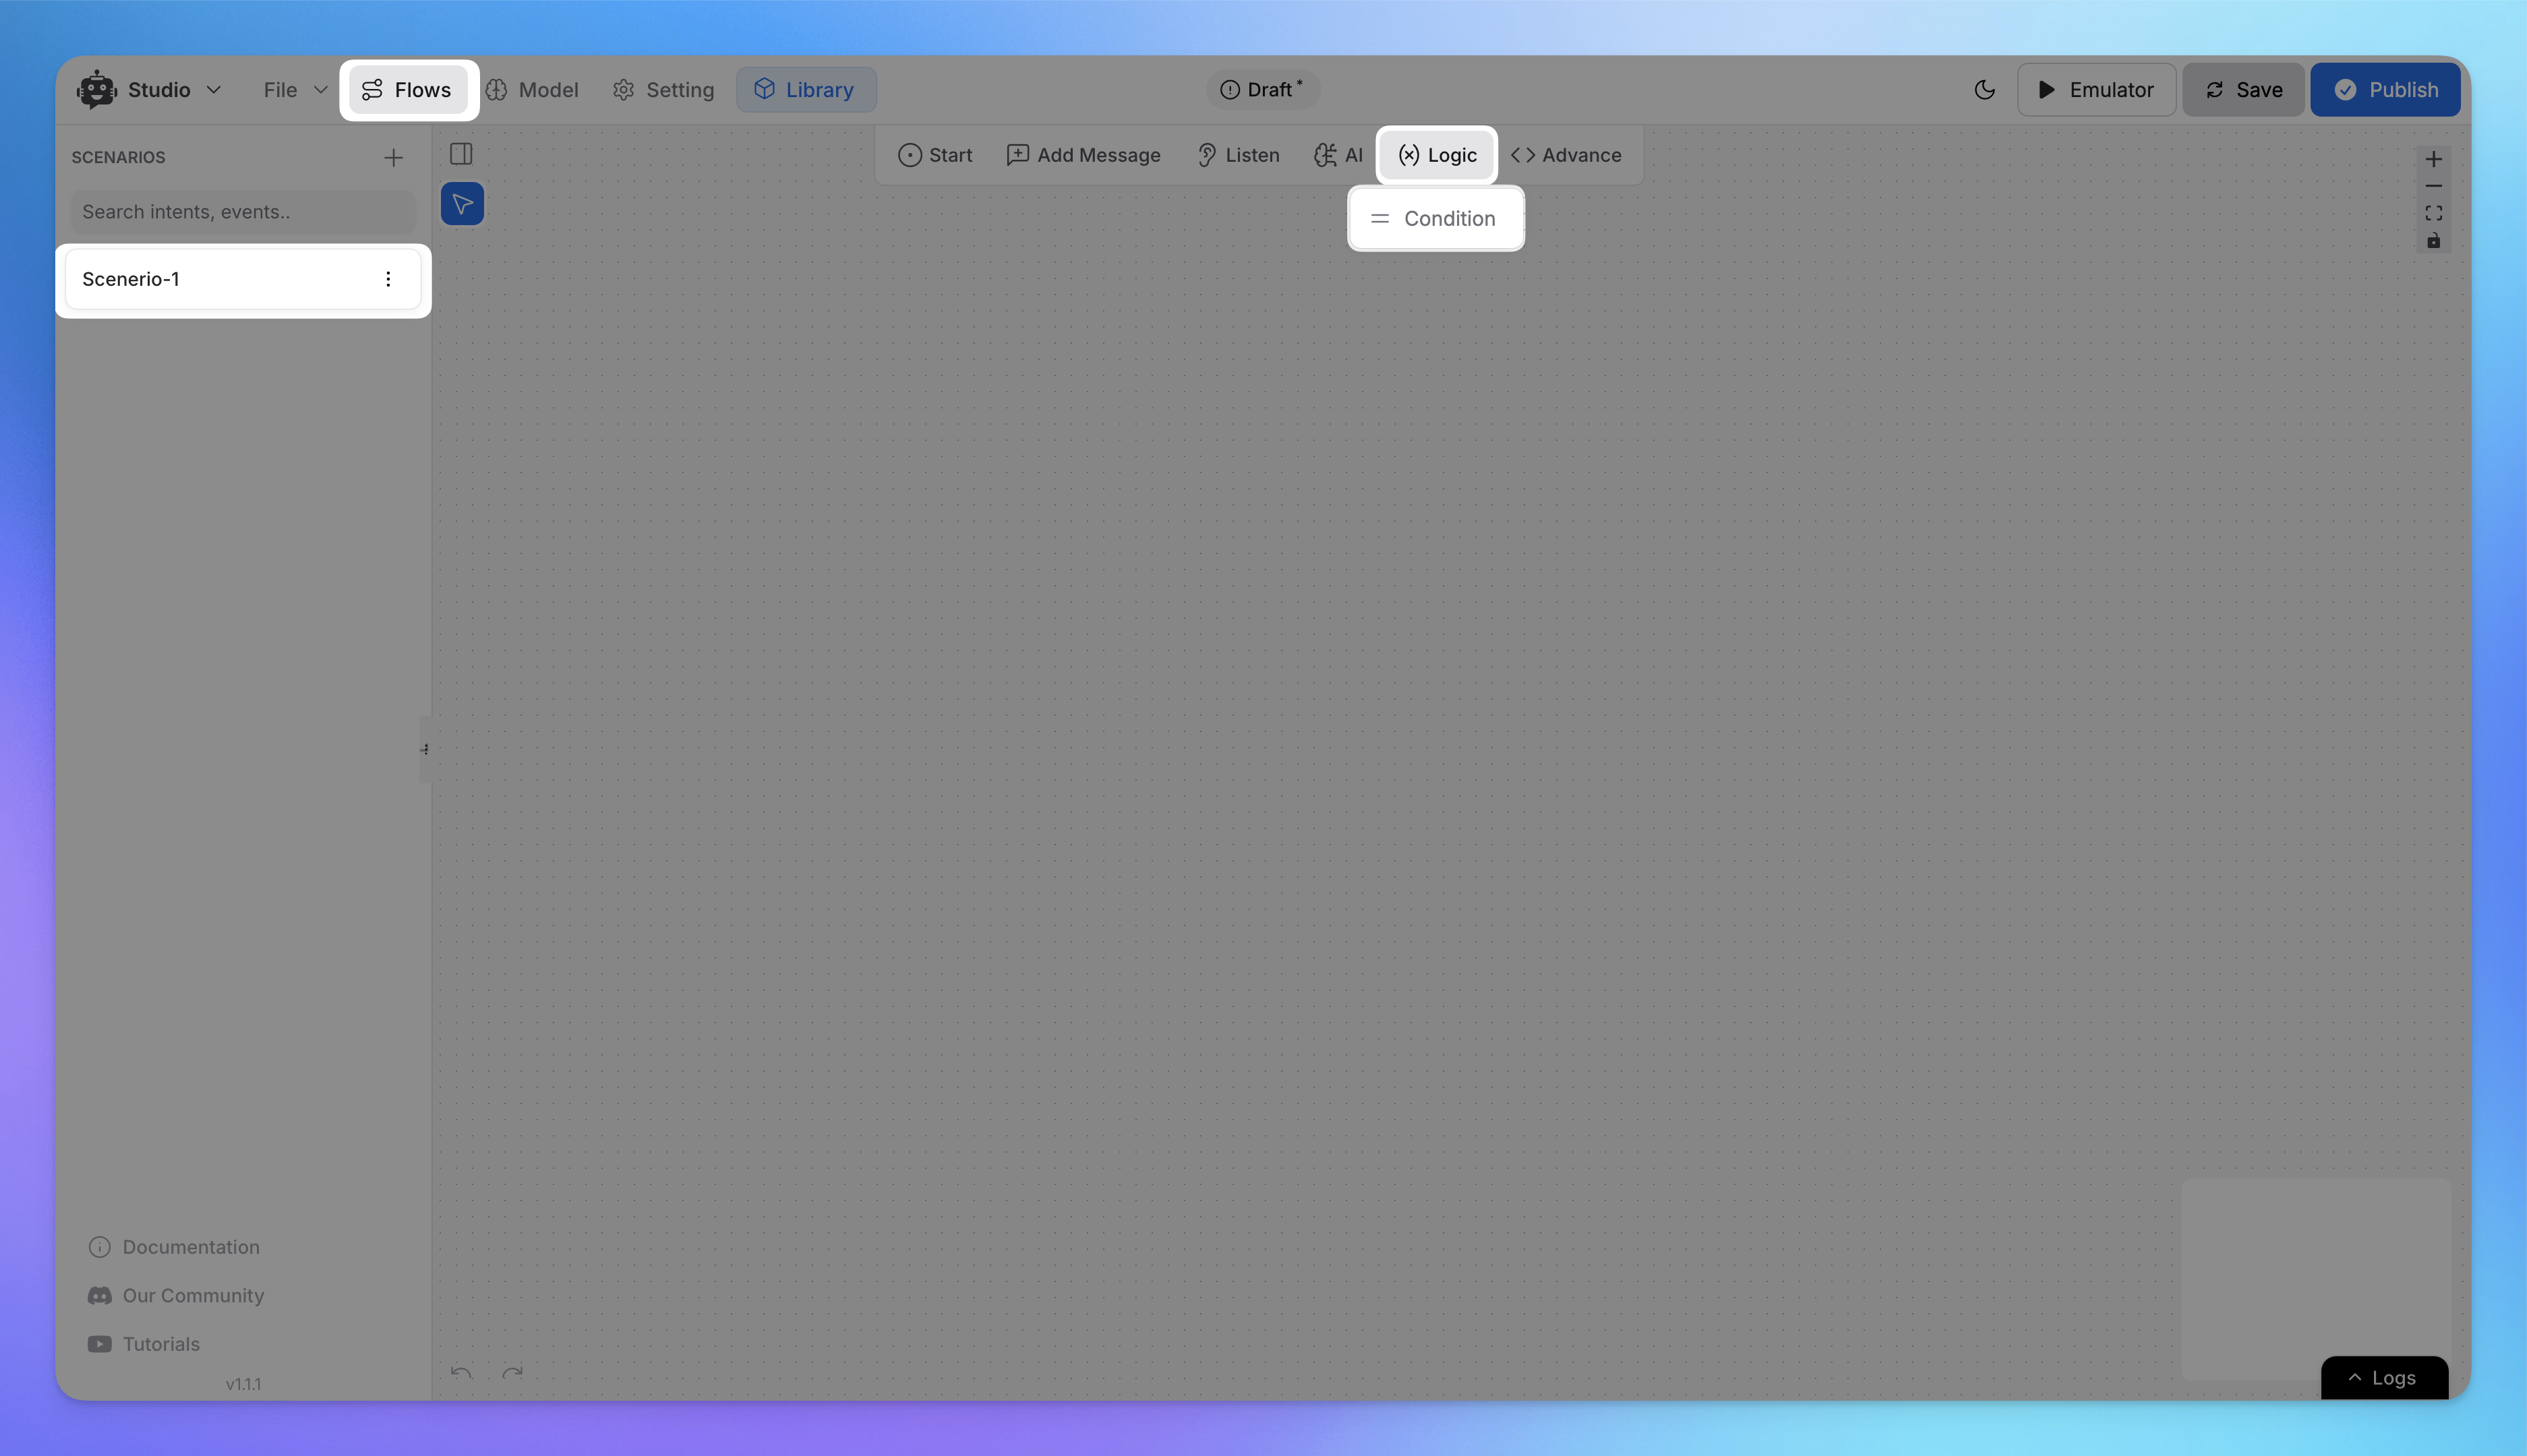
Insert conditional logic using the Condition Node.
Example:
If the user says "Help," redirect to FAQs.
For other inputs, continue the main flow.
Advance :
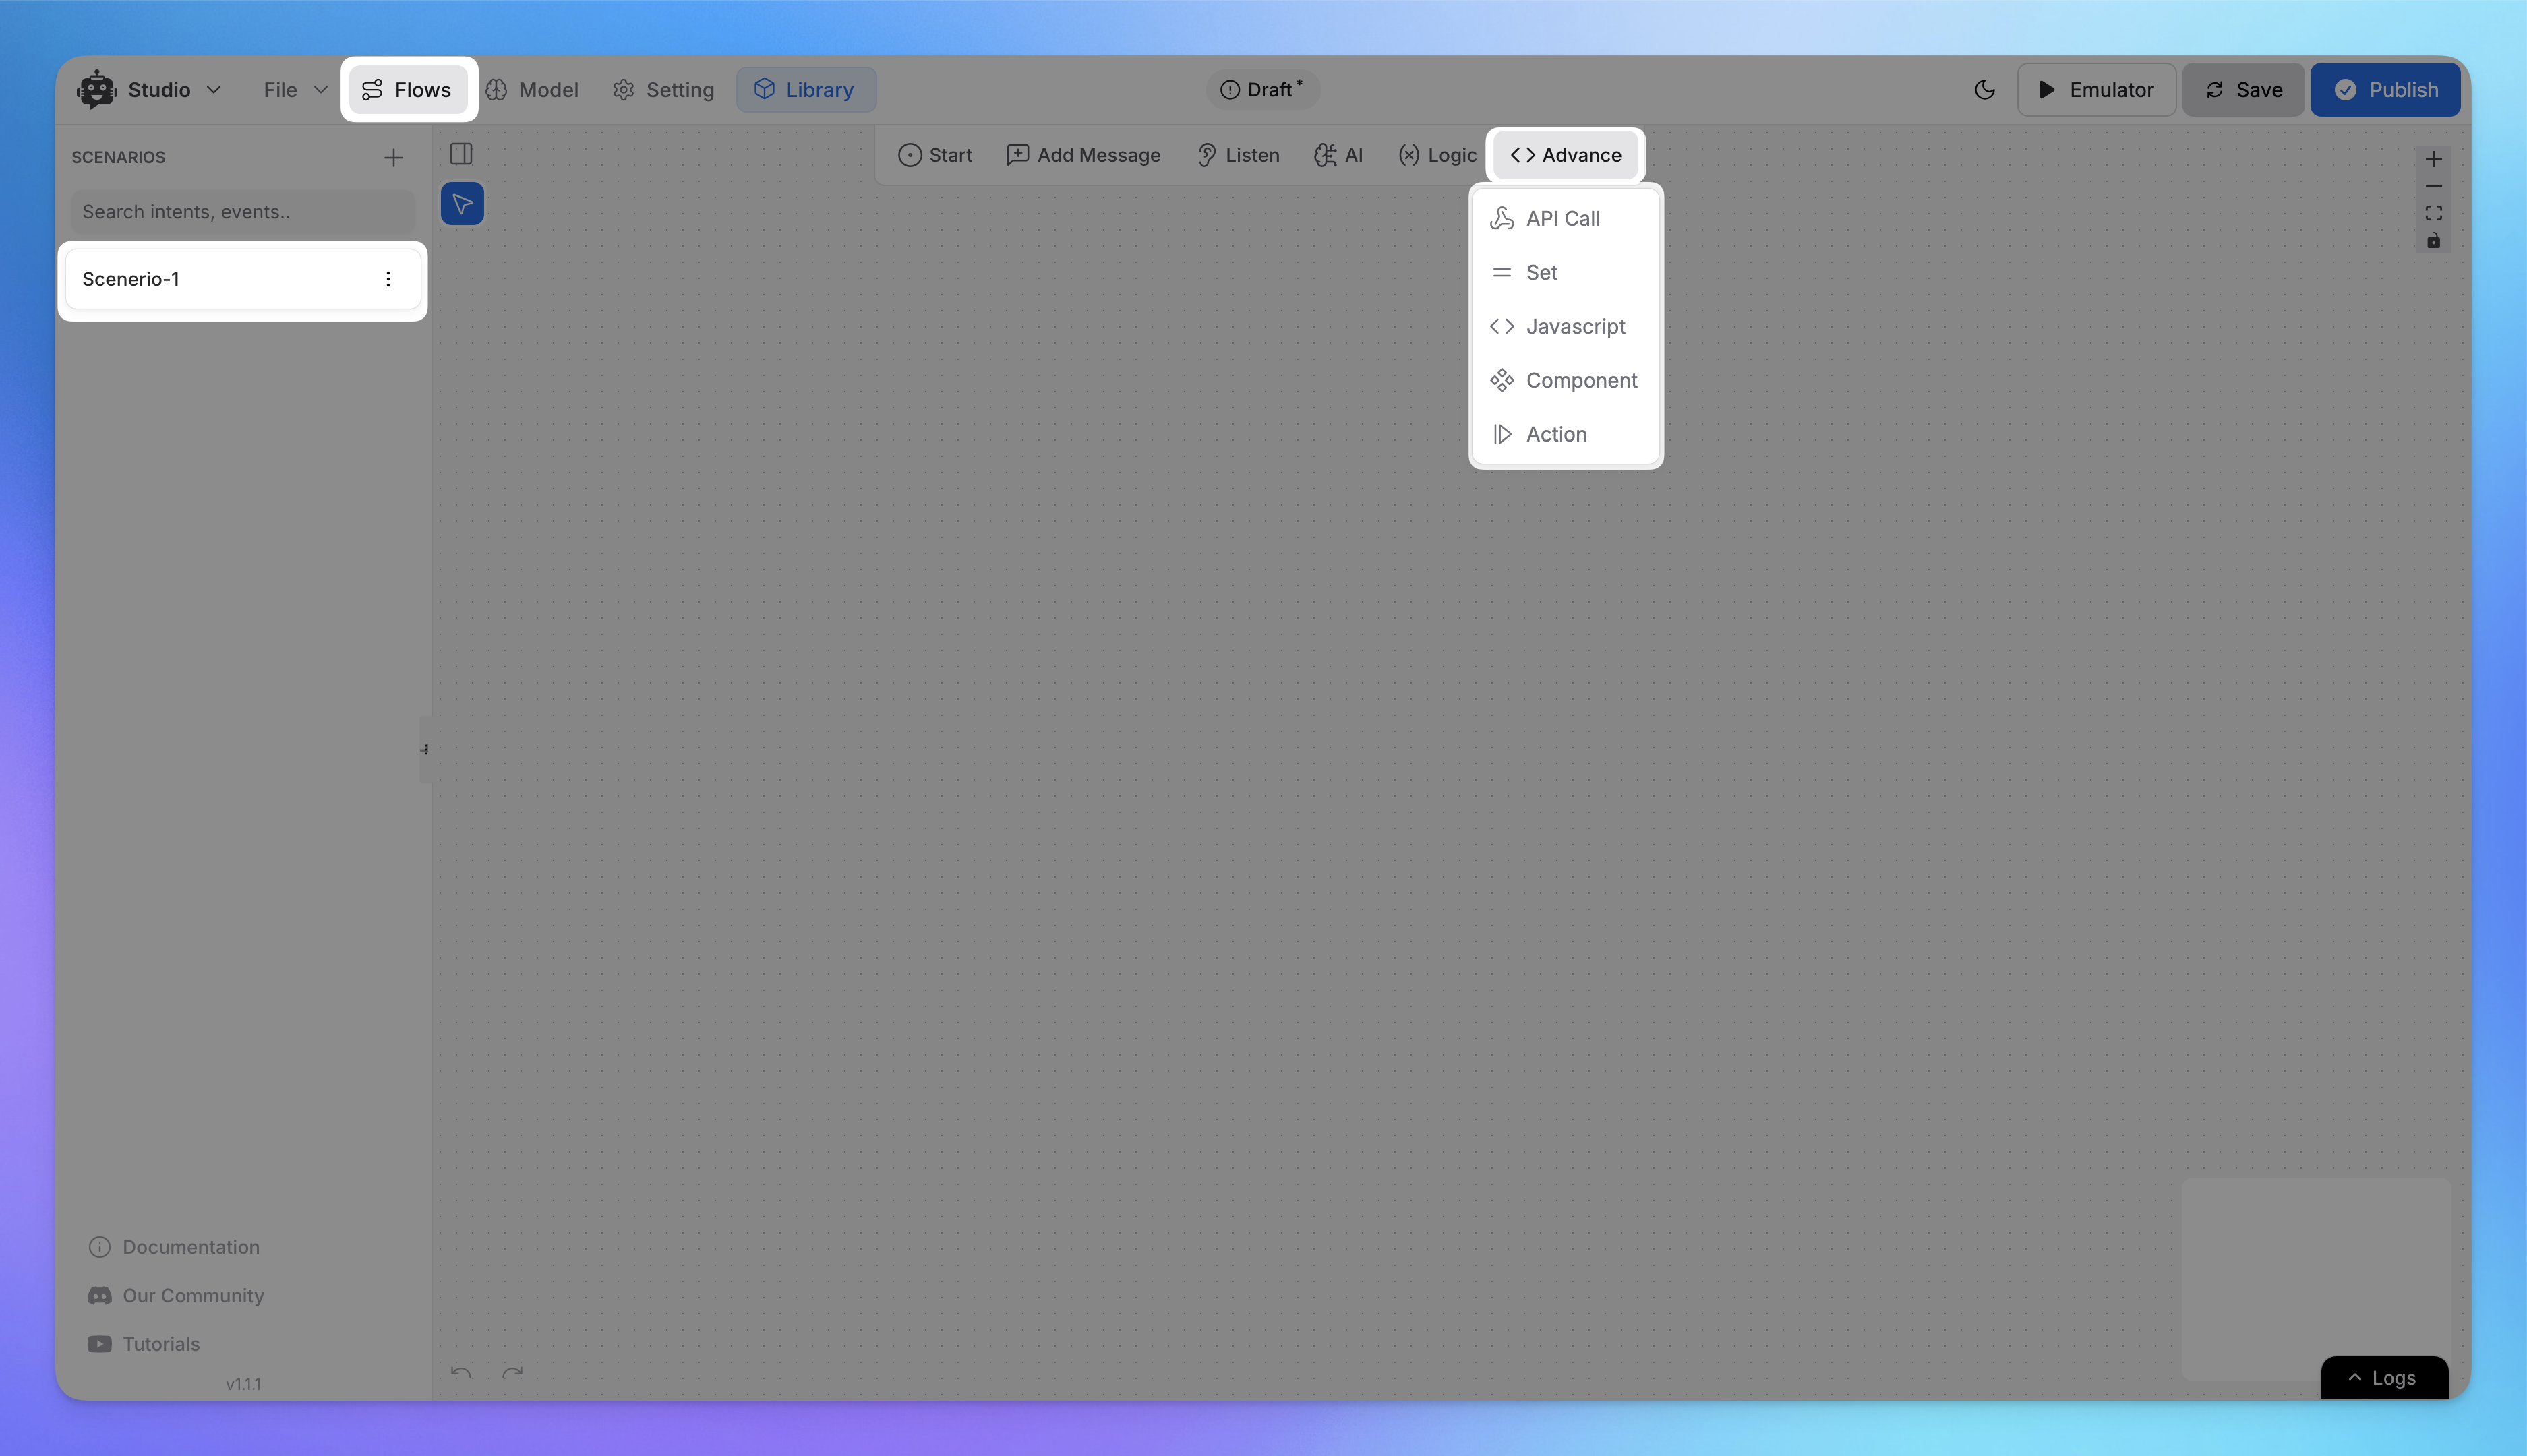
Use Advance for complex workflows. Options include:
API Call Node: Connect with external services or databases.
Set Node: Assign variables for tracking user actions.
JavaScript Node: Add custom code for advanced functionality.
Component Node: Reuse predefined components.
Action Node: Trigger specific actions in the workflow.
Step 4: Test Your Flow
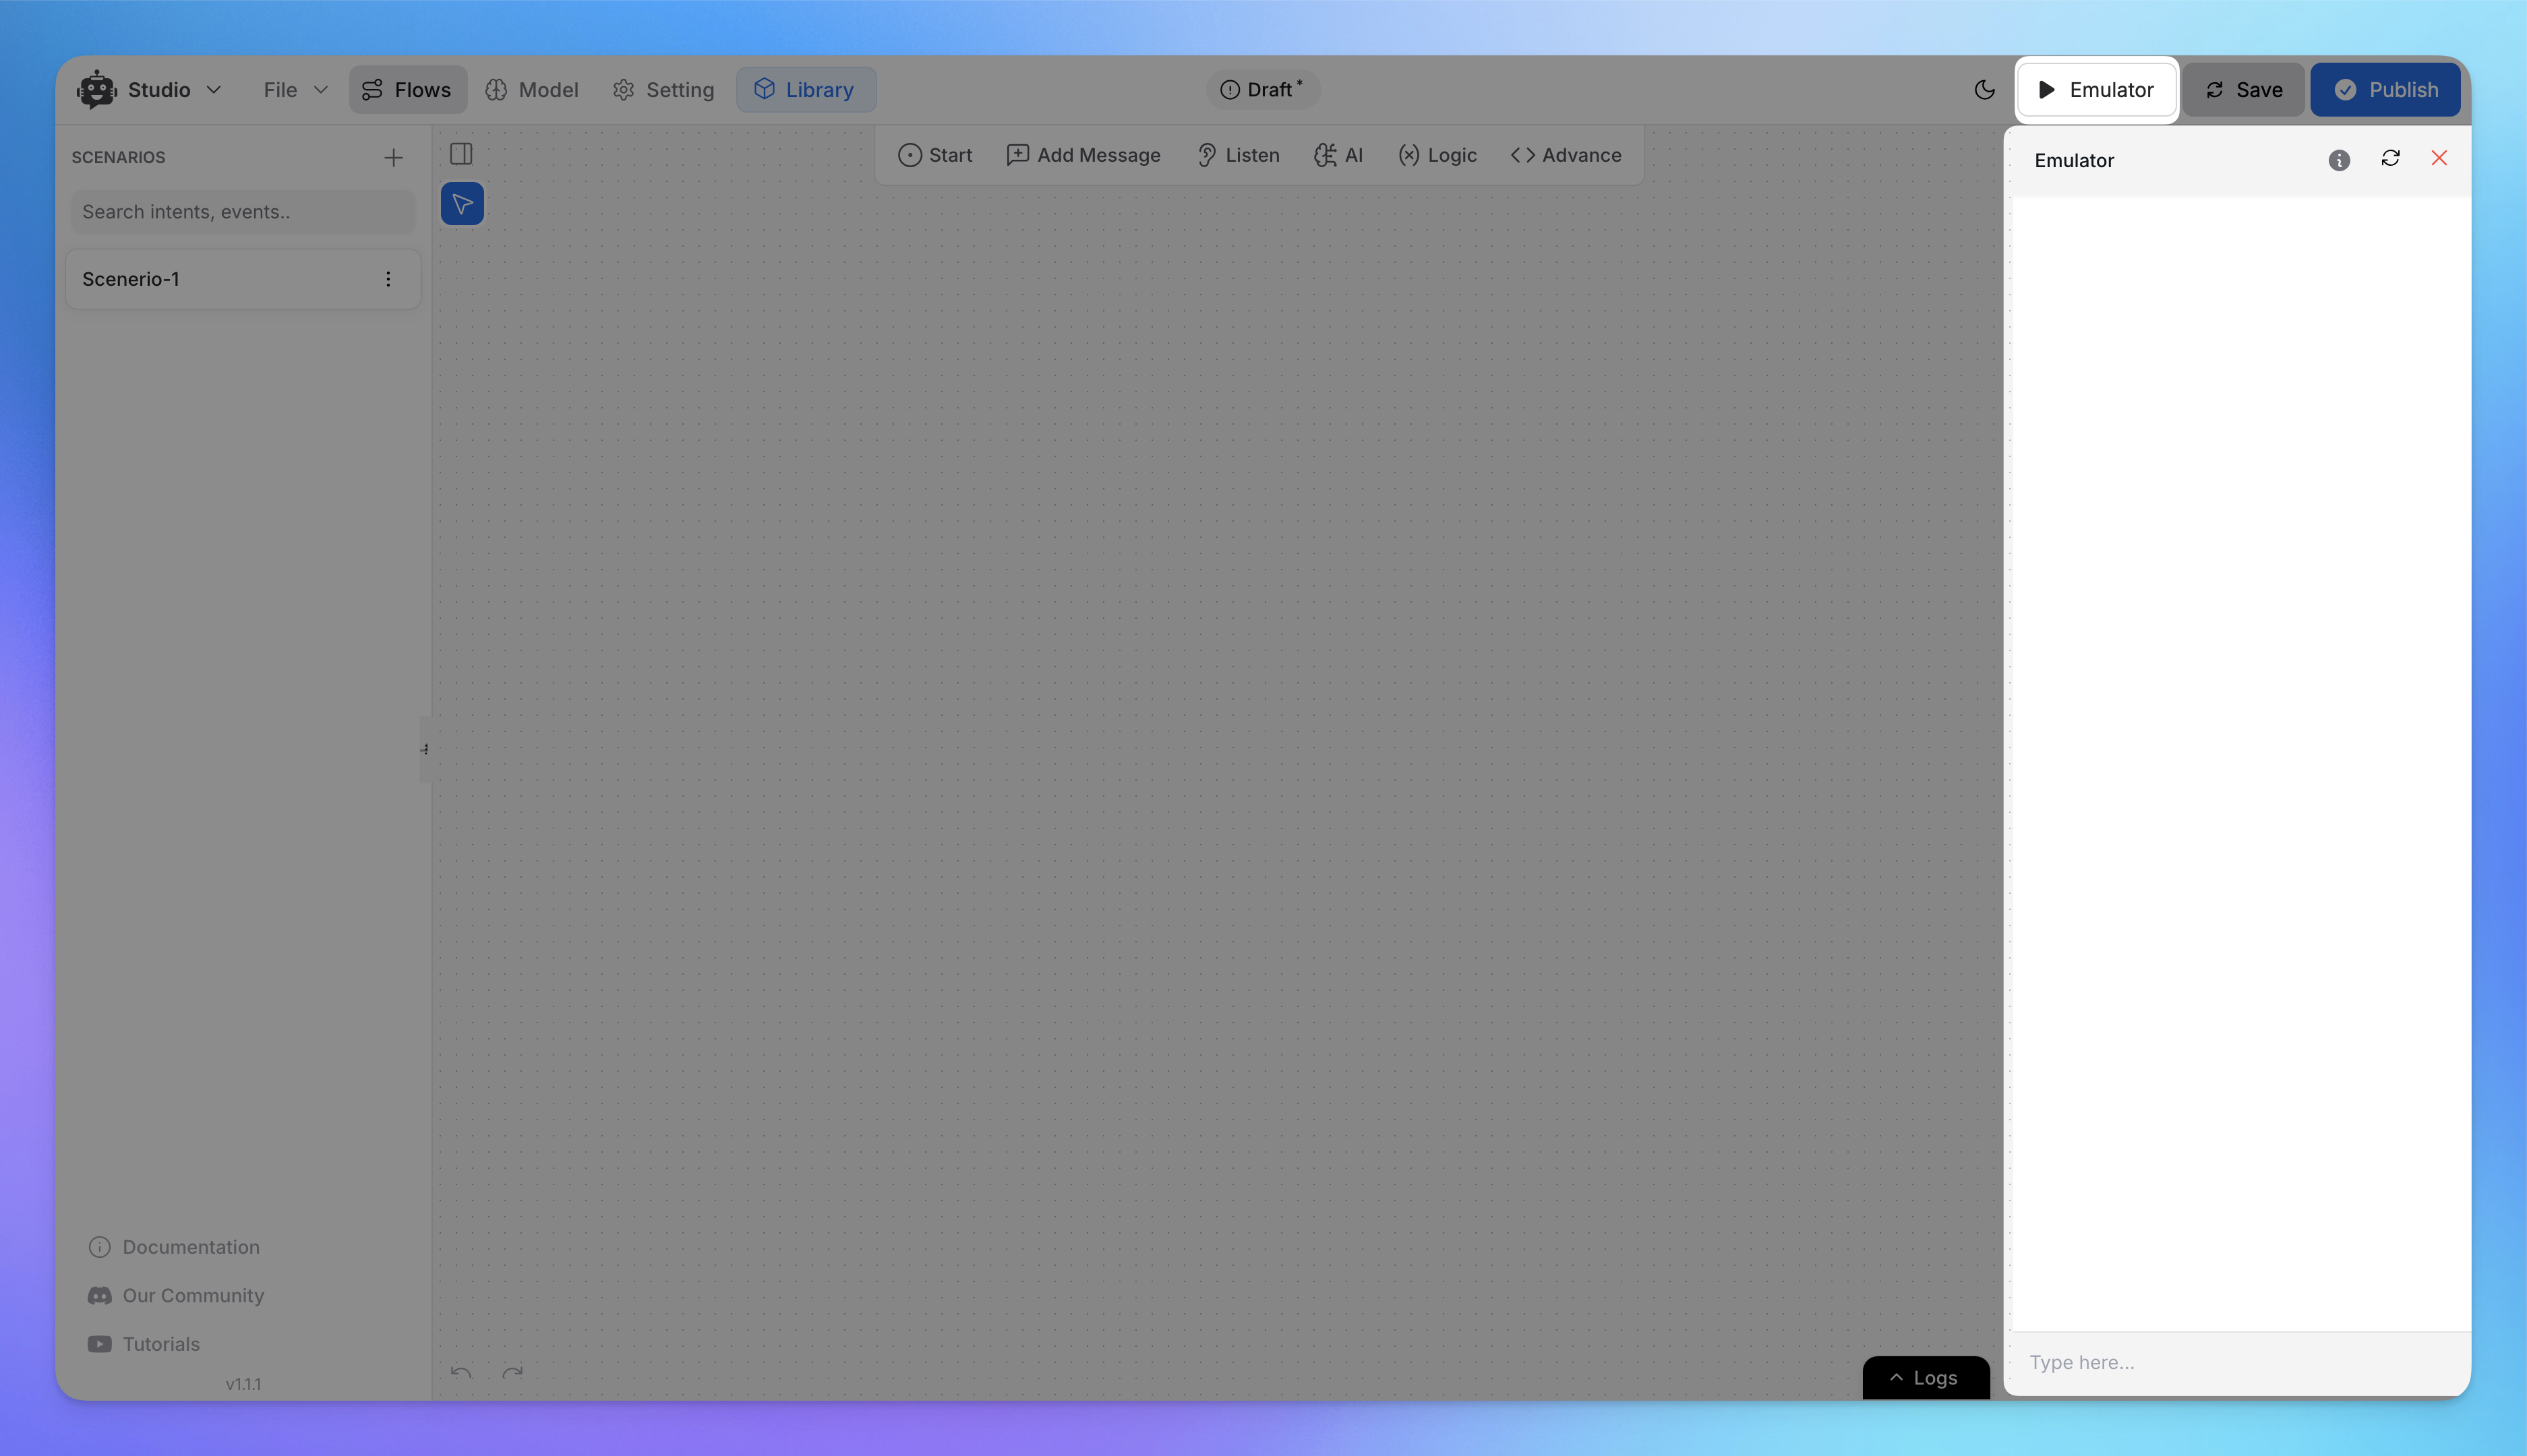
Click the Emulator button at the top right to test the chatbot’s behavior.
Make sure all steps and conditions work as expected.
You can also check logs, by clicking on the bottom right of the canvas inside studio.
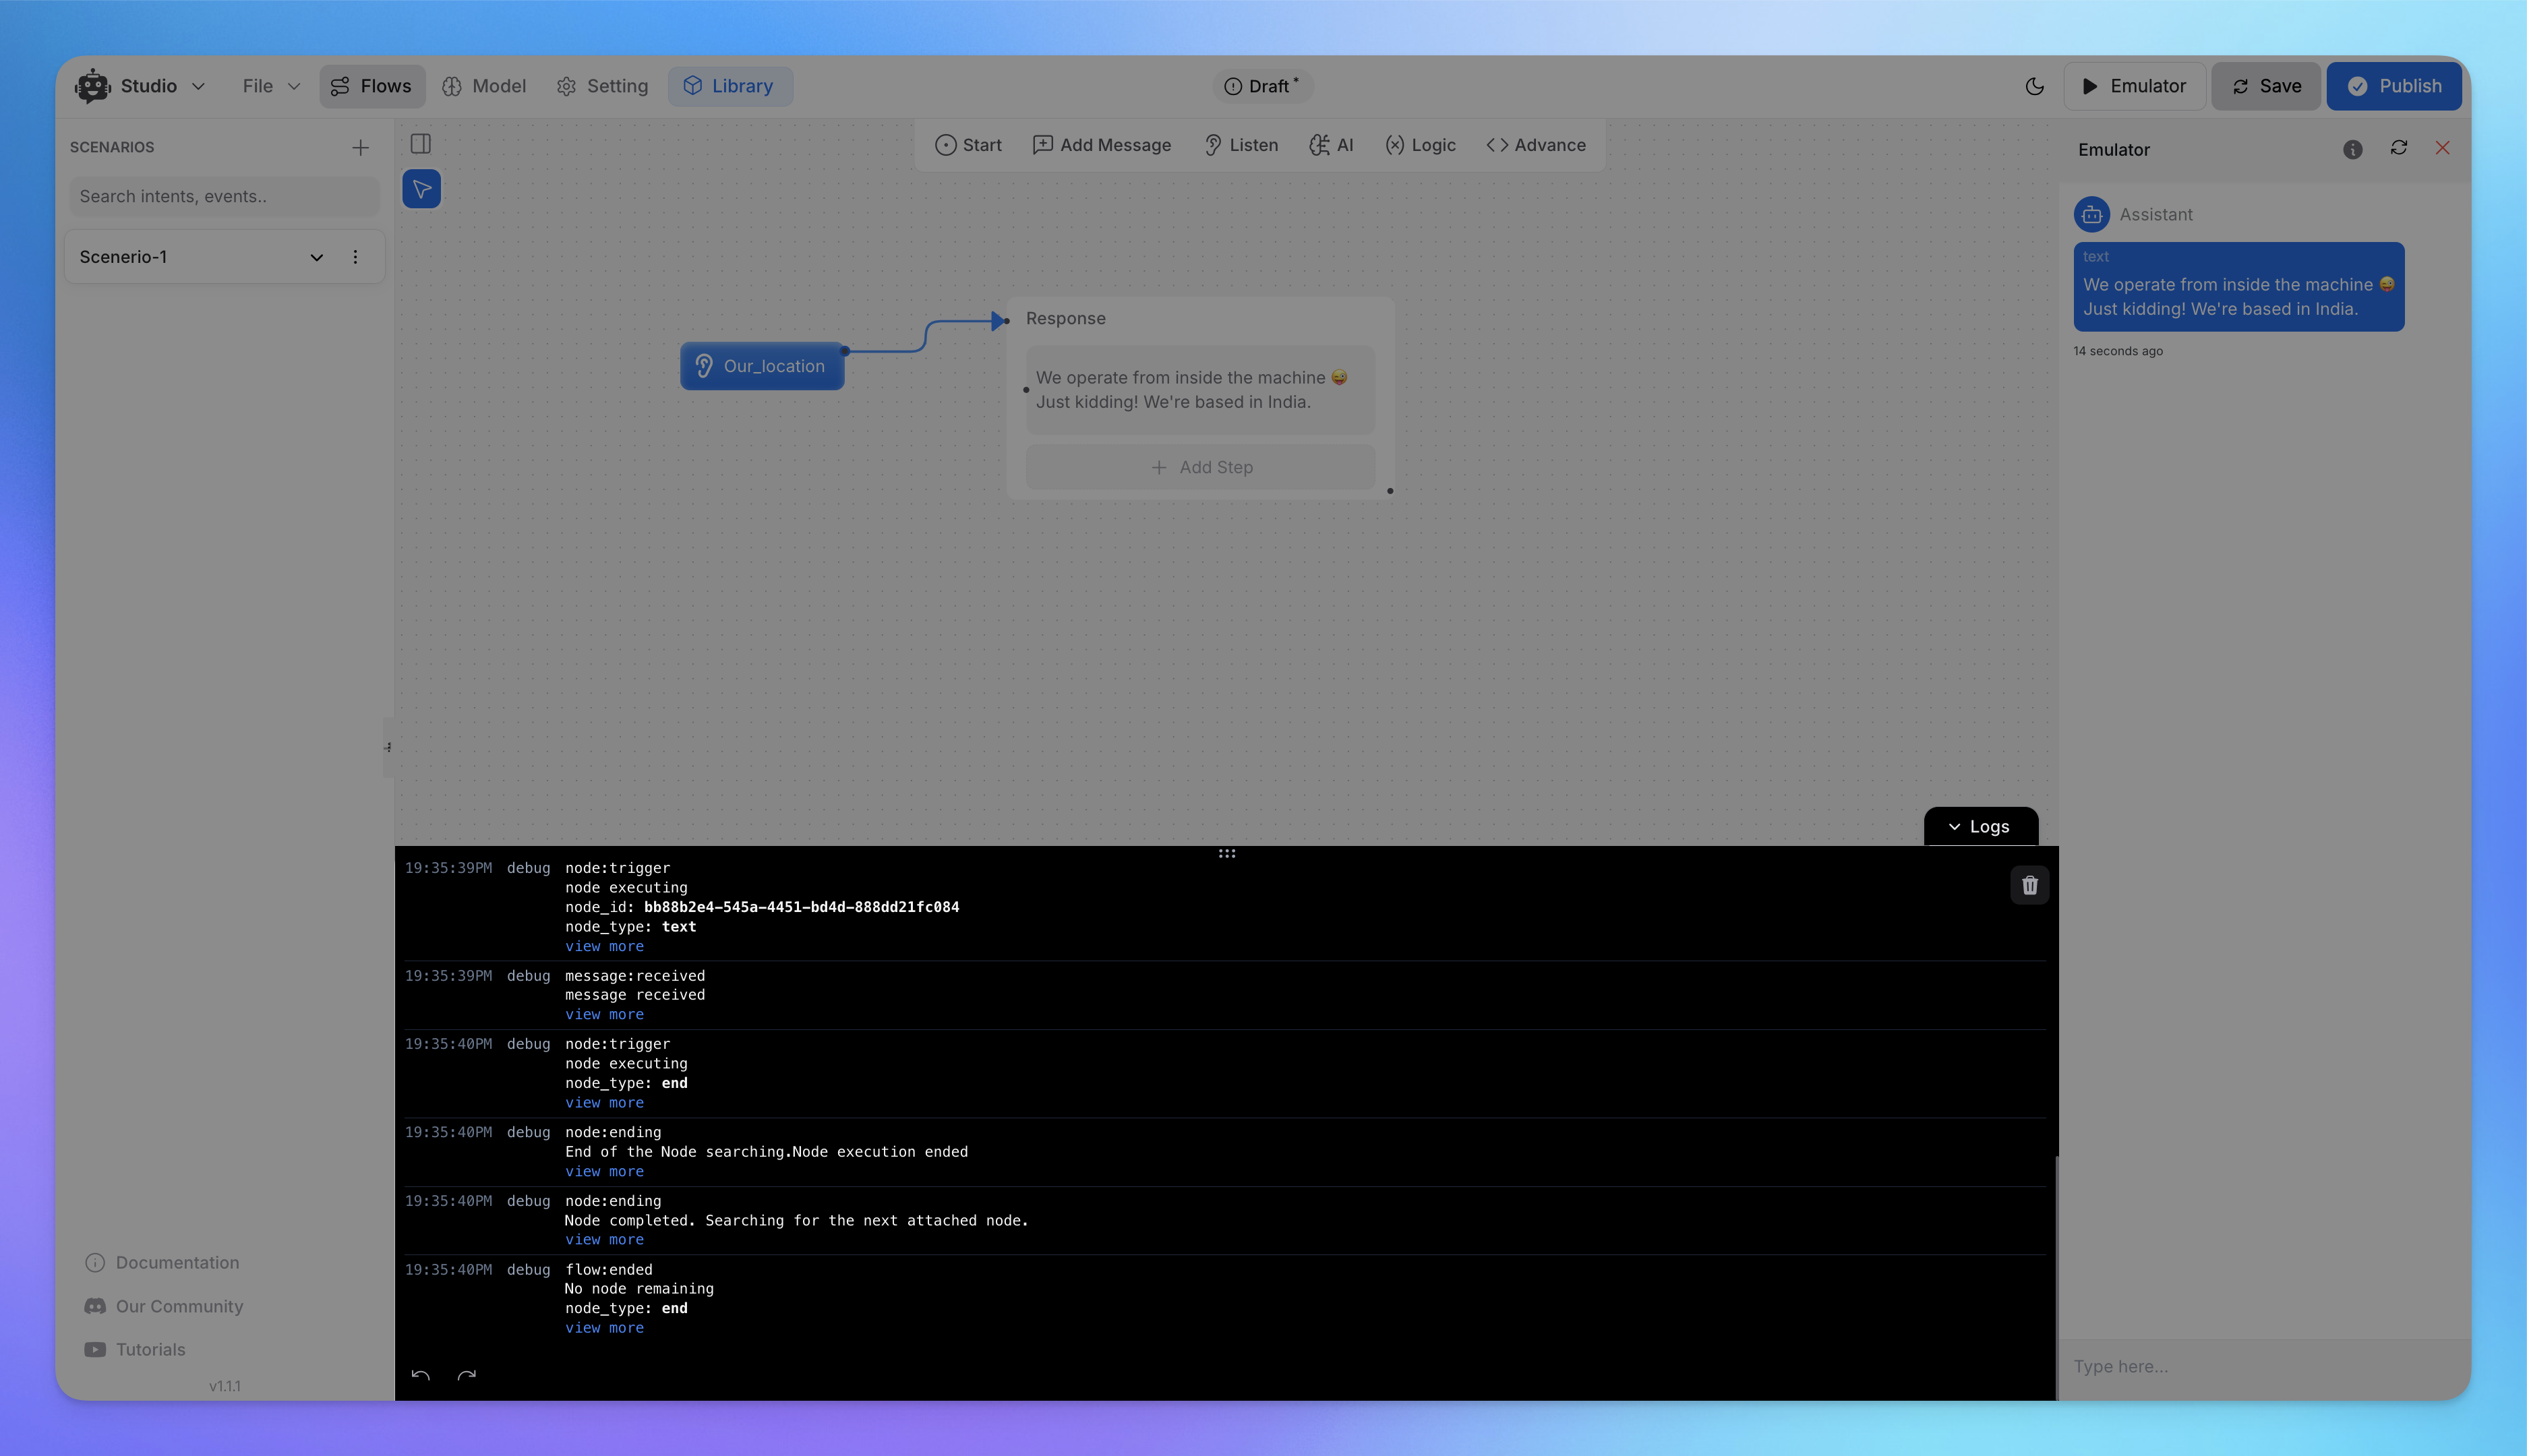
It will open logs for the studio scenario like shown in the image above☝️
Step 5: Save and Publish
Once satisfied with your flow, click Save.
Finally, select Publish to make your chatbot live.
How to Configure Key Components in Studio Tool
This guide provides an overview of configuring important elements such as entities, intents, variables, and settings within the Studio Tool.
1. Intents
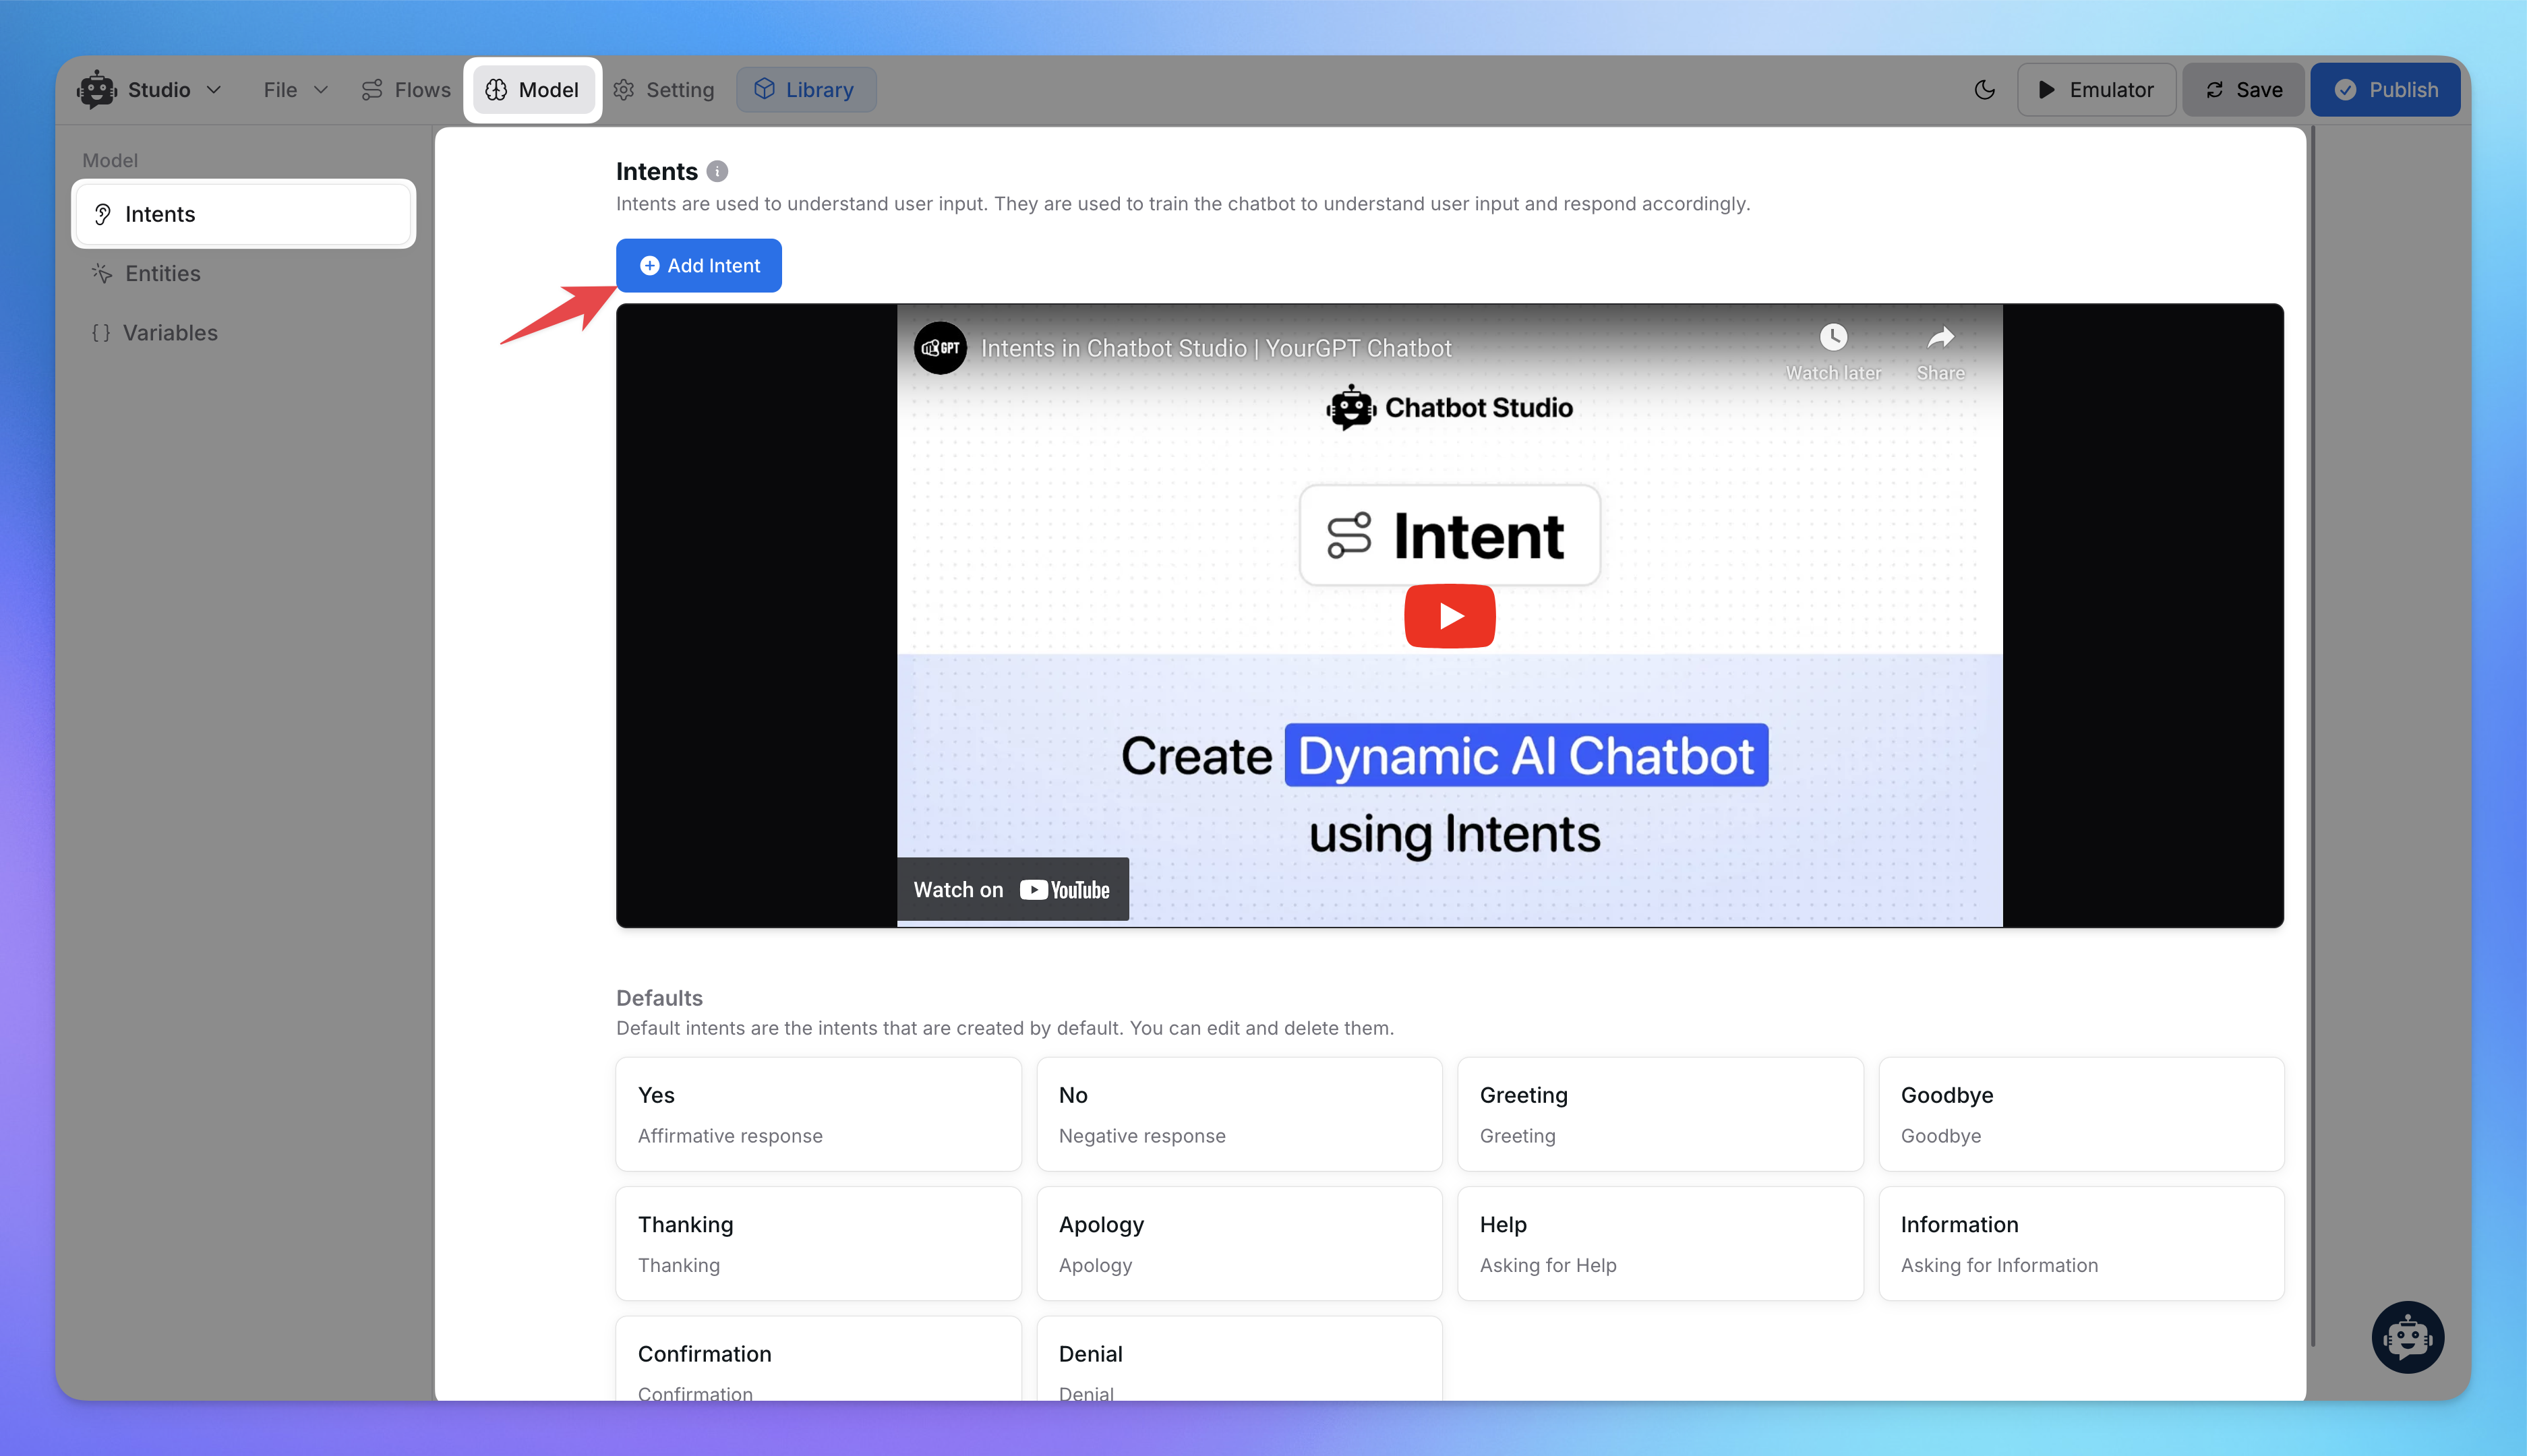
Go to Model > Intents.
Click Add Intent to define user intents and add training phrases.
Use pre-configured intents like Greeting, Help, and Confirmation for faster setup.
2. Entities
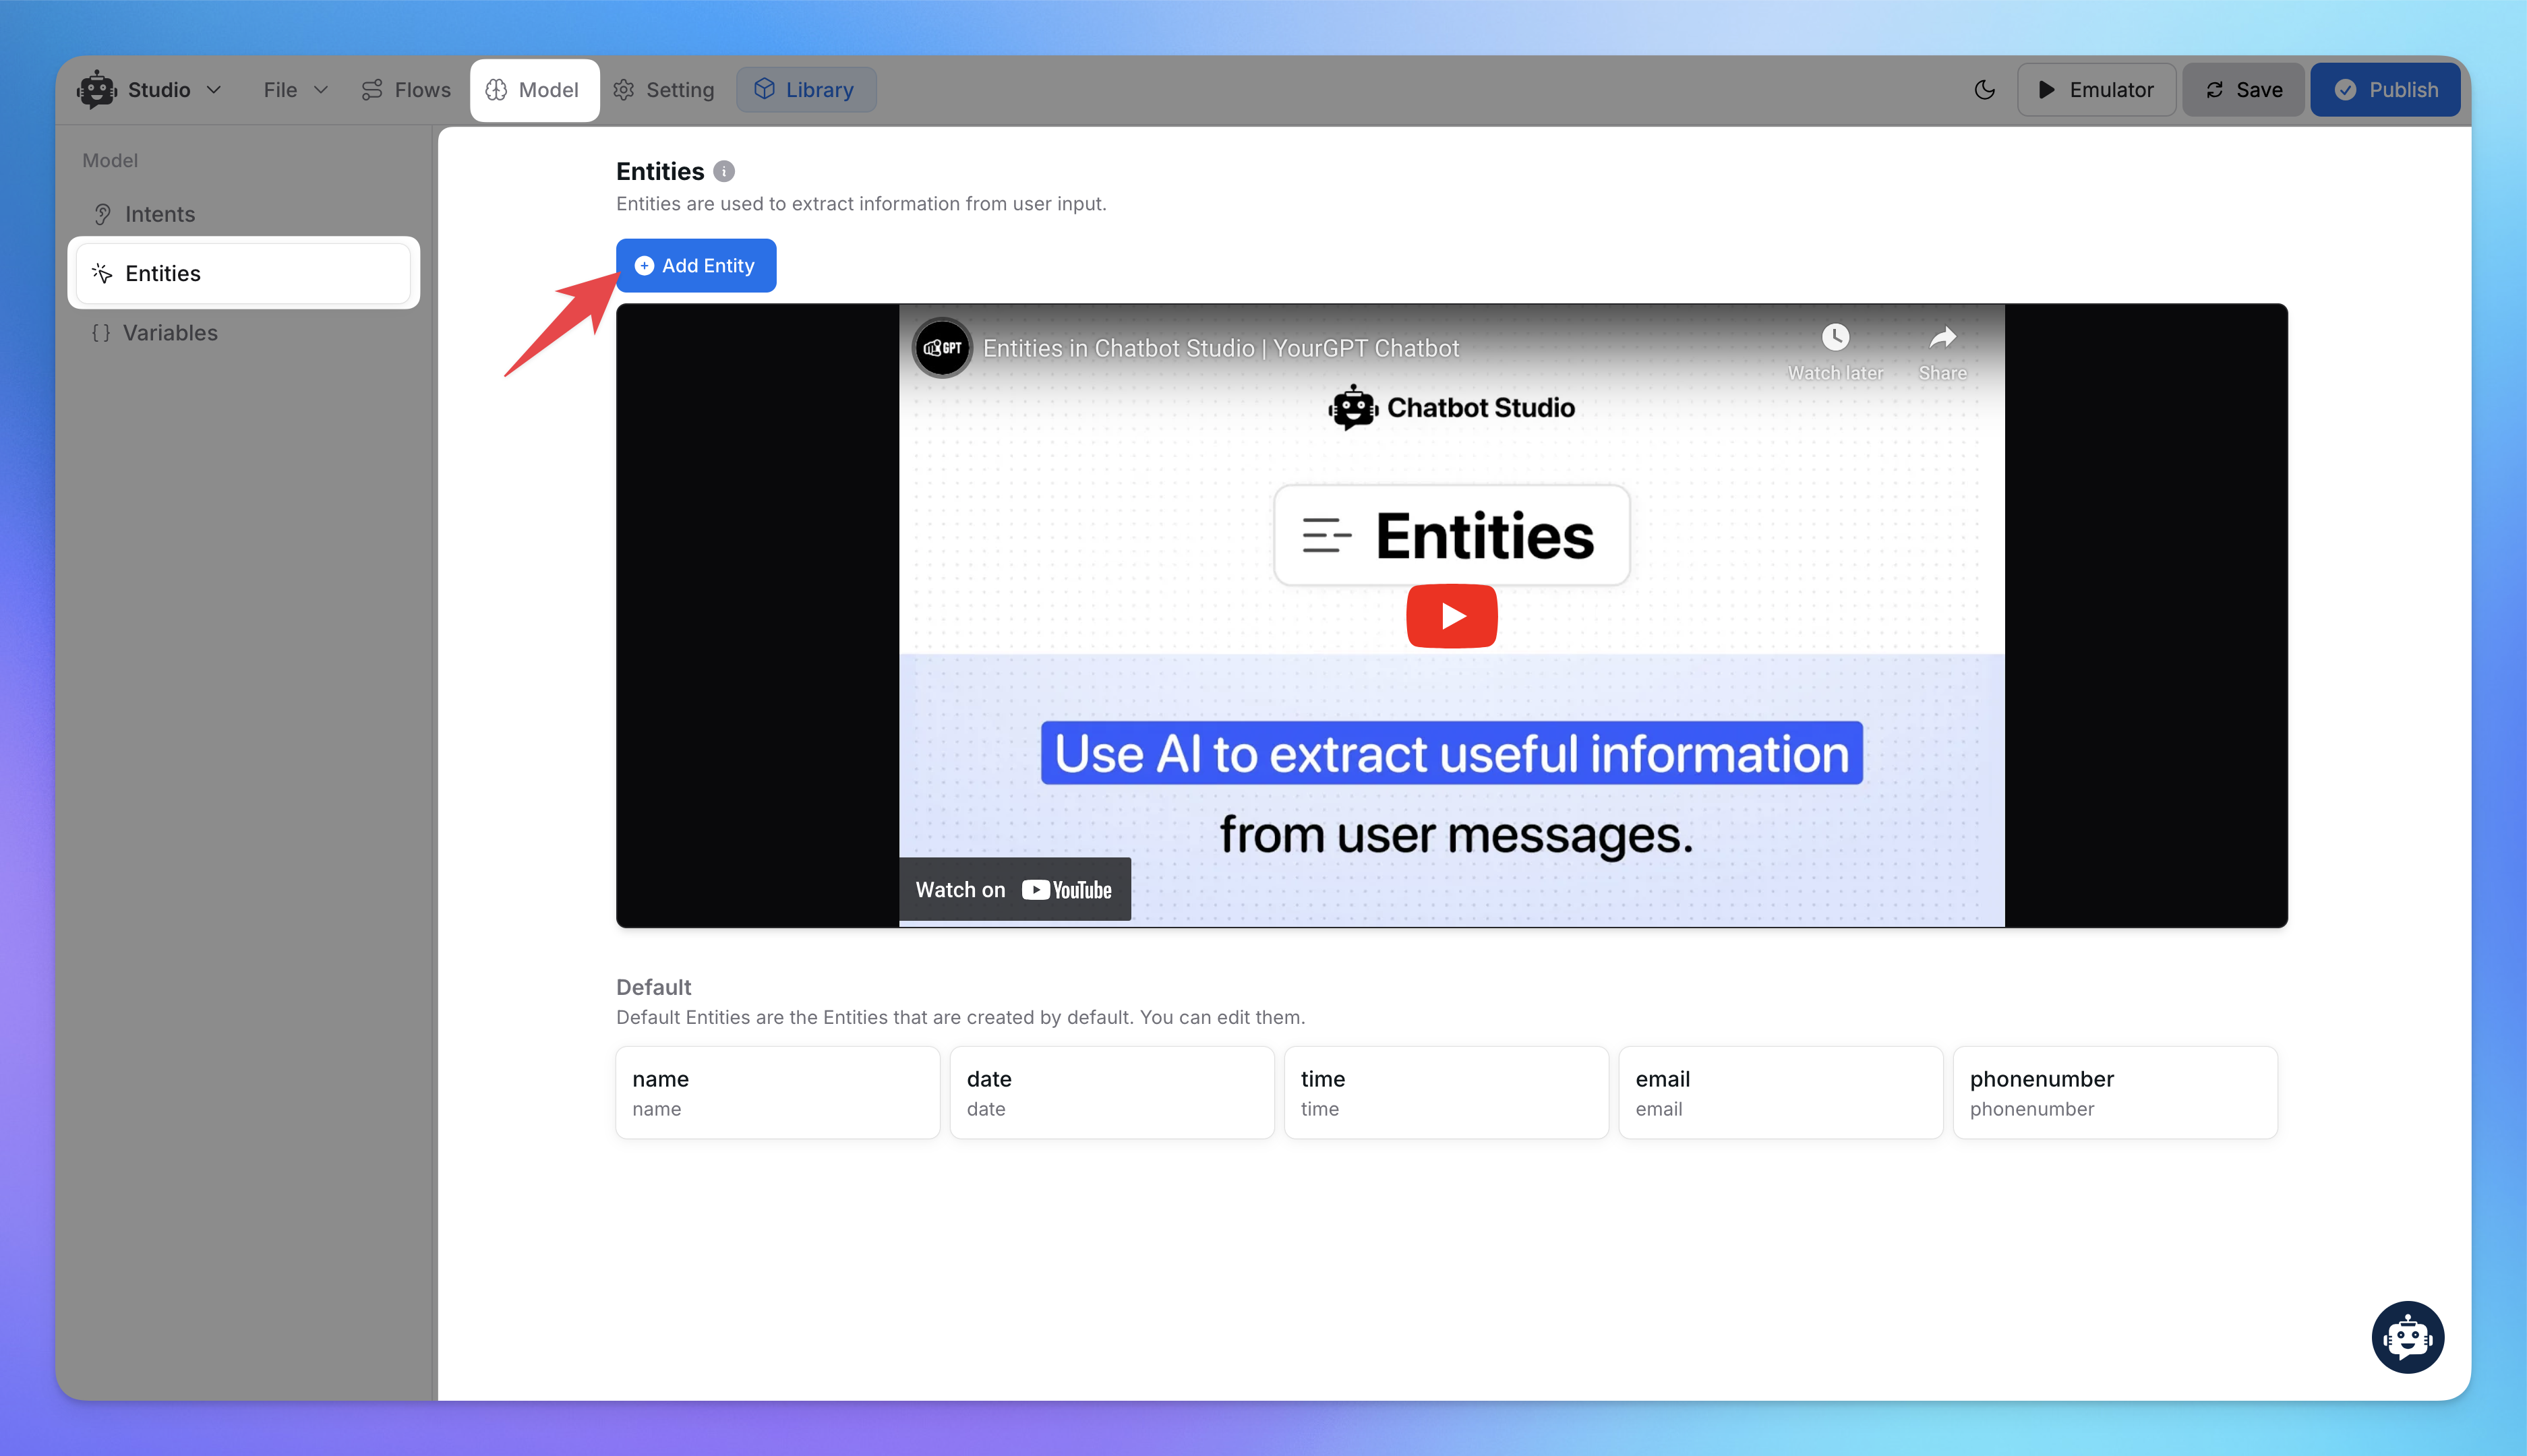
Navigate to Model > Entities.
Use the Add Entity button to define new entities for extracting structured data.
Default entities include name, date, time, email, and phone number.
3. Variables
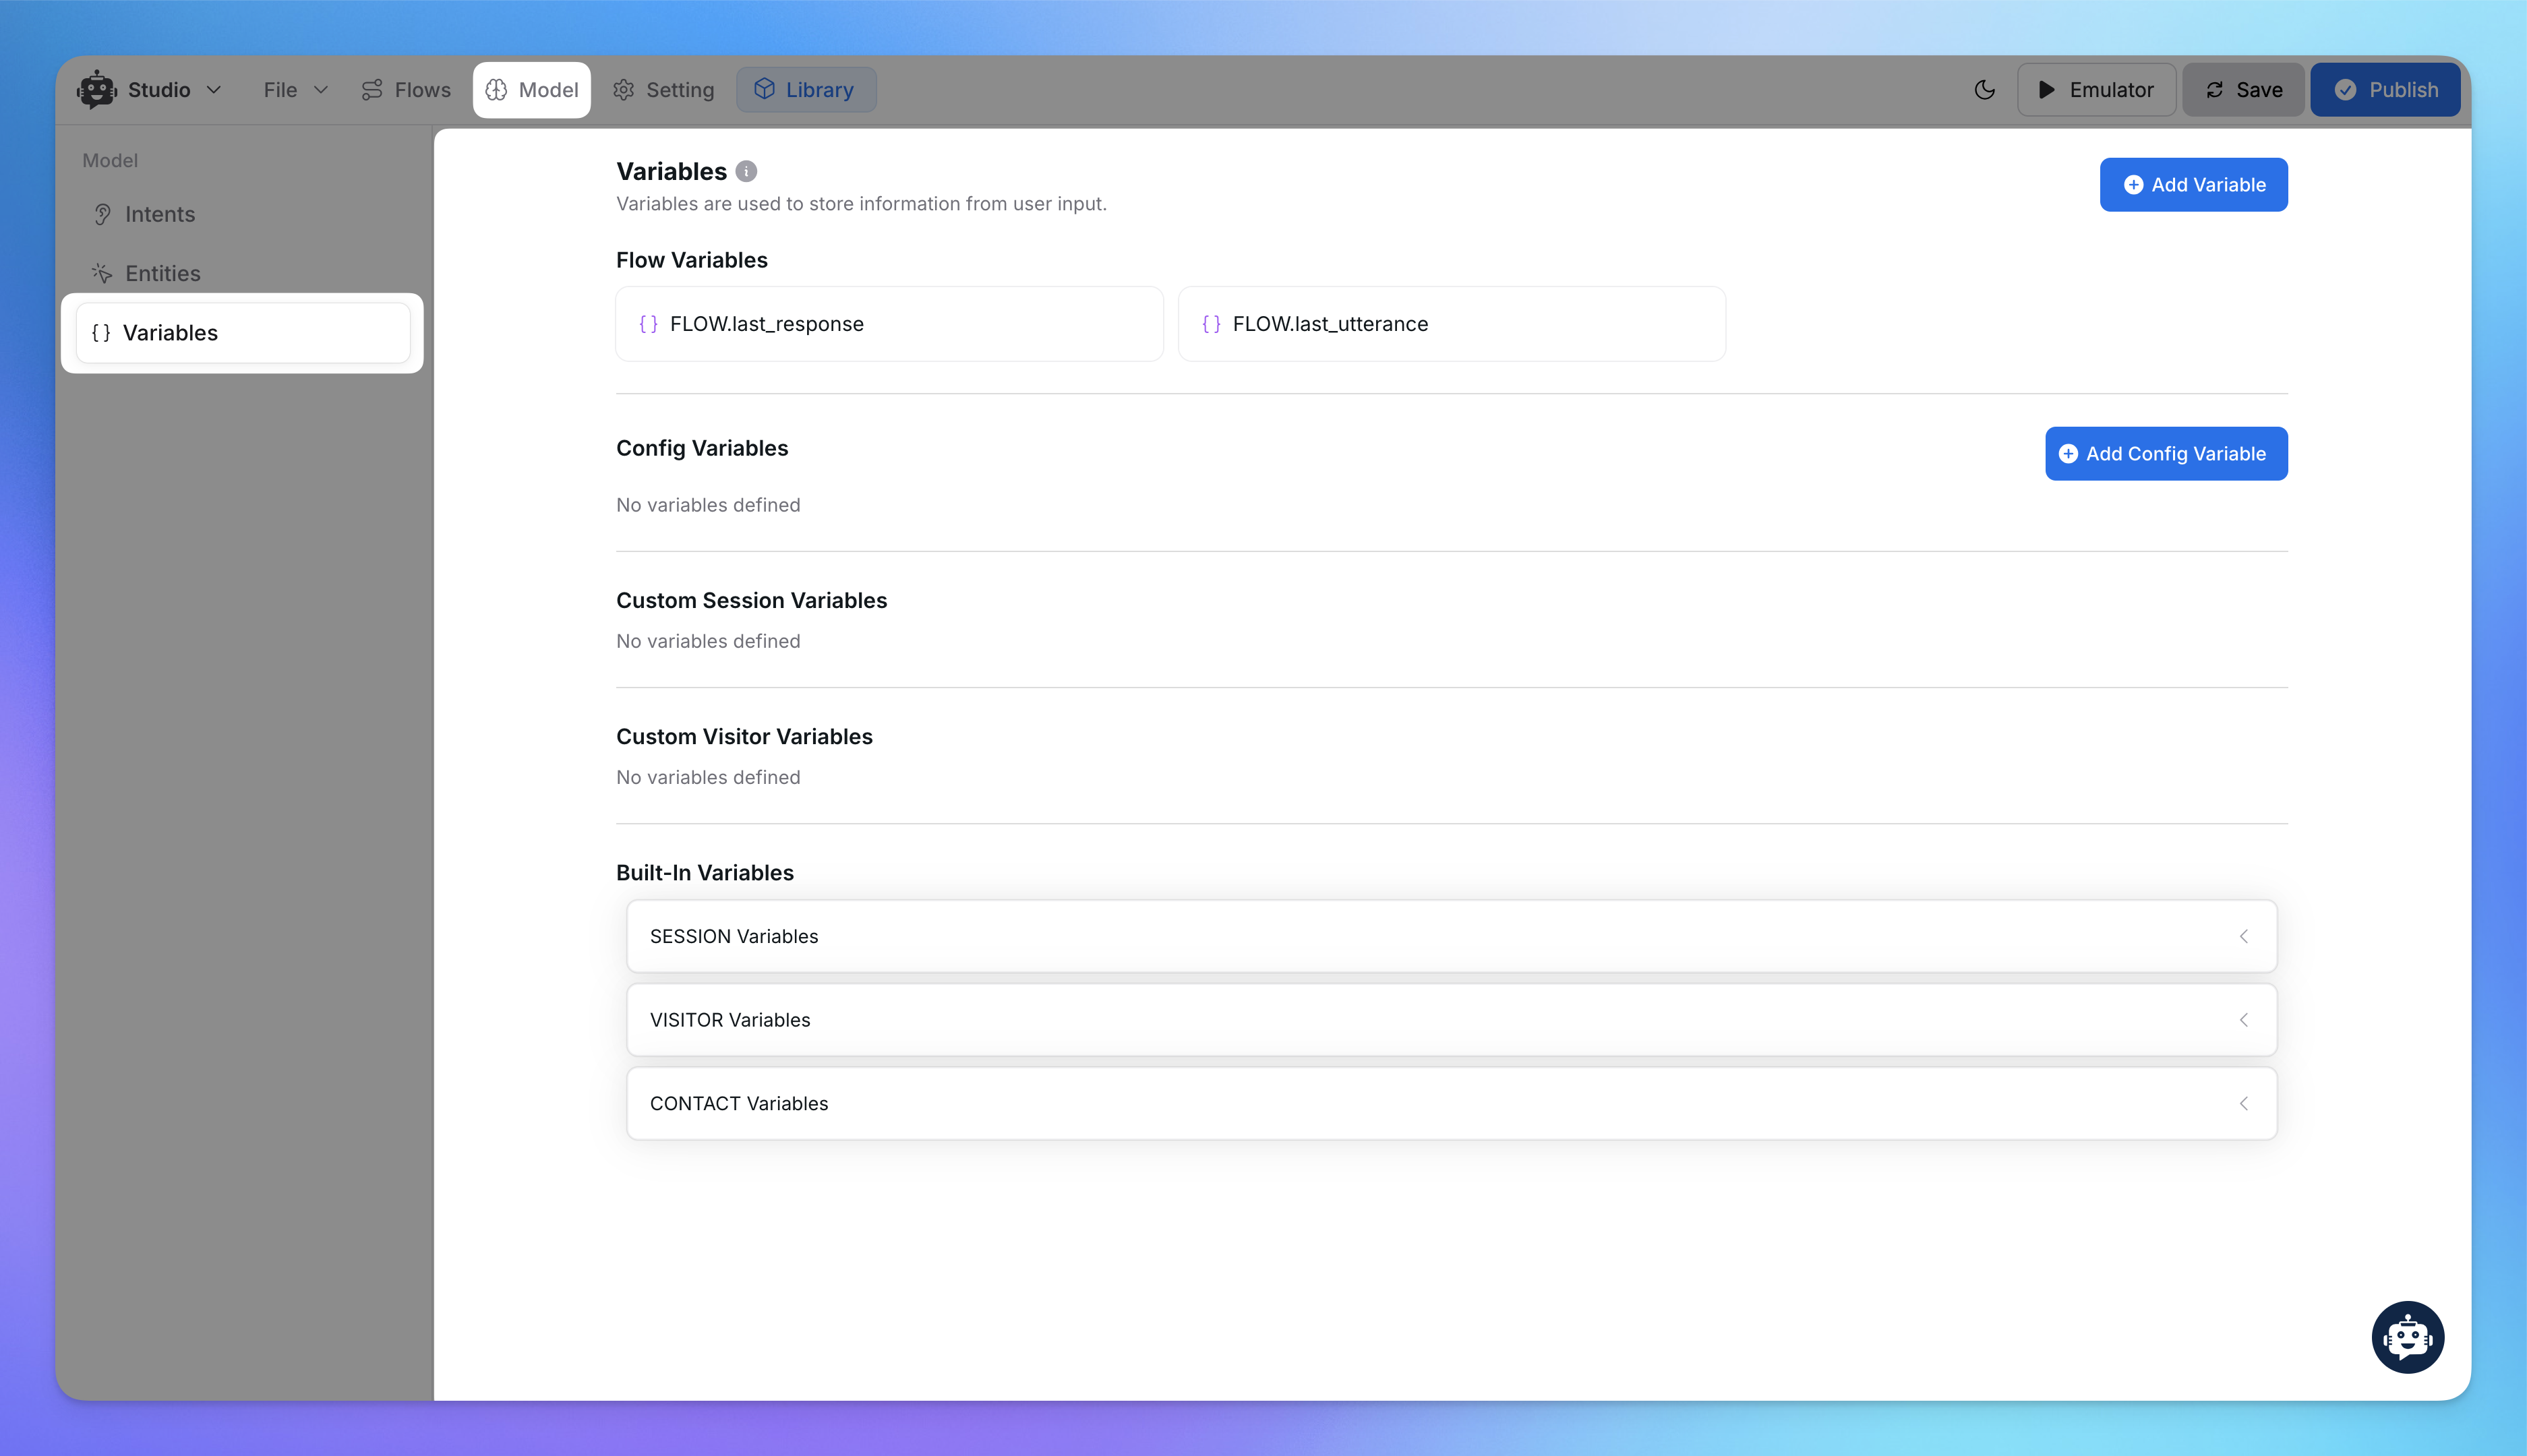
Open Model > Variables.
Add custom session, visitor, or flow variables to store dynamic user data.
Built-in variables such as SESSION Variables and VISITOR Variables are also available.
Settings
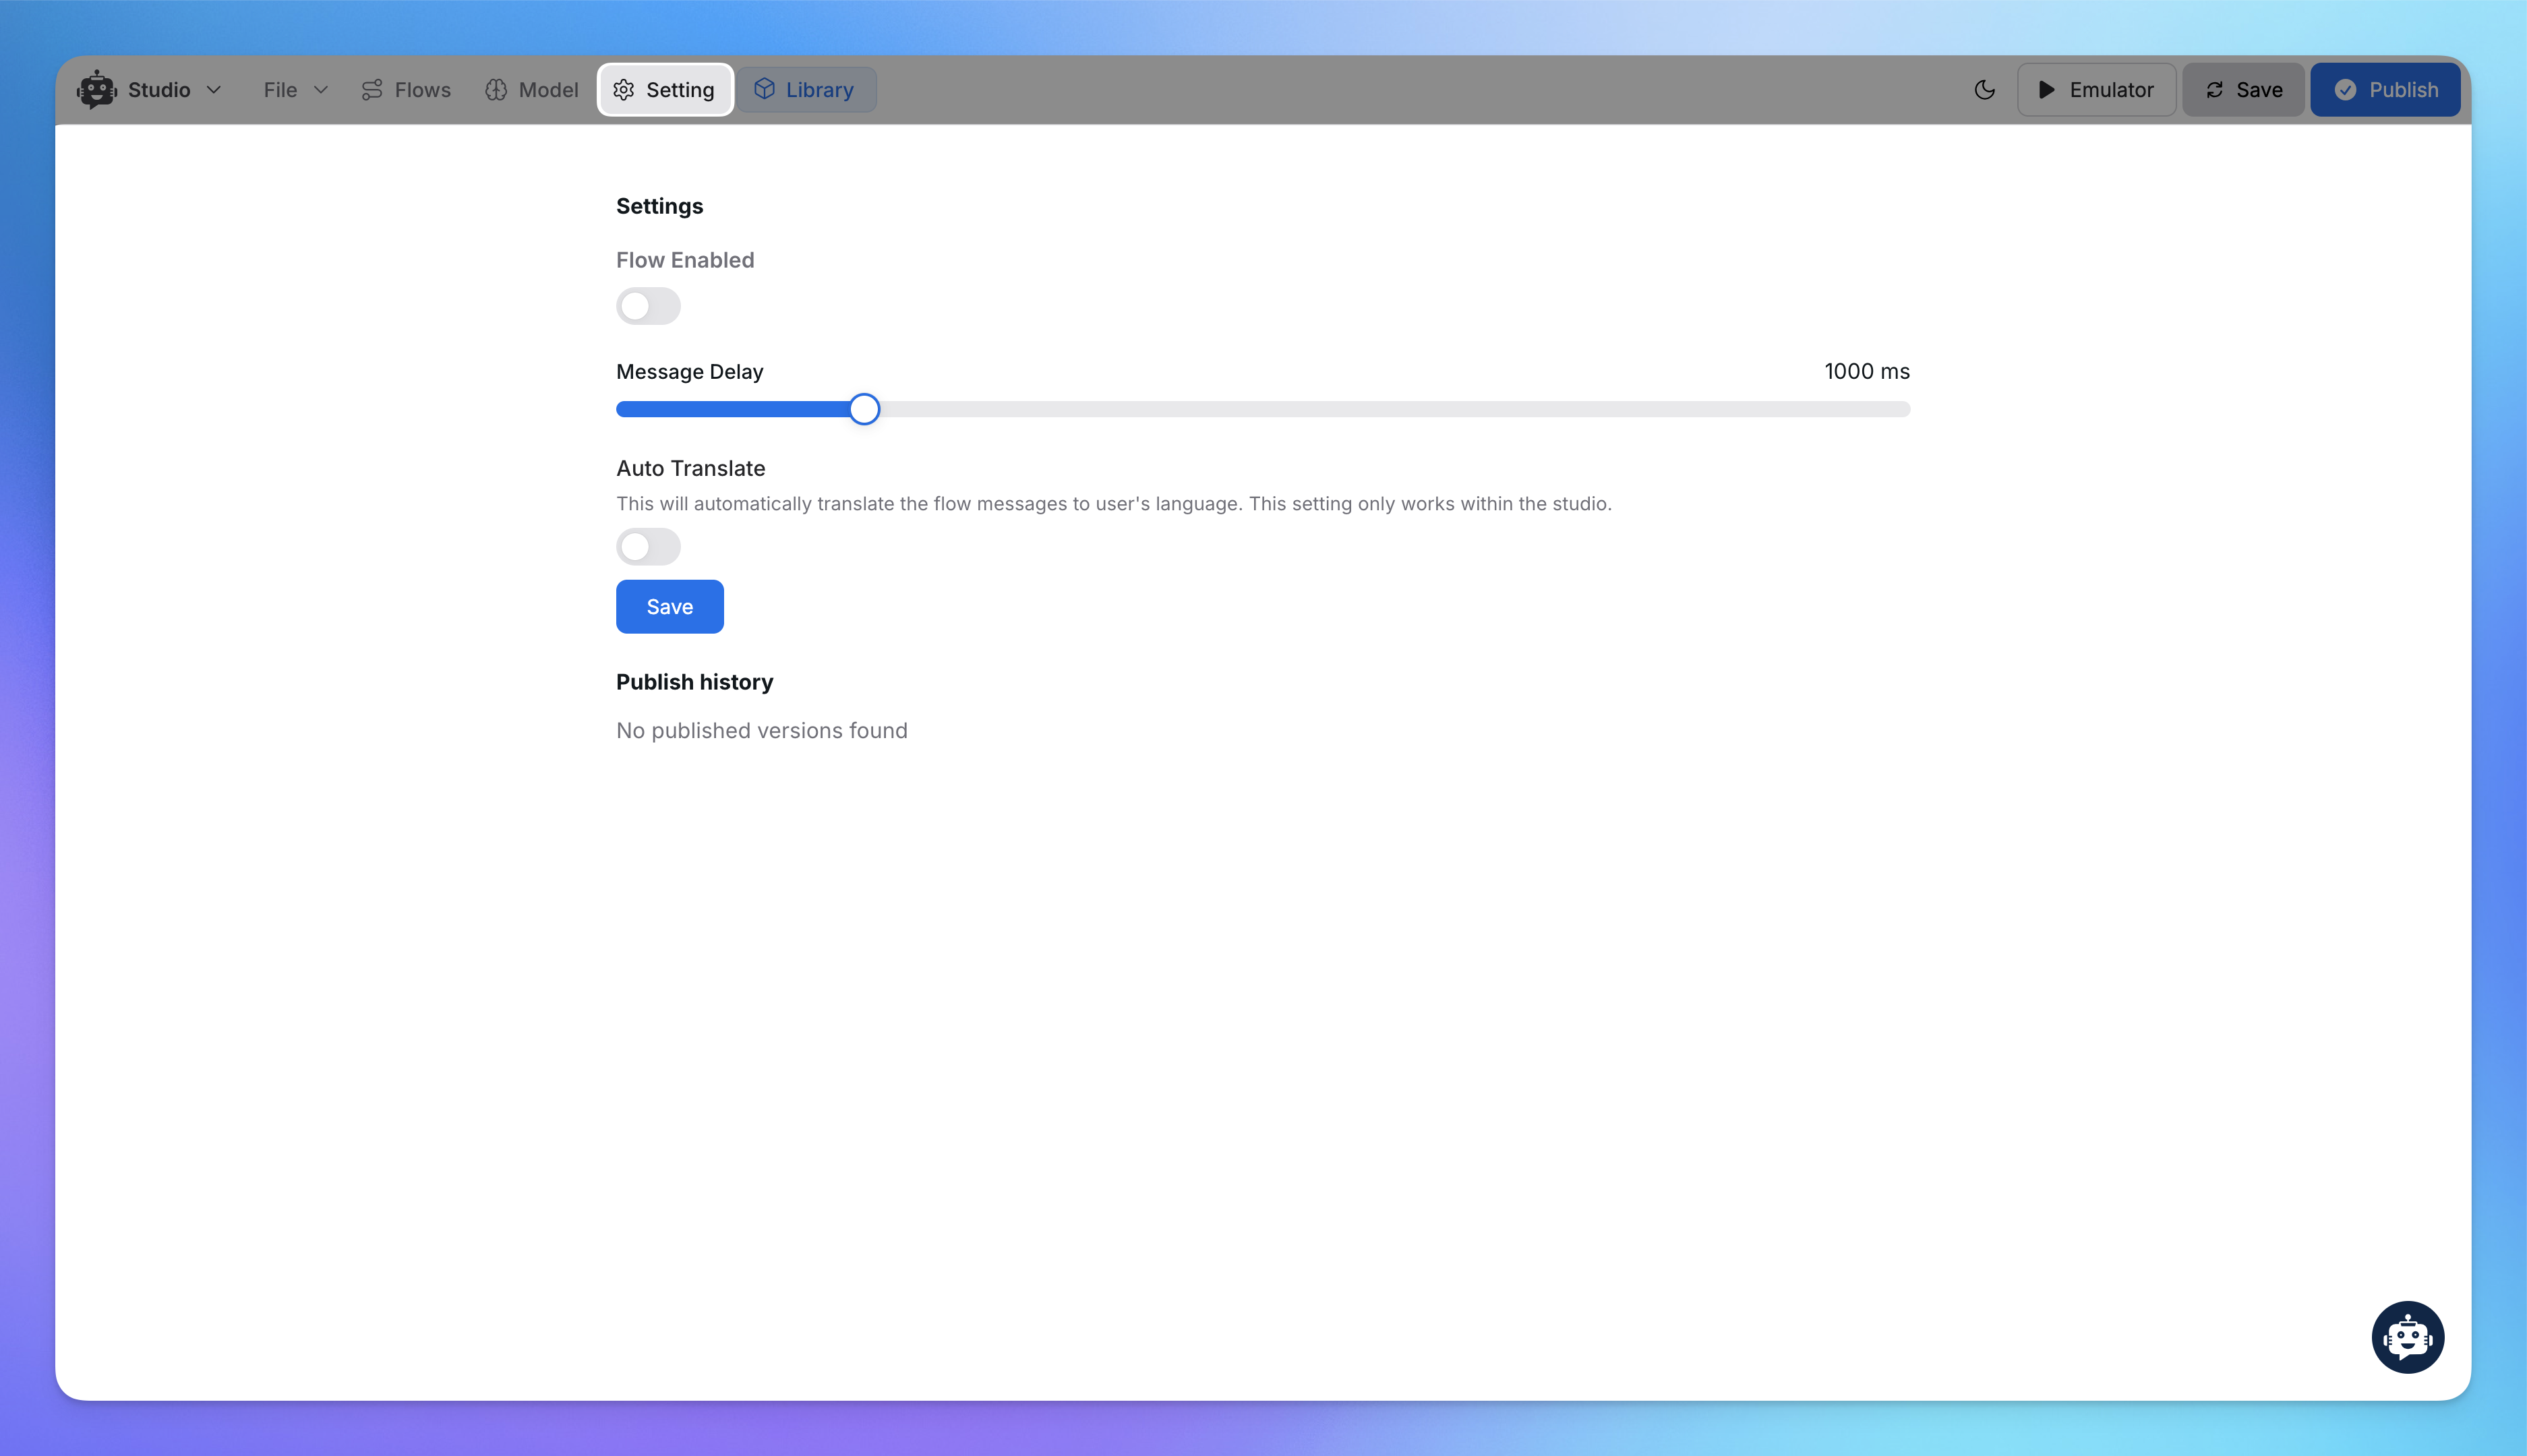
Enable Disable the Flow.
Adjust chatbot behavior in the Settings tab.
Message Delay: Set delays between responses for a natural flow.
Auto Translate: Enable to support multi-language users.
Save changes and publish when ready.
This step-by-step guide ensures you can create powerful workflows tailored to your chatbot’s requirements. For more help, explore our documentation, join our discord Community, or watch videos on youtube.
Related Articles
How to use Intents in Chatbot Studio?
This guide walks you through creating and using Intents to enhance your chatbot’s capabilities.
Flow : Scenarios, Blocks, Steps & Connections
This article fully details how steps/nodes and blocks work, how to configure them, create paths and connections.
How to capture and store a user’s response?
This article provides a complete guide on capturing user responses, such as name, email, and more, and shows how to store and utilize them in your chatbot to create personalized and engaging experiences.
How to Add & Configure Text, Image, and File Messages in Studio
Learn how to send text, images, and files with your ai agent using studio.
How to Debug Flows and View Execution Logs in Chatbot Studio?
Learn how to debug your flows, check flow execution logs, and view logs within the Chatbot Studio
How to Set Up Conditions in AI Studio
Set Conditions to Understand What Information Users Are Looking For
How to create and use forms in AI Studio?
This guide will walk you through the process of creating and using forms to improve the user experience with your AI agent
