
Set Up Gmail Integration Using the Web Browser Extension
This setup brings AI assistance right into Gmail, so you can write replies faster, with better phrasing and less effort. The integration works through a small browser extension and can be turned on or off depending on what features you need. Setup takes less than a minute.
1. Navigate to Integration
Choose the Integration in Sidebar.
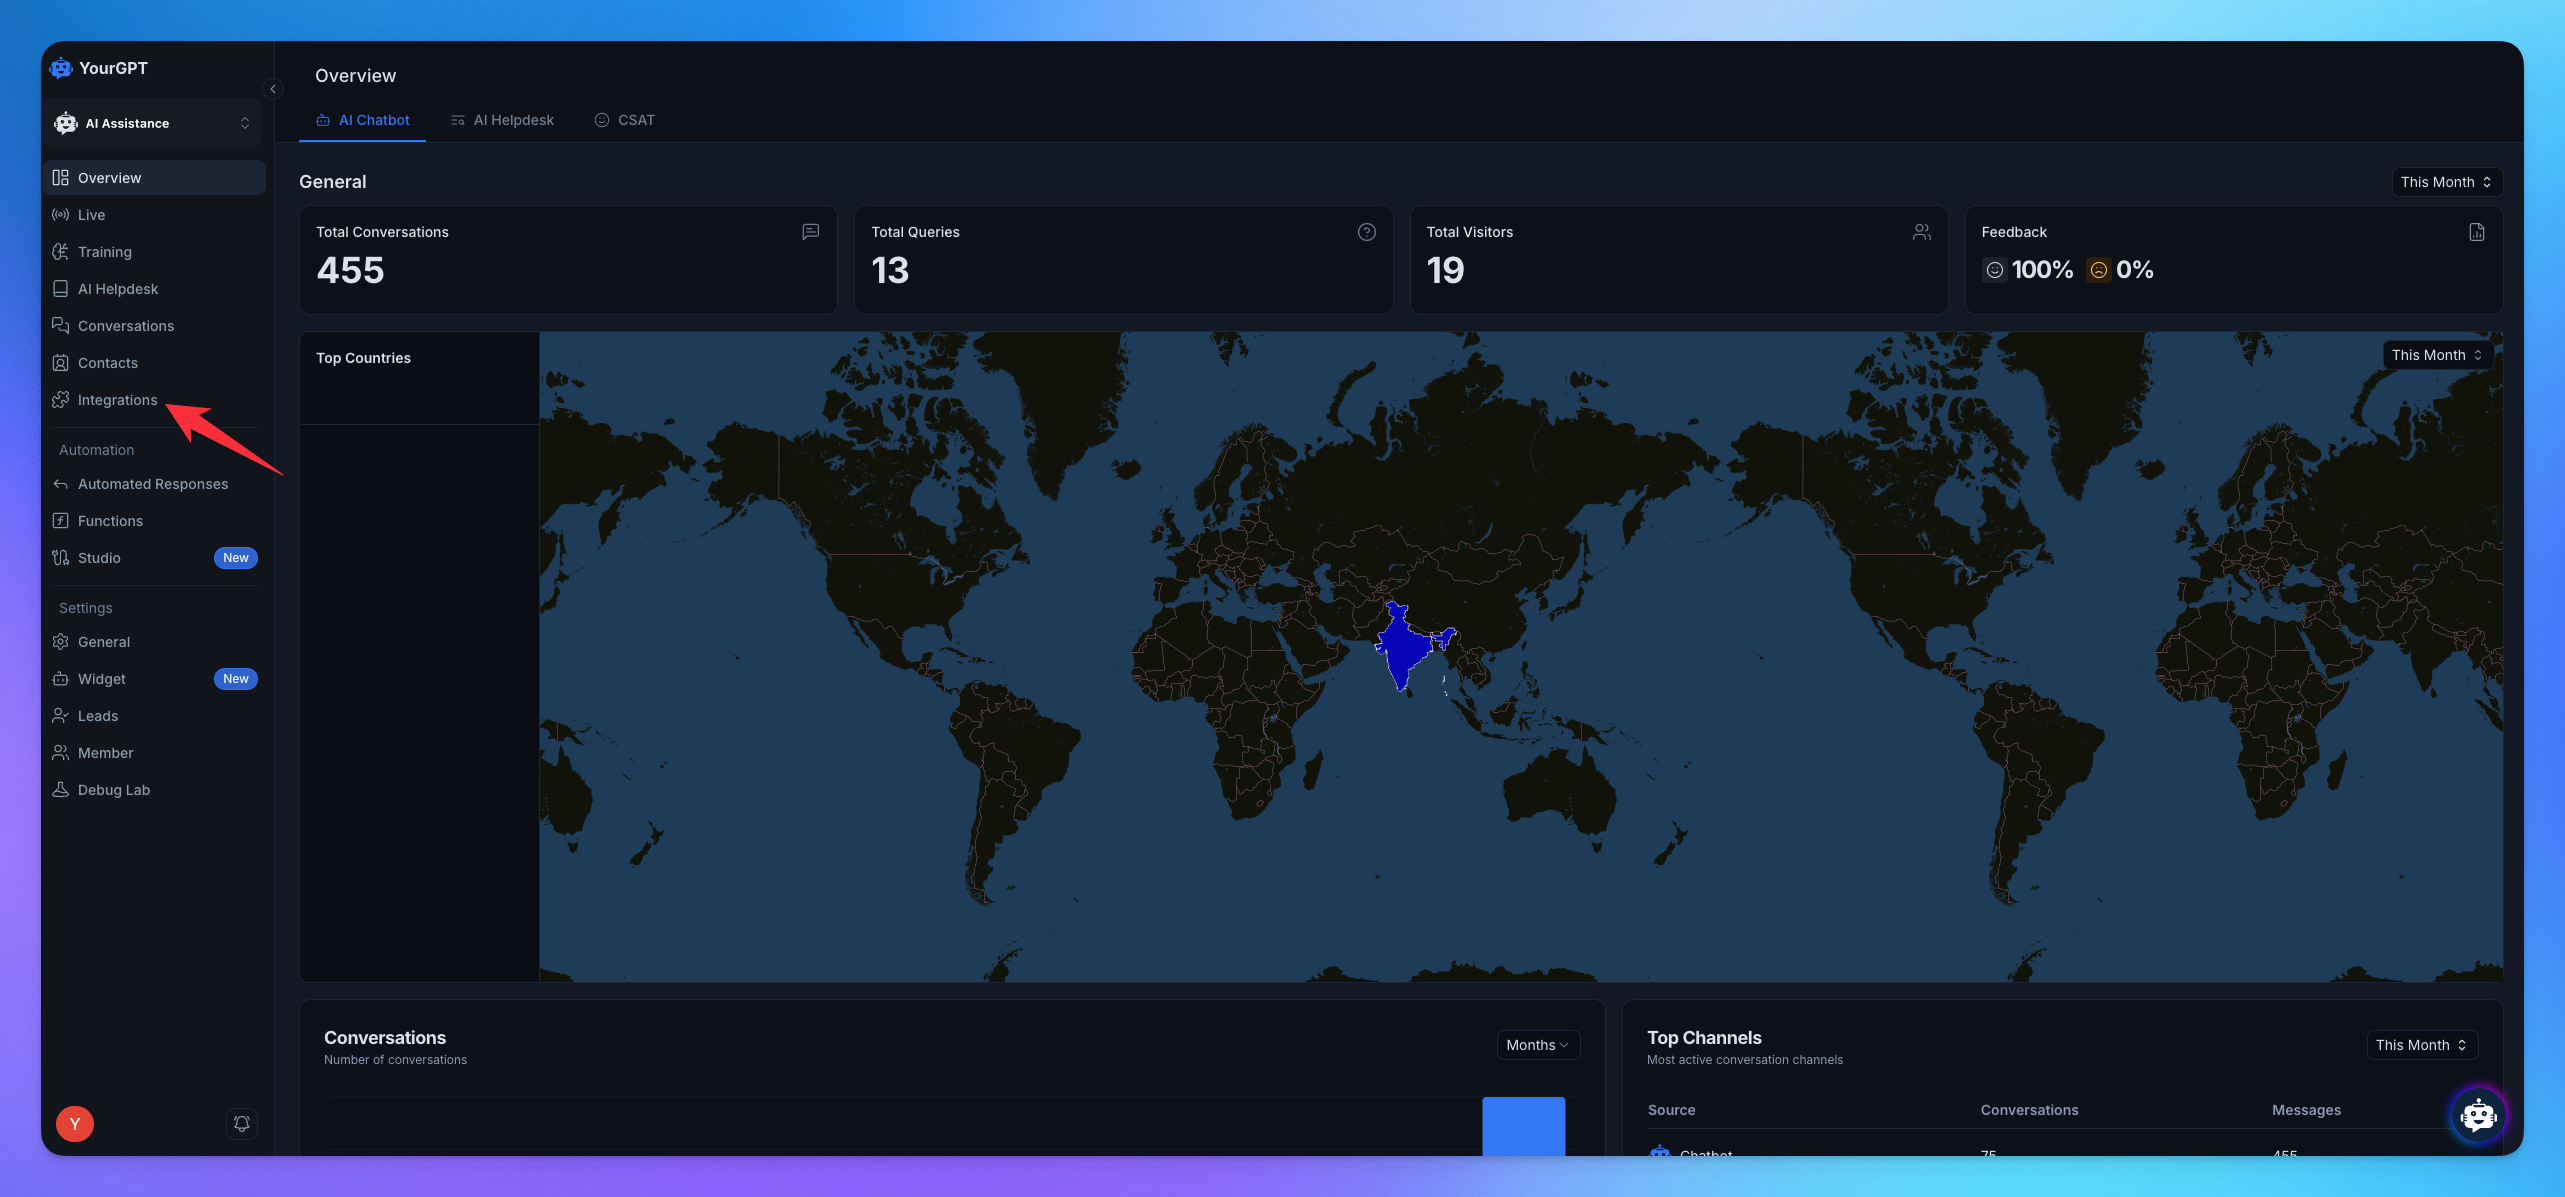
Click on Configure.
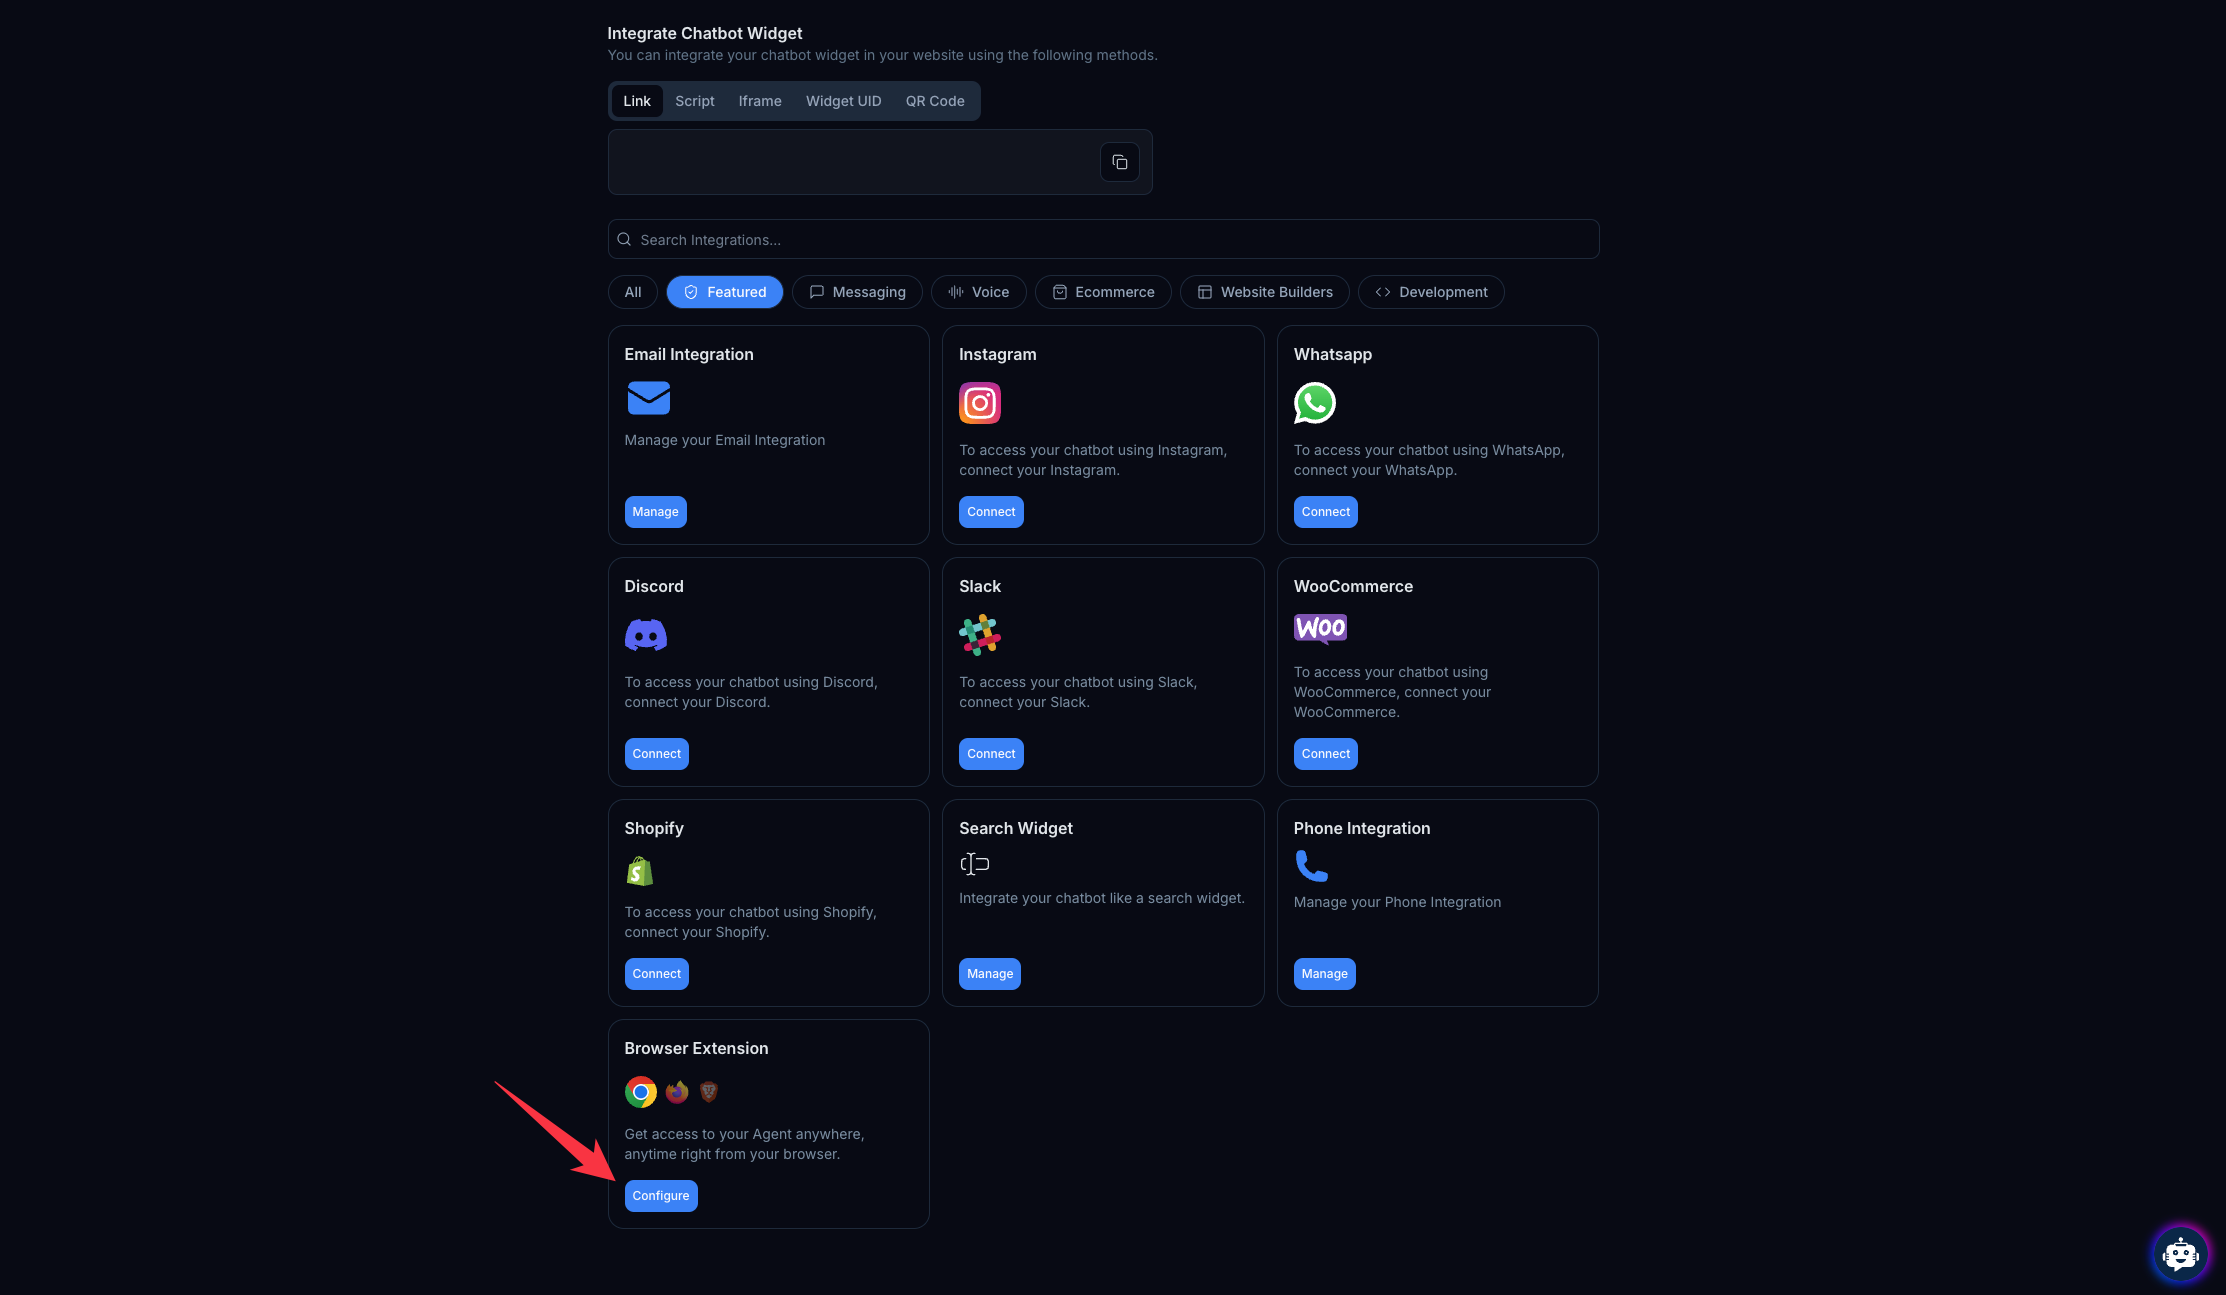
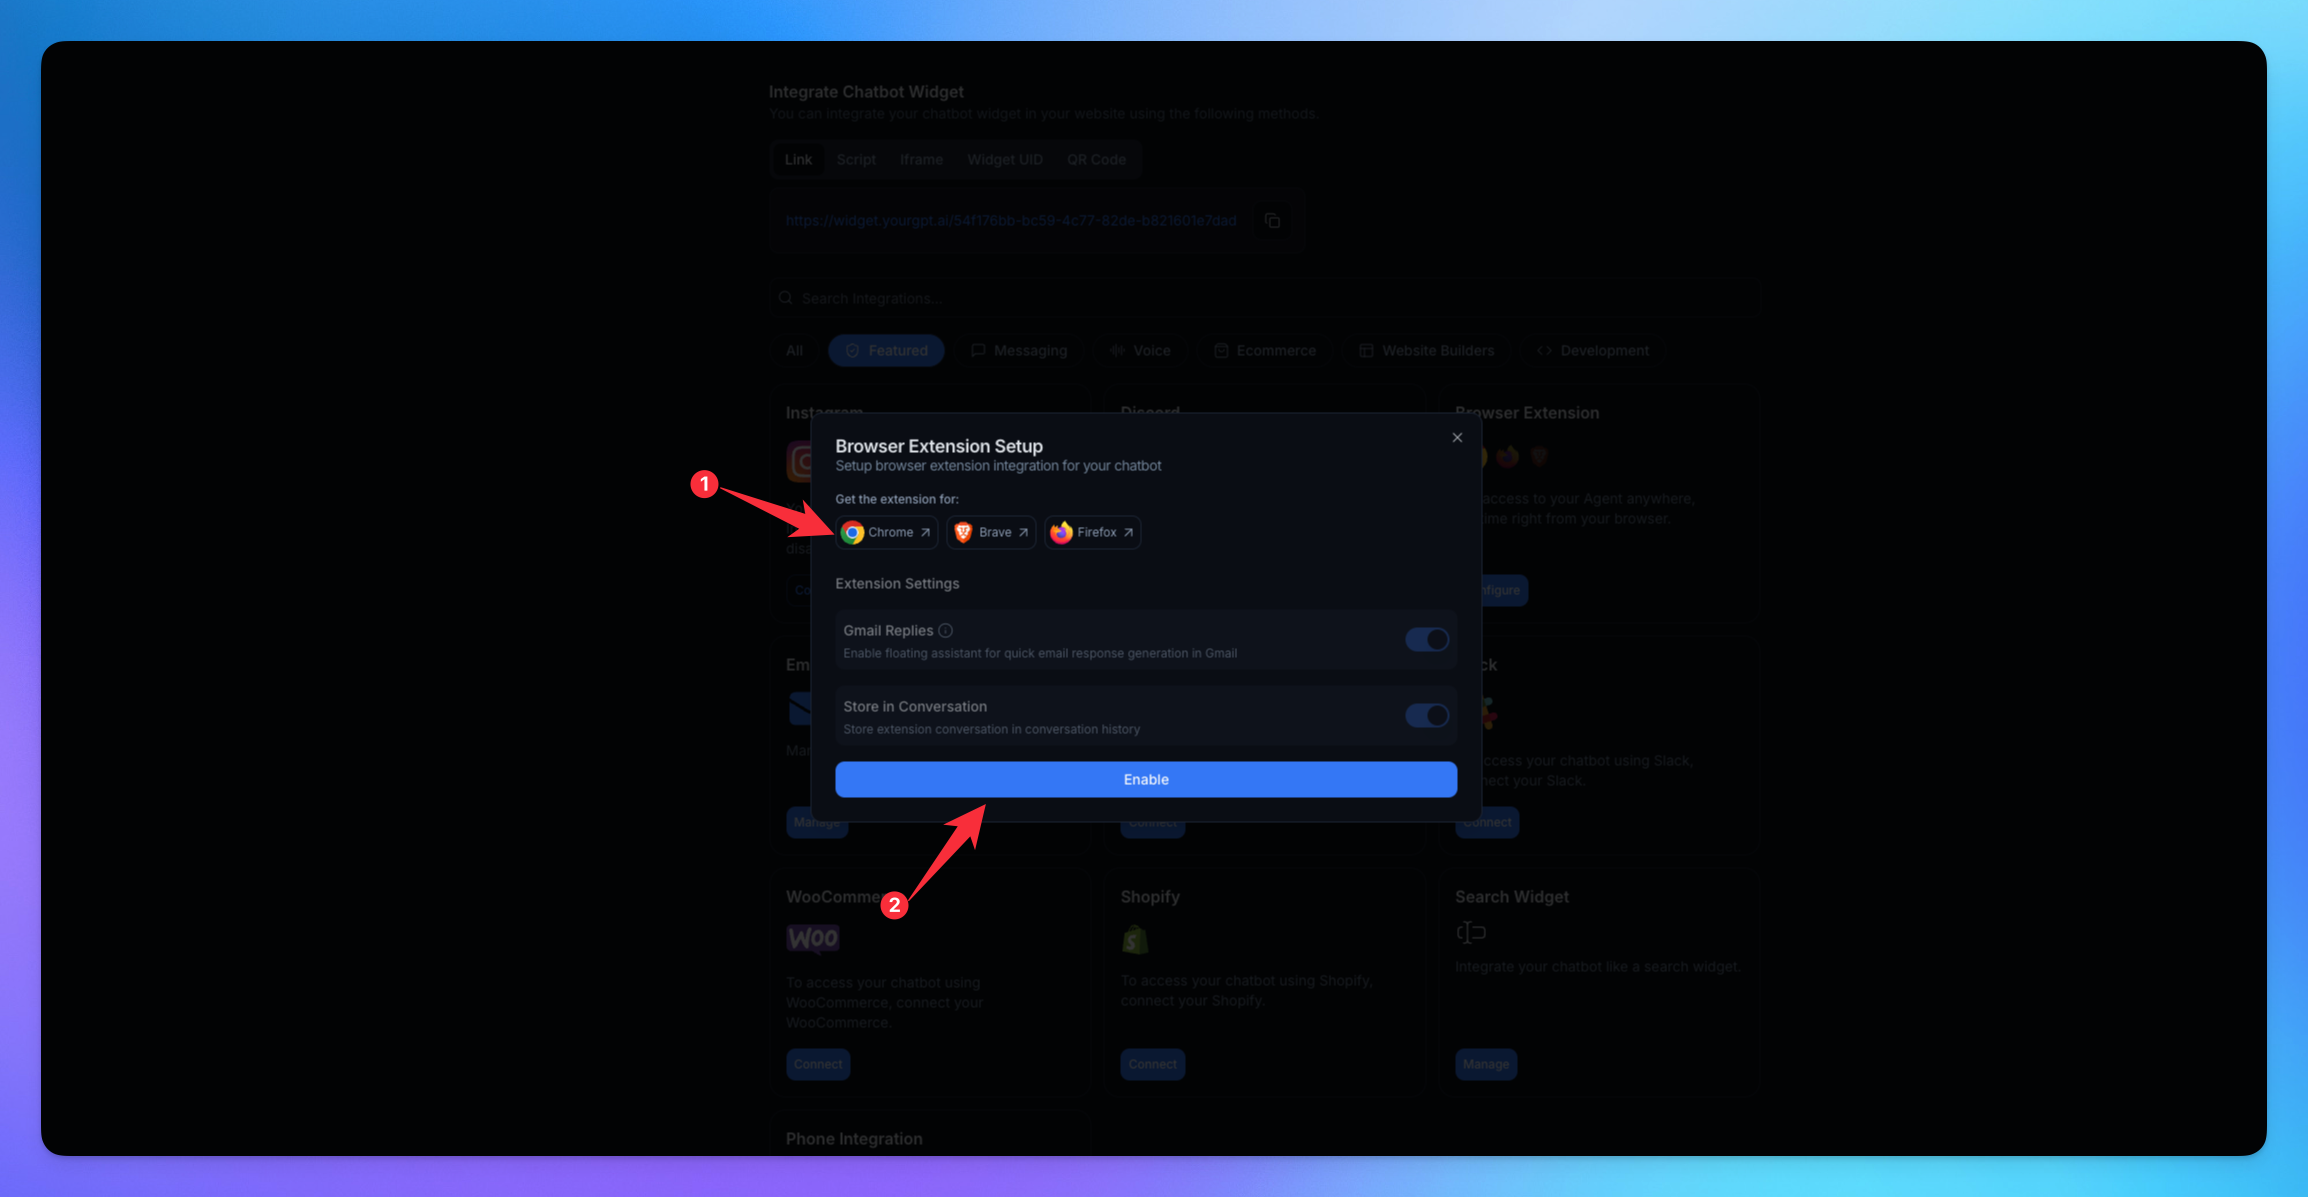
2. Install the Extension
Install the Extension by Click on Browser icon.
It redirect you to the Extension Store page.
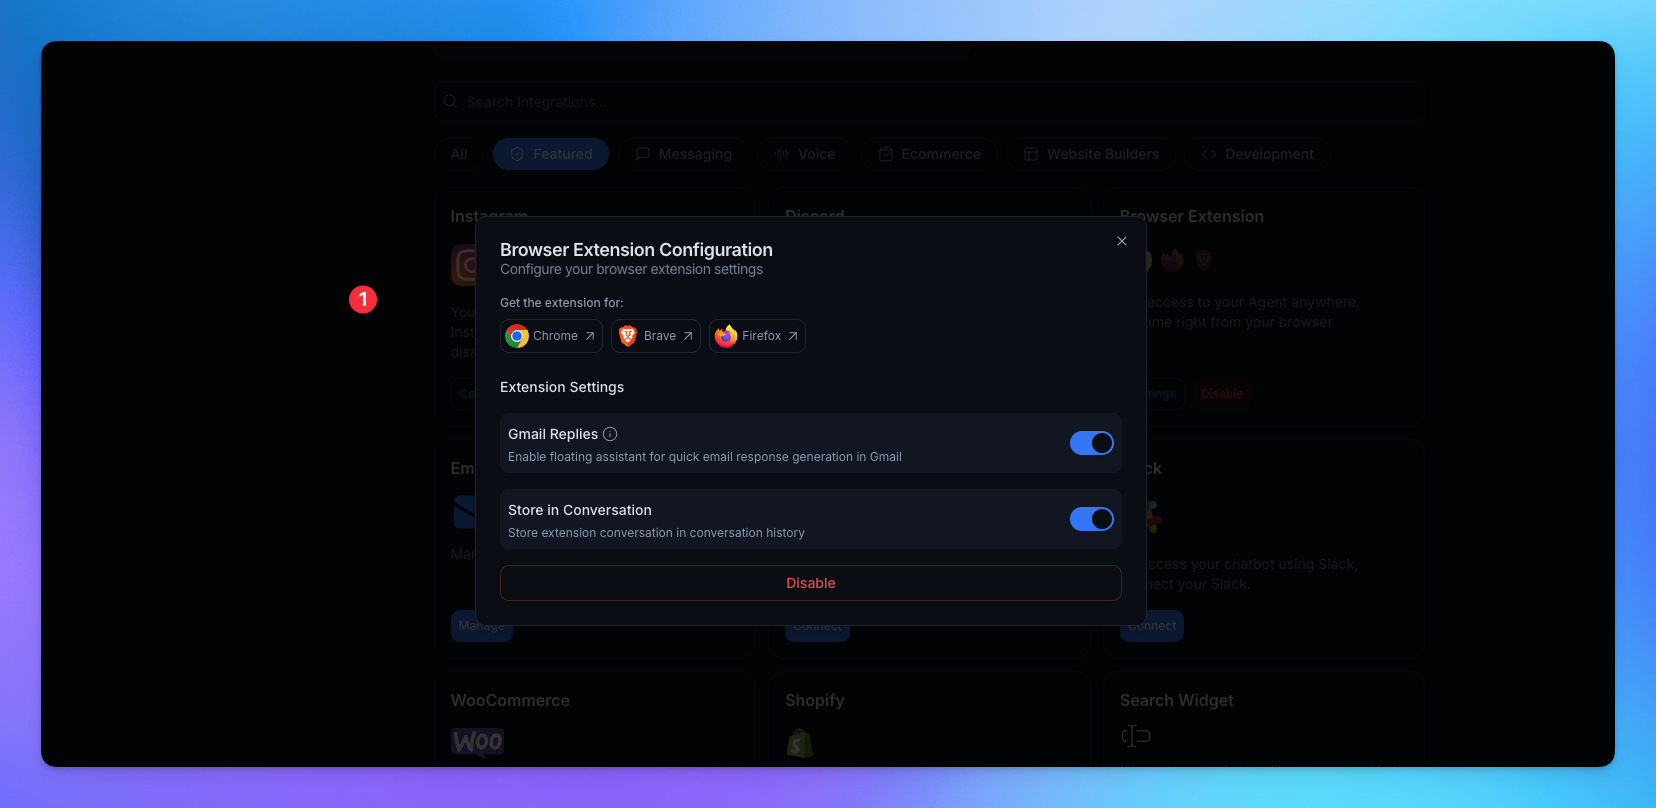
Enable the Integration
Update the integration.
By disabling Gmail Replies, you can hide the floater in Mail.
By disabling Store in Conversation, the chats won’t be stored.
Related Articles
How to Set Up Email Integration for Your AI Chatbot
Enable Your AI Agent to Send and Receive Emails Seamlessly with a Custom Domain
MCP Setup Guide for Claude Desktop, Cursor, and Windsurf
How to setup Model Context Protocol
How To Create a AI Helpdesk?
A step-by-step guide to create, customise, and launch your AI helpdesk
How To Setup Twilio Whatsapp Integration
Easy Setup Twilio for WhatsApp with YourGPT AI chatbot
How to Use Webhooks and Set Them Up in YourGPT AI?
What Is a Webhook, How Does It Work, & How to setup?
How to integrate YourGPT Chatbot widget in a flutter application
Step-by-Step guide to integrate YourGPT widget in a flutter application
How to integrate YourGPT Chat widget in an android application
Step-by-Step guide to integrate YourGPT widget in an android application