
Setting Up and Using Triggers in YourGPT
Triggers are actions that activate based on specific user interactions or events. By using triggers, businesses can ensure that their chatbots provide immediate assistance, thereby enhancing customer satisfaction and reducing response times.
This guide will help you set up and use triggers effectively to create a better experience for your users.
Step-by-Step Guide to Setting Up Triggers
Step 1: Access the Widget Section
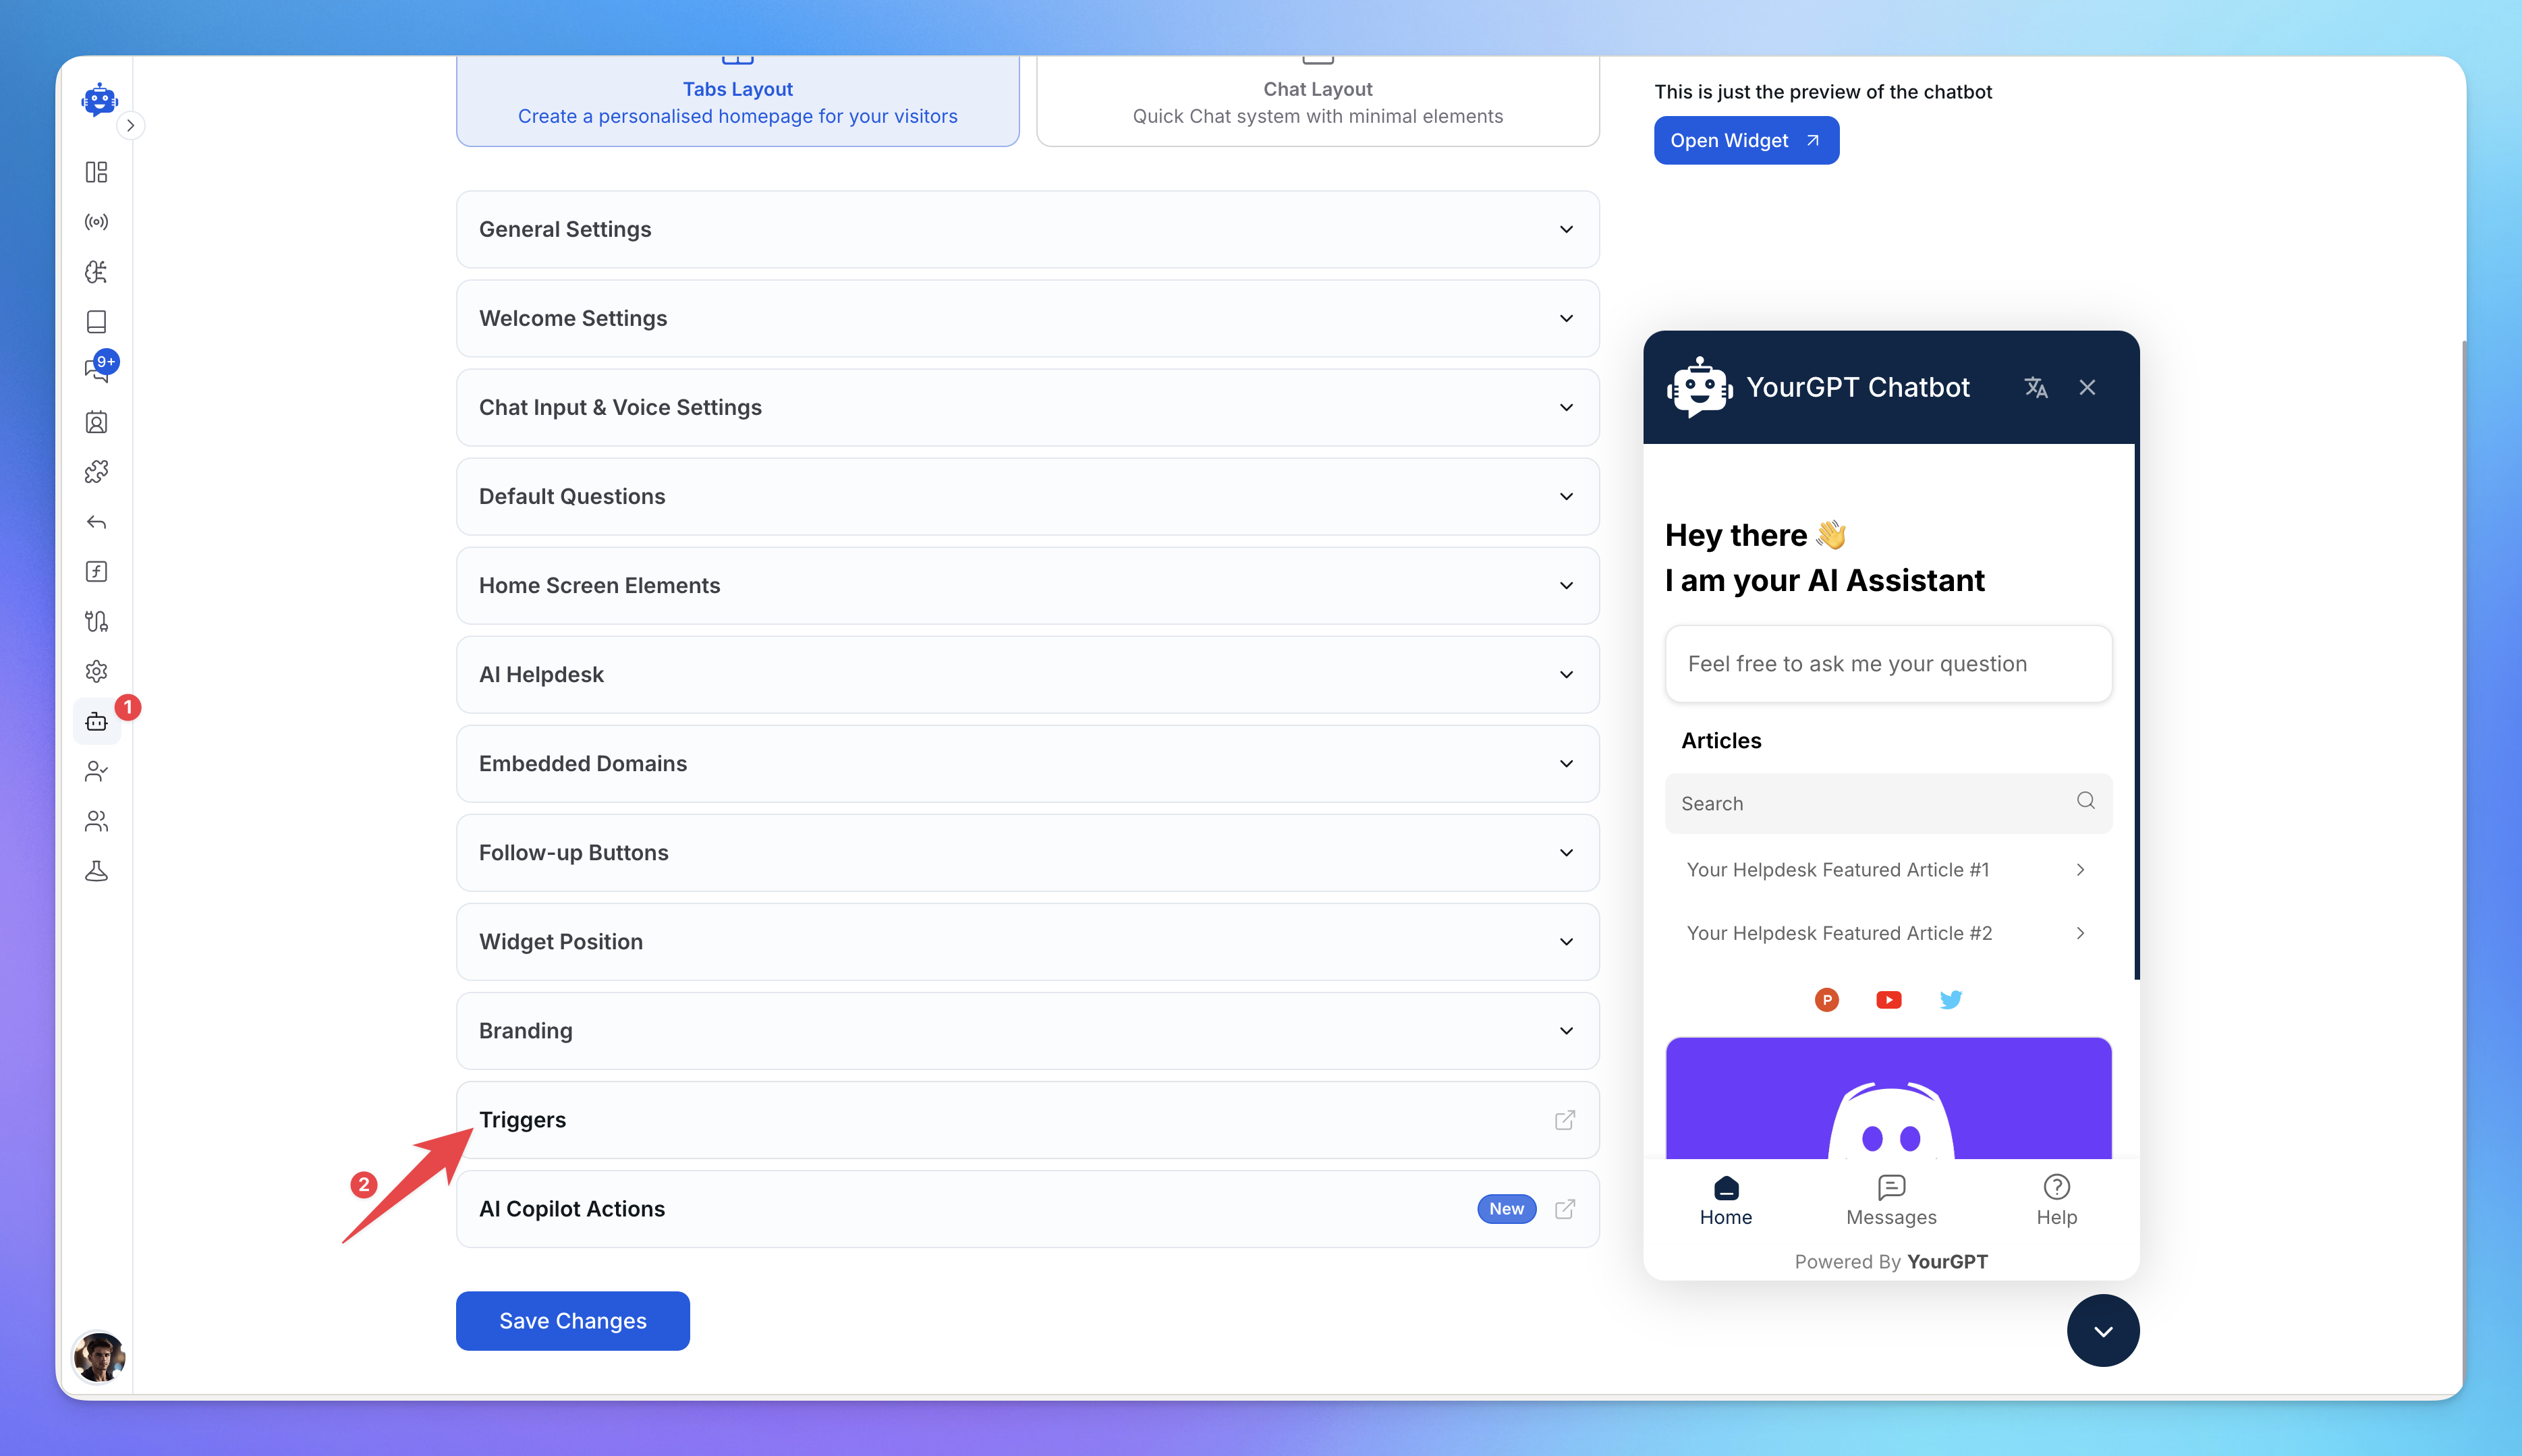
1. Log in to your YourGPT dashboard
2. Navigate to the Widget settings from the left sidebar
3. Scroll down to find the Triggers option in the settings menu
4. Click on Triggers to open the triggers management page
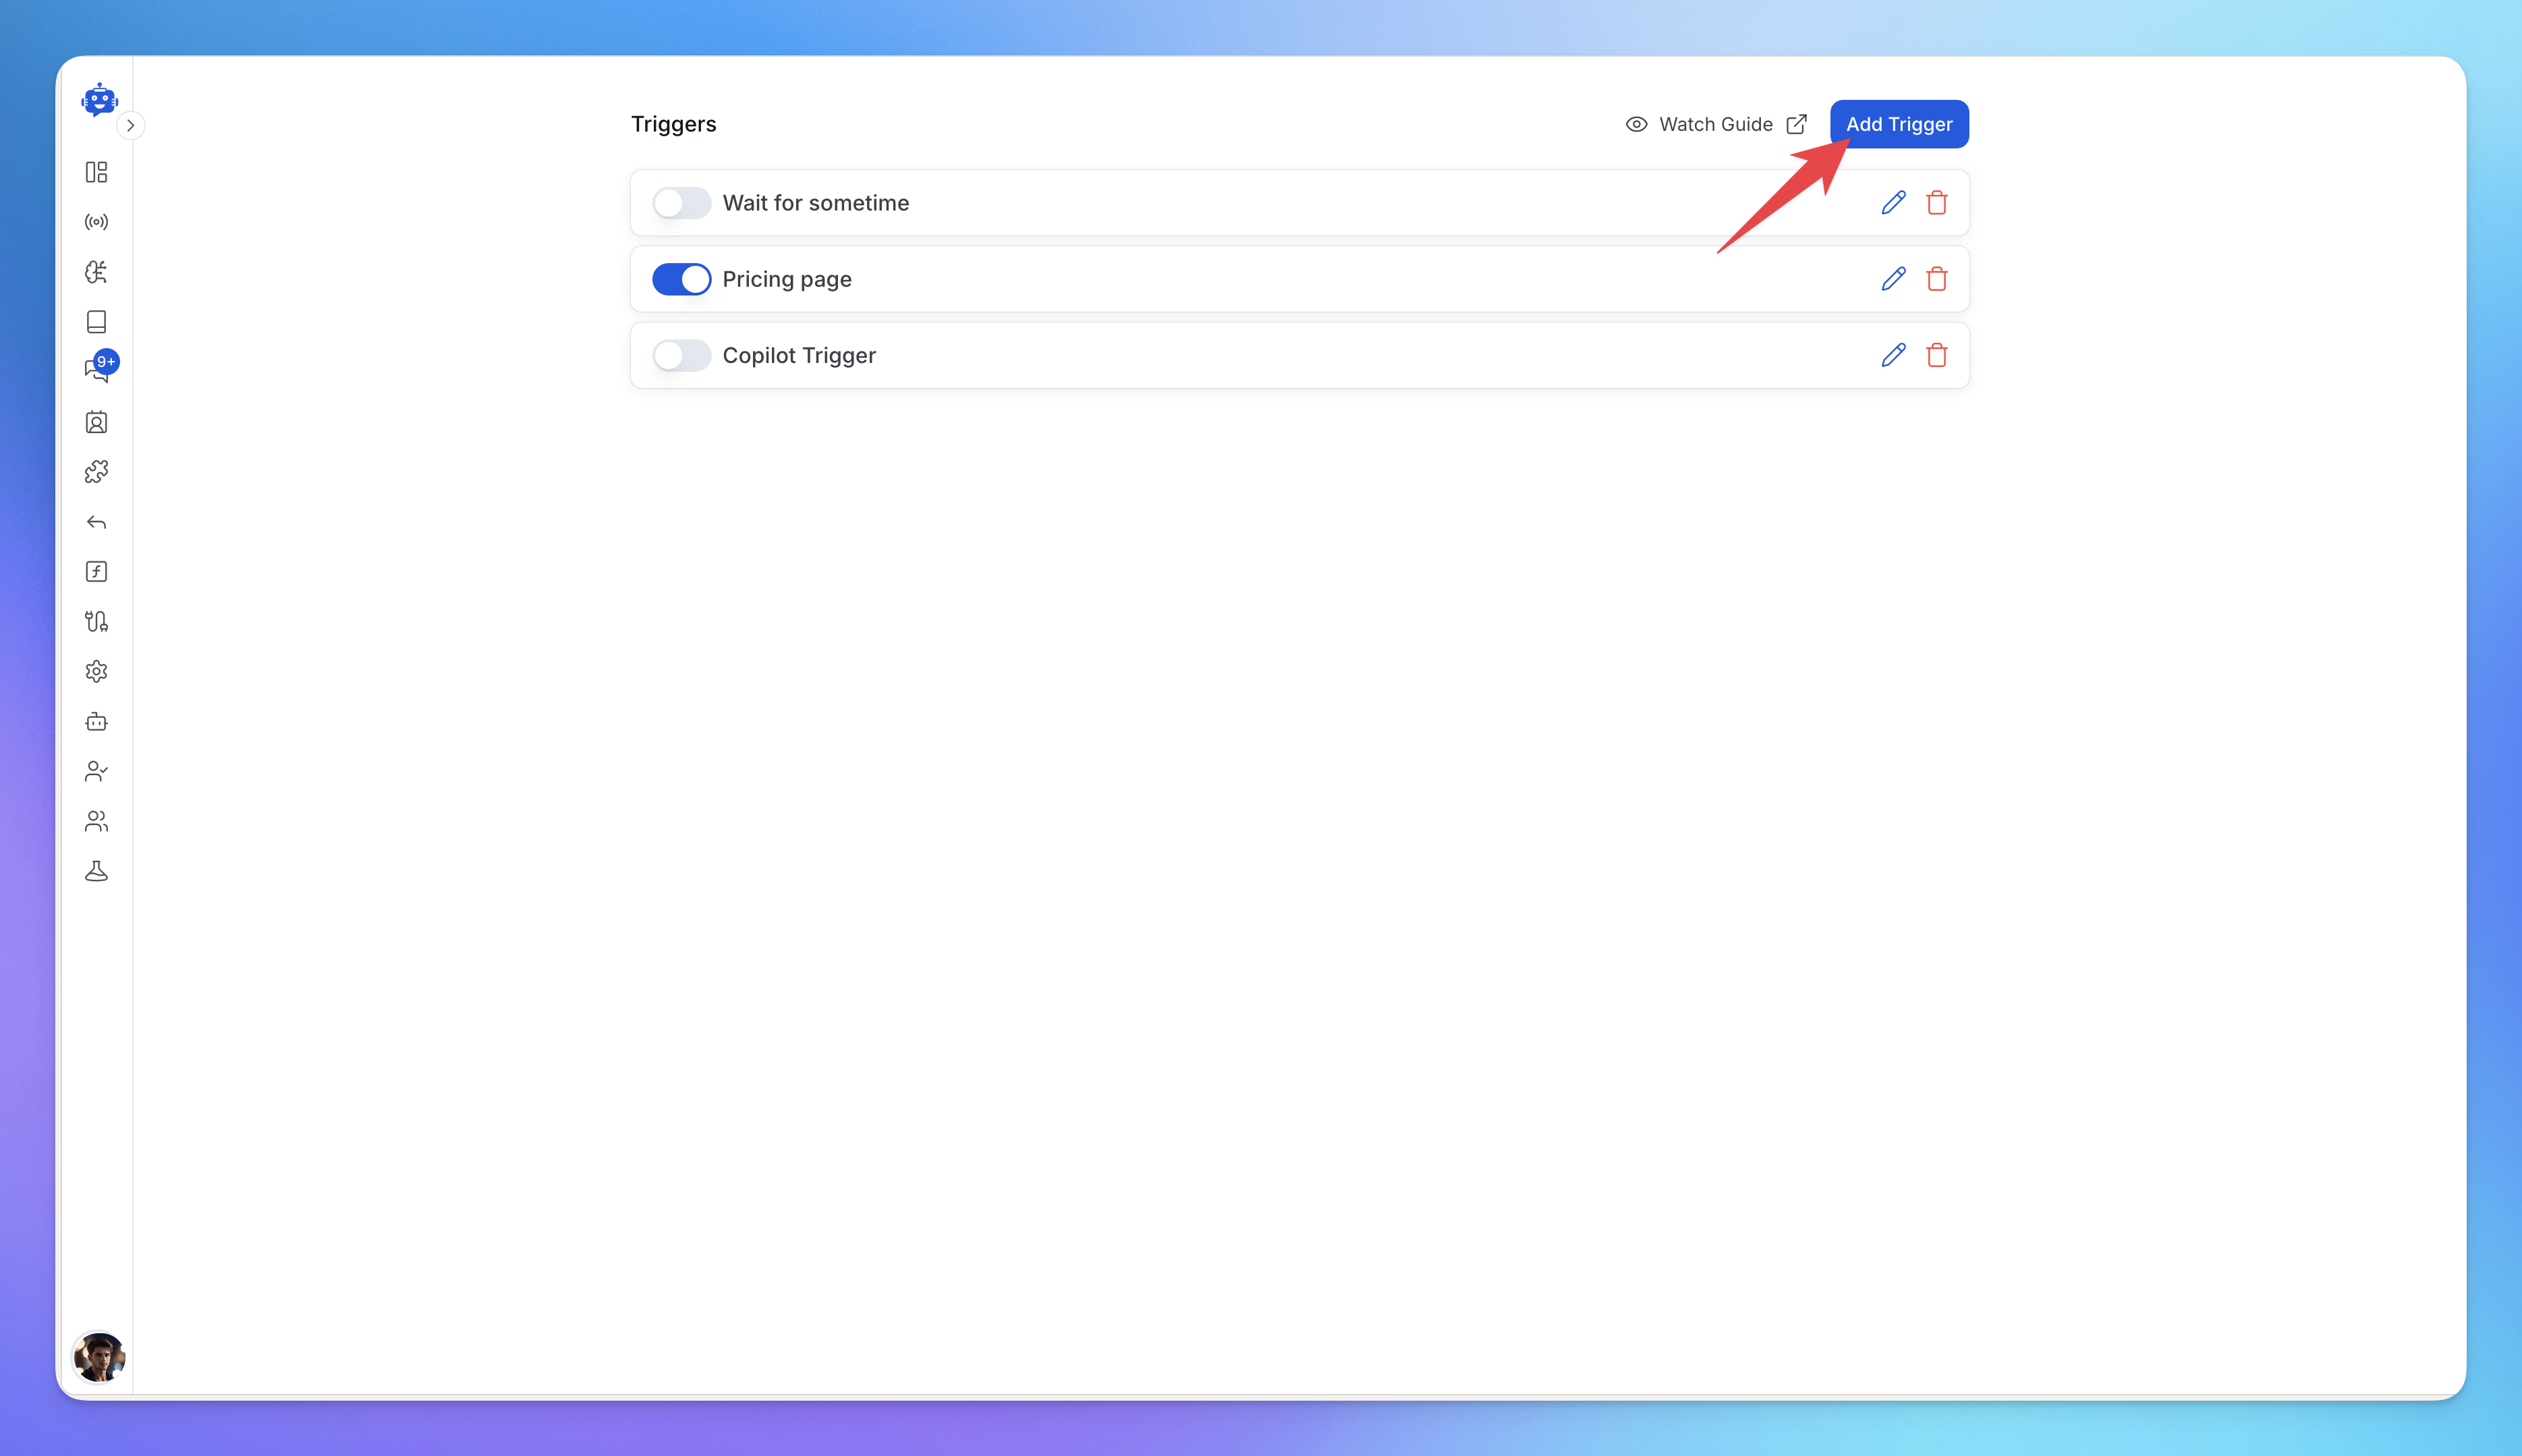
Step 2: Create a New Trigger
Once you're in the Triggers section, you'll see a list of your existing triggers (if any). To create a new trigger:
1. Click the Add Trigger button in the top right corner
2. You'll be taken to the Create Trigger page
Step 3: Name Your Trigger
Give your trigger a descriptive name that helps you identify its purpose:
Enter a clear name in the Trigger name field
Use names like "Welcome Message", "Pricing Page Visit", "Exit Intent", etc.
Good naming helps you manage multiple triggers easily
Step 4: Choose an Event
Select the event that will activate your trigger:
1. Click on the Choose Event dropdown
2. Select from available events such as:
Leave Website: Set a delay in seconds before the chatbot triggers after a user leaves the site.
Click Element: Use an element selector to specify which HTML elements will trigger the chatbot.
Visit Website: Define page URLs, first visit conditions, time spent, or scroll percentage to activate the trigger.
Step 5: Set Conditions
After selecting an event, you can add specific conditions:
Conditions help you target specific scenarios
Examples: specific URLs, time delays, user behavior patterns
Leave empty if you want the trigger to fire for all instances of the selected event
Multiple conditions can be combined for precise targeting
Step 5: Define Trigger Actions
Choose what happens when your trigger activates. You have three action options:
1. Send a Message
Toggle this on to automatically send a message to the visitor
Perfect for welcome messages, helpful tips, or promotional content
Customize the message content based on the trigger context
2. Open Chatbot
Toggle this on to automatically open the chatbot widget
Useful for high-intent pages like pricing or checkout
Draws immediate attention to your support system
3. Enable Gamification (NEW)
Toggle this on to activate gamification elements
Engages users with interactive elements
Great for increasing engagement and time on site
You can enable multiple actions for a single trigger.
Step 6: Finalize and Save
Review all settings and click ‘Save’ to activate your trigger.
Troubleshooting Tips
Page Visit Trigger Activation: Ensure that the page visit trigger only activates when there is no active chat session and the user hasn’t opened the chatbot.
Configuration Check: Make sure all conditions and actions are correctly configured.
Test Triggers: Test triggers in different scenarios to confirm they work as expected.
Conflict Resolution: Check for any conflicts with other chatbot settings or website elements.
By following these guidelines, you can effectively set up and manage triggers in YourGPT Chatbot, ensuring smooth and efficient customer interactions. For more detailed information, visit the YourGPT Chatbot Triggers Documentation.
Related Articles
How to invite Team Members to Your AI Agent?
Add teammates, assign roles, and collaborate from chatbot settings.
How to Install YourGPT with Google Tag Manager
Learn how to easily add the YourGPT widget to your website using Google Tag Manager.
How to Temporarily Disable AI Responses
Disable bot responses for maintenance, testing, or manual handling
How To enable Image Understanding for Your AI
AI agent to process images and answer on them
What is the Difference Between Chat Mode & Agent Mode?
A Practical Guide to choose between Chat Mode and Agent Mode in YourGPT
How to Add an AI Helpdesk to Your Website Widget With Optional Password Access
Embed an AI Helpdesk in Your Widget and Secure It in Minutes
Anywhere, Anytime Access to YourGPT Support Inbox
Instant Live Support from Your Phone with the YourGPT Mobile App